Five Ways to Light Your Landscape

Five Ways to Light Your Landscape

Guidelines for Illuminating Your Outside Living Spaces

When choosing outdoor landscape lighting for any area, first think about how you will use the area. Do you want to see an ambient space out your window? Does it need to be easily walkable at night? Will you be holding al fresco dinner parties? Would you like an open-air dance floor? Do you want a cozy nook for a nightcap around a fire pit?

If you have one activity in mind, you can keep the lighting simple with a single switch for all lights. If you want to use your space for several activities, you may want options. To diversify your landscape lighting, you can arrange it into different switched zones, creating flexibility in how the space feels at night. Here are five different ways to customize the lighting for your outdoor spaces.

Pergola Lights

1. Provide Functional Light

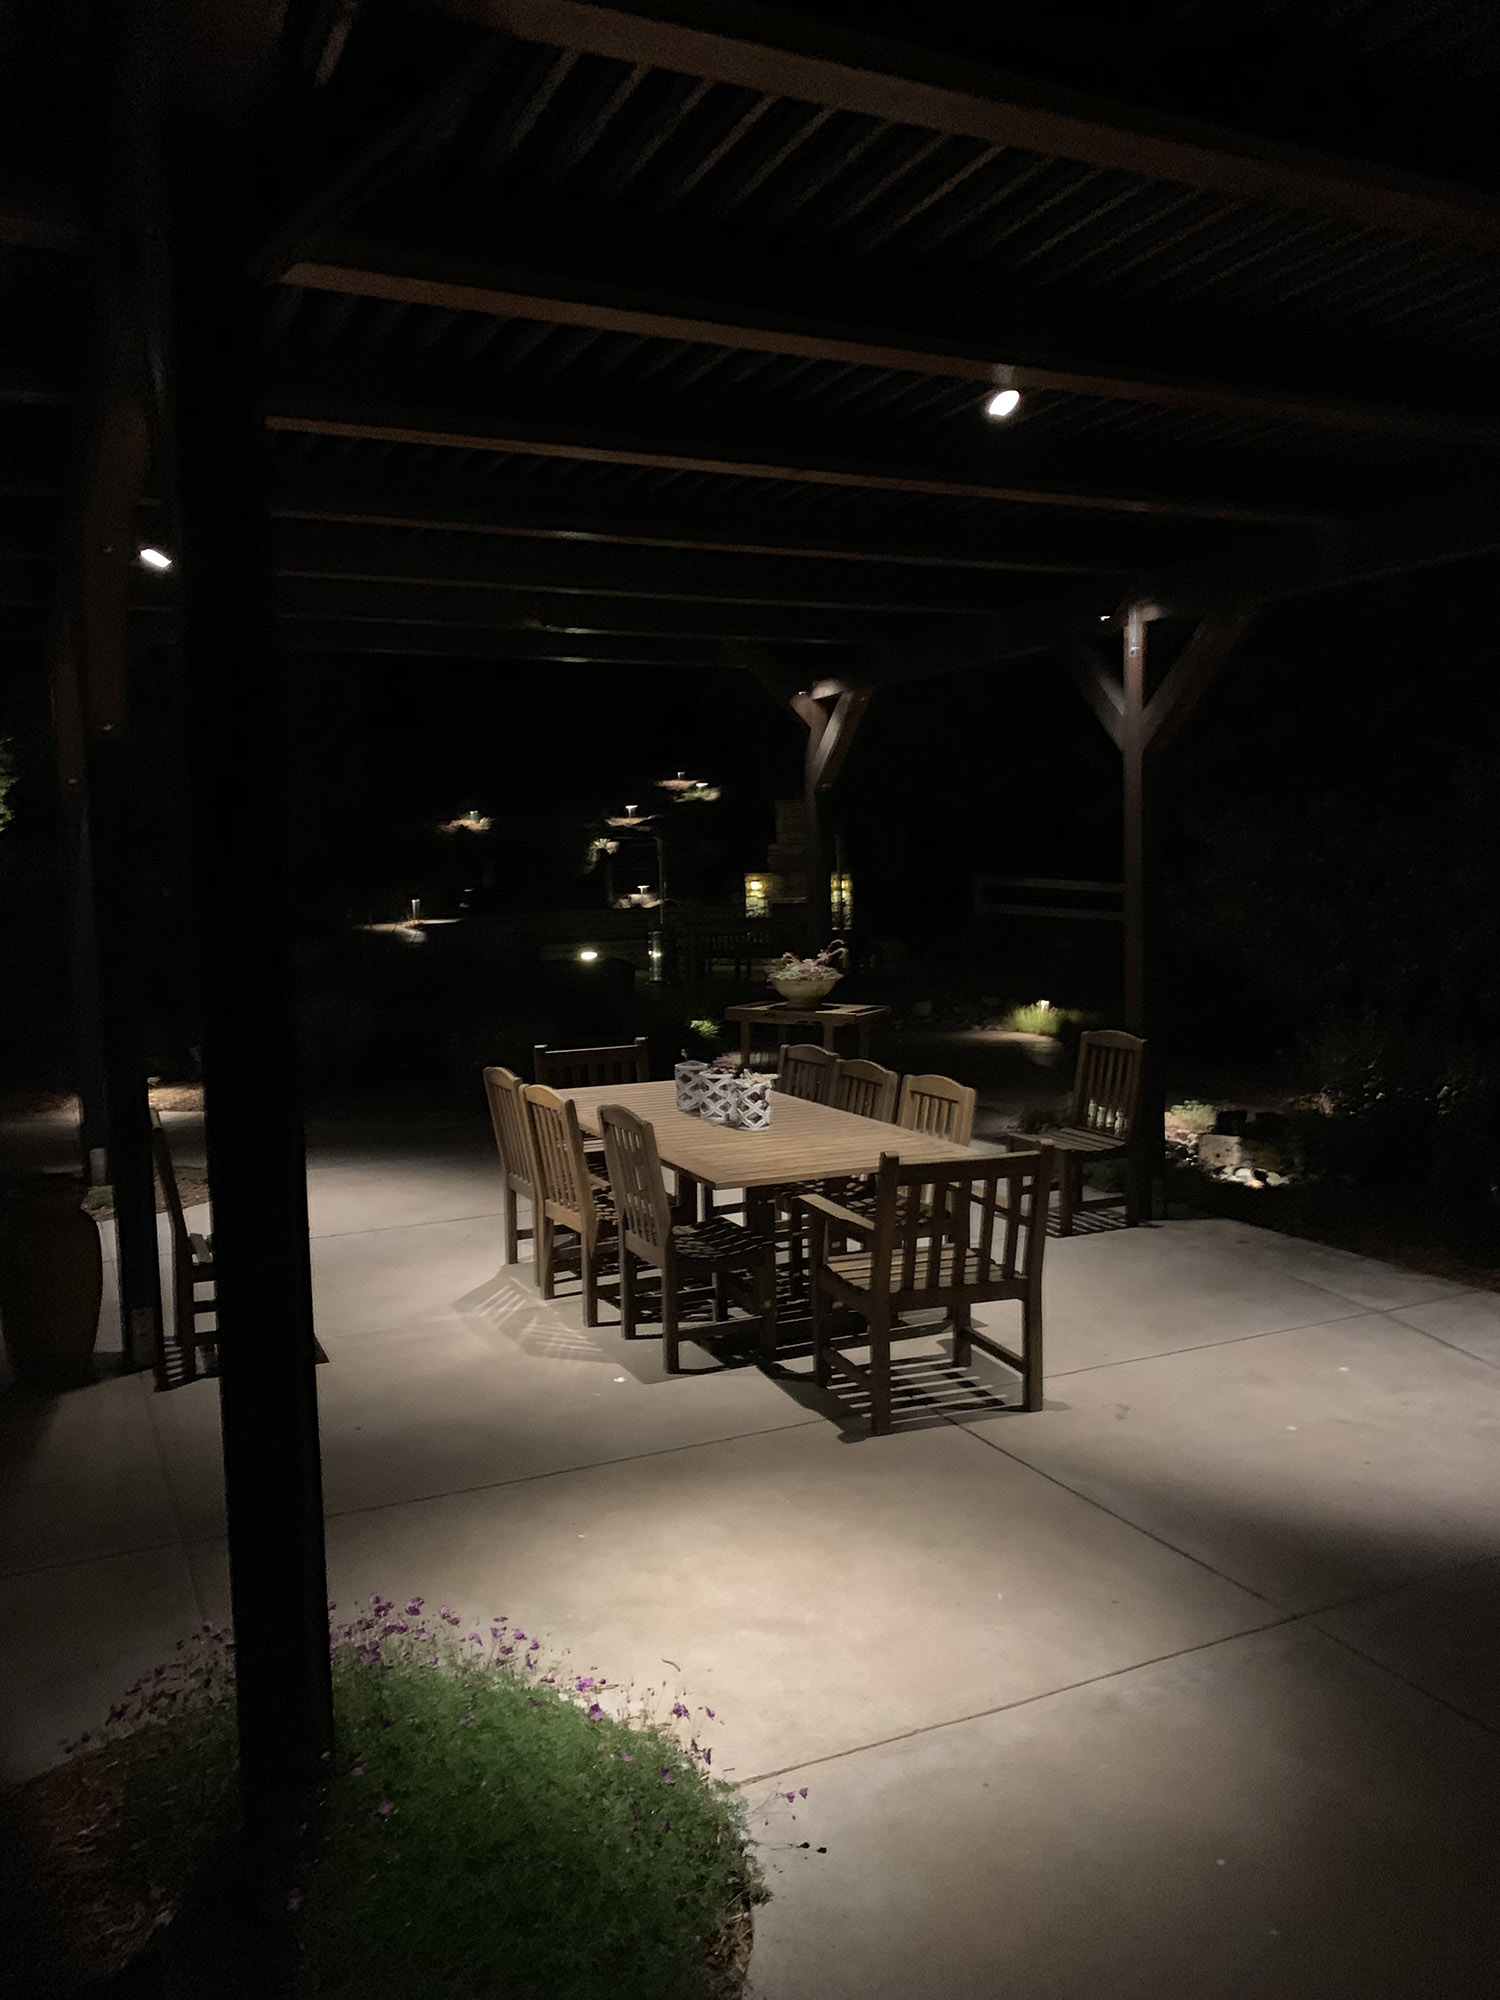
In ancient times, sailors preferred dim light to eat their hardtack in ship galleys to avoid seeing their not-so-enticing food. Nowadays, you will likely want to show off your entire spread, and see your guests. Downlights, or directional spotlights with bright light, can be mounted on pergolas, walls, or trees to provide light directly to a table. For these zones, it is essential to provide more lumens with higher wattage lamps.

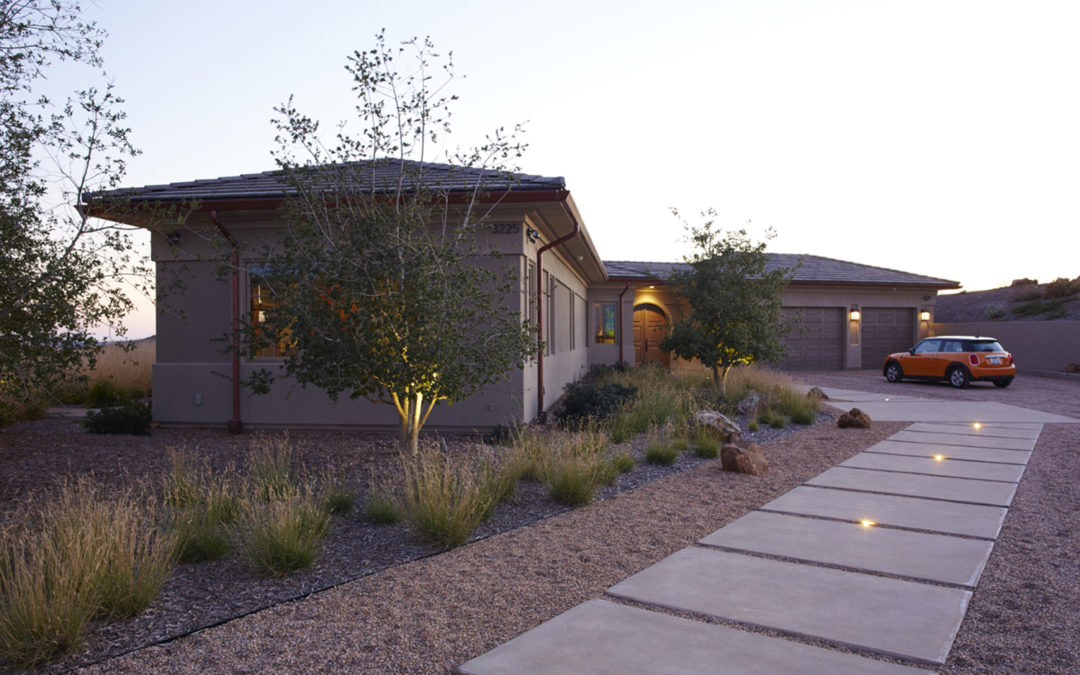
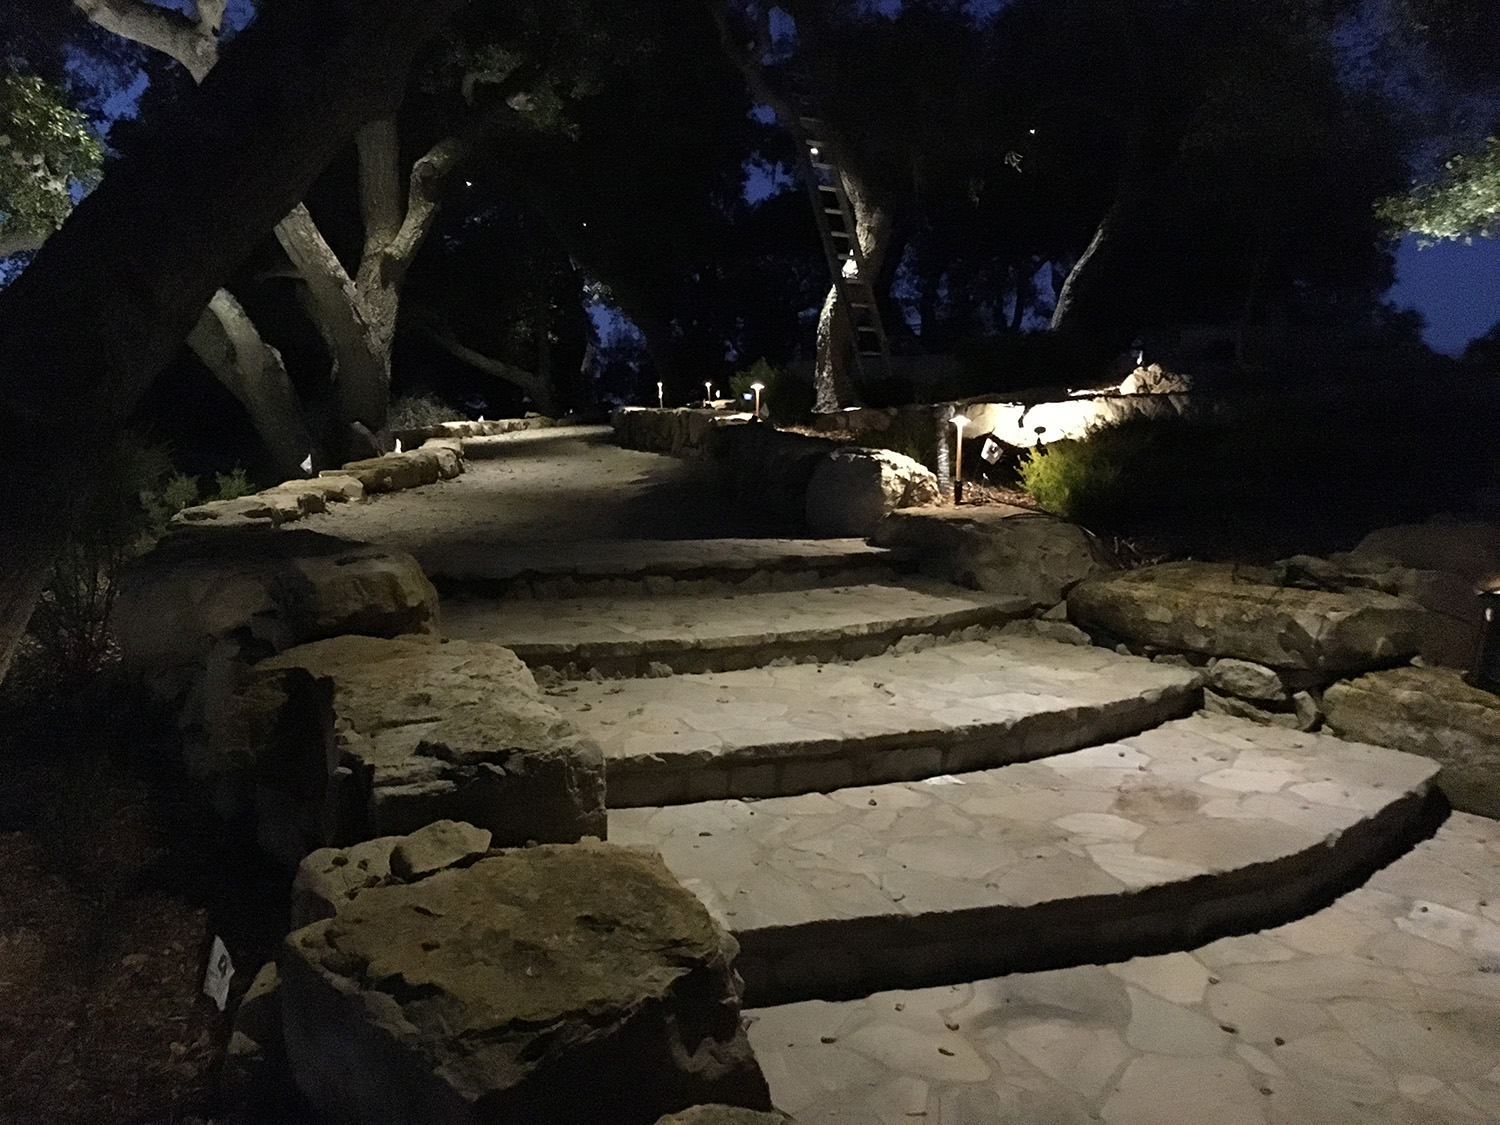
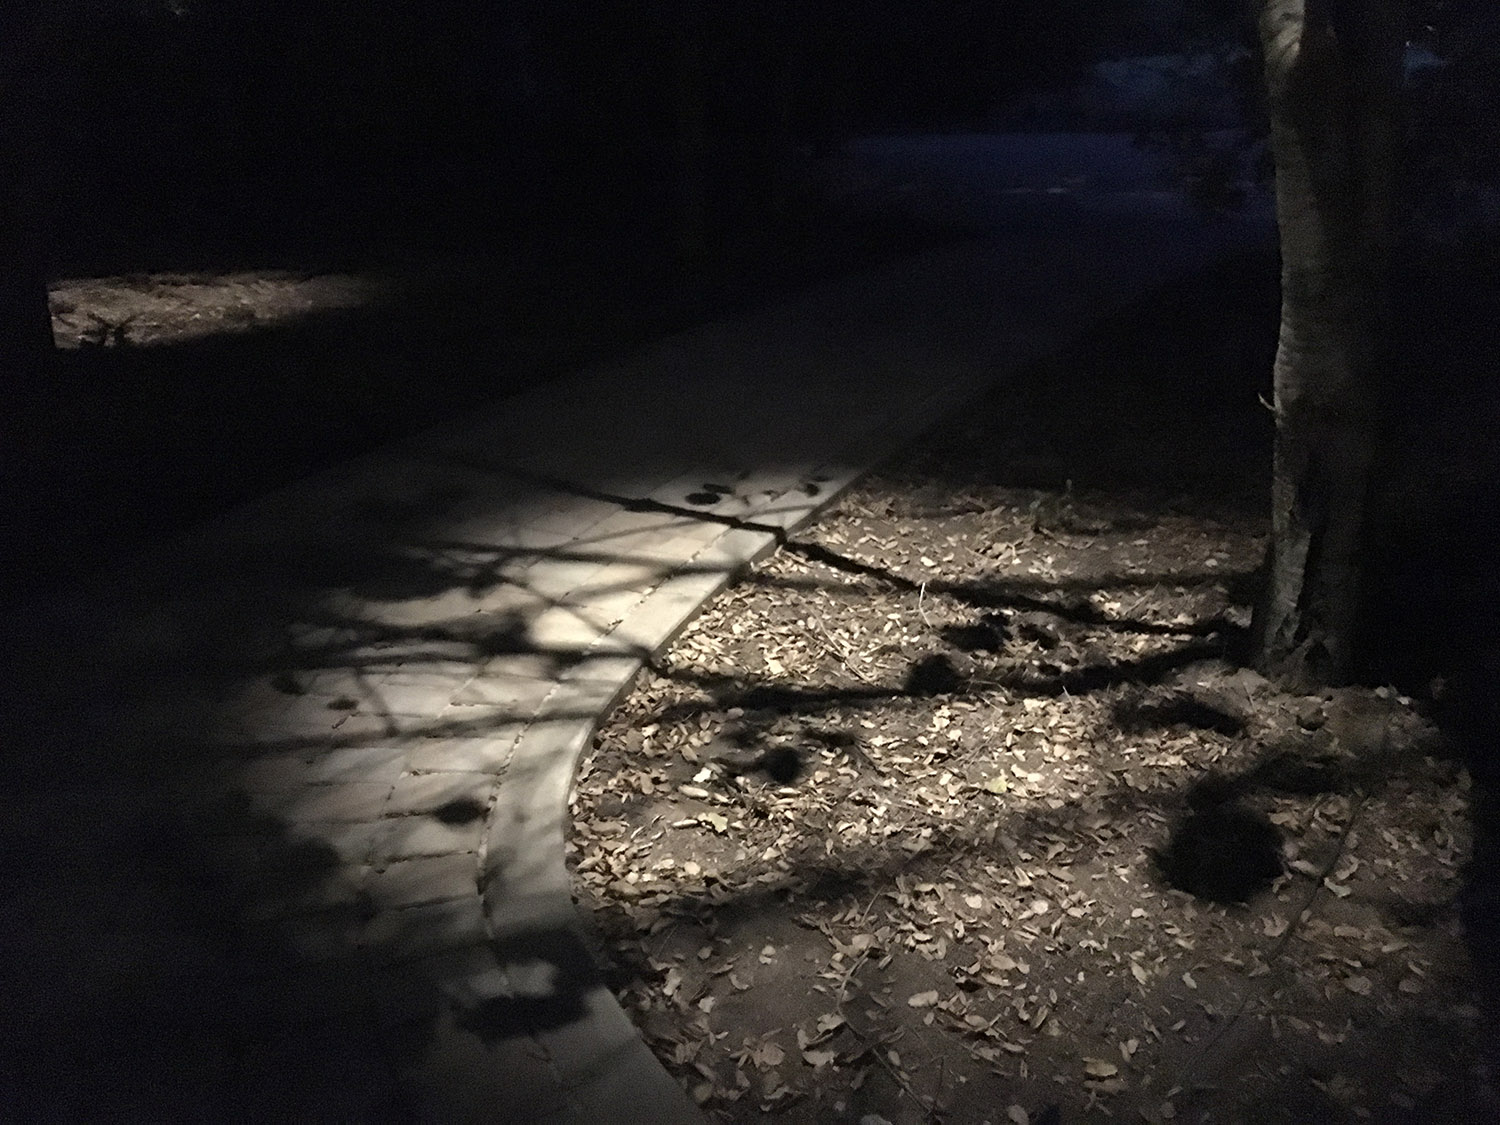
Suppose you want to provide illumination for safe walking. In that case, you can use path lights elevated on posts to cast broad light over walking surfaces. It is imperative to provide clear, direct lighting to stairs and precarious edges of patios. If you are building a new space, you can put recessed lights in the flatwork and riser lights in steps to provide illumination right where you need it.

2. Define the Edges

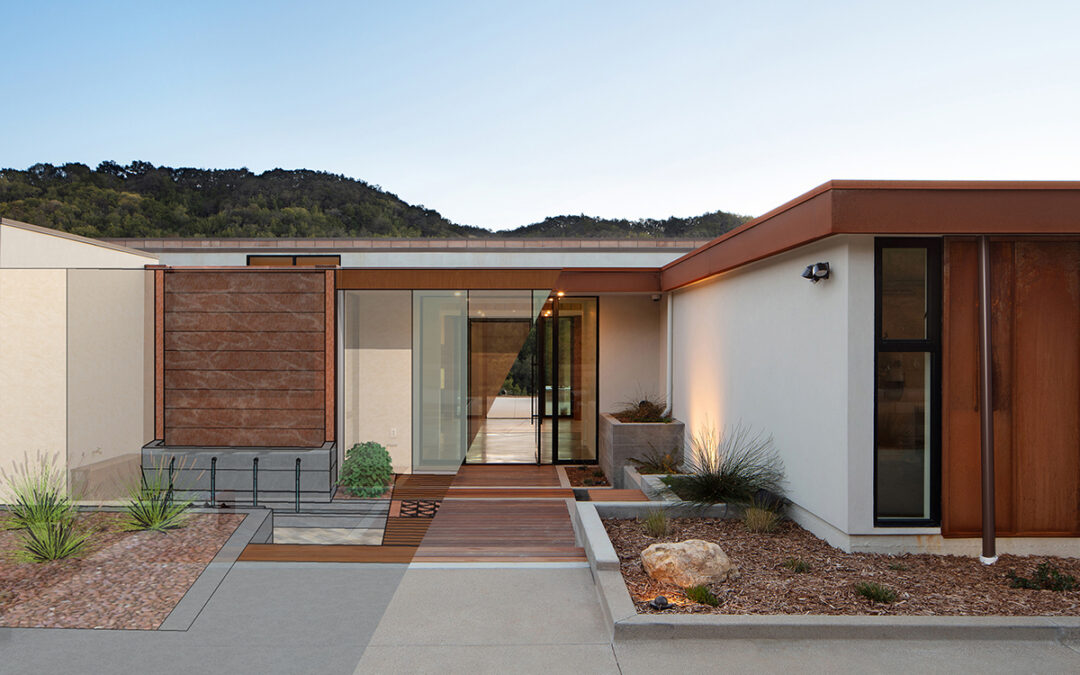
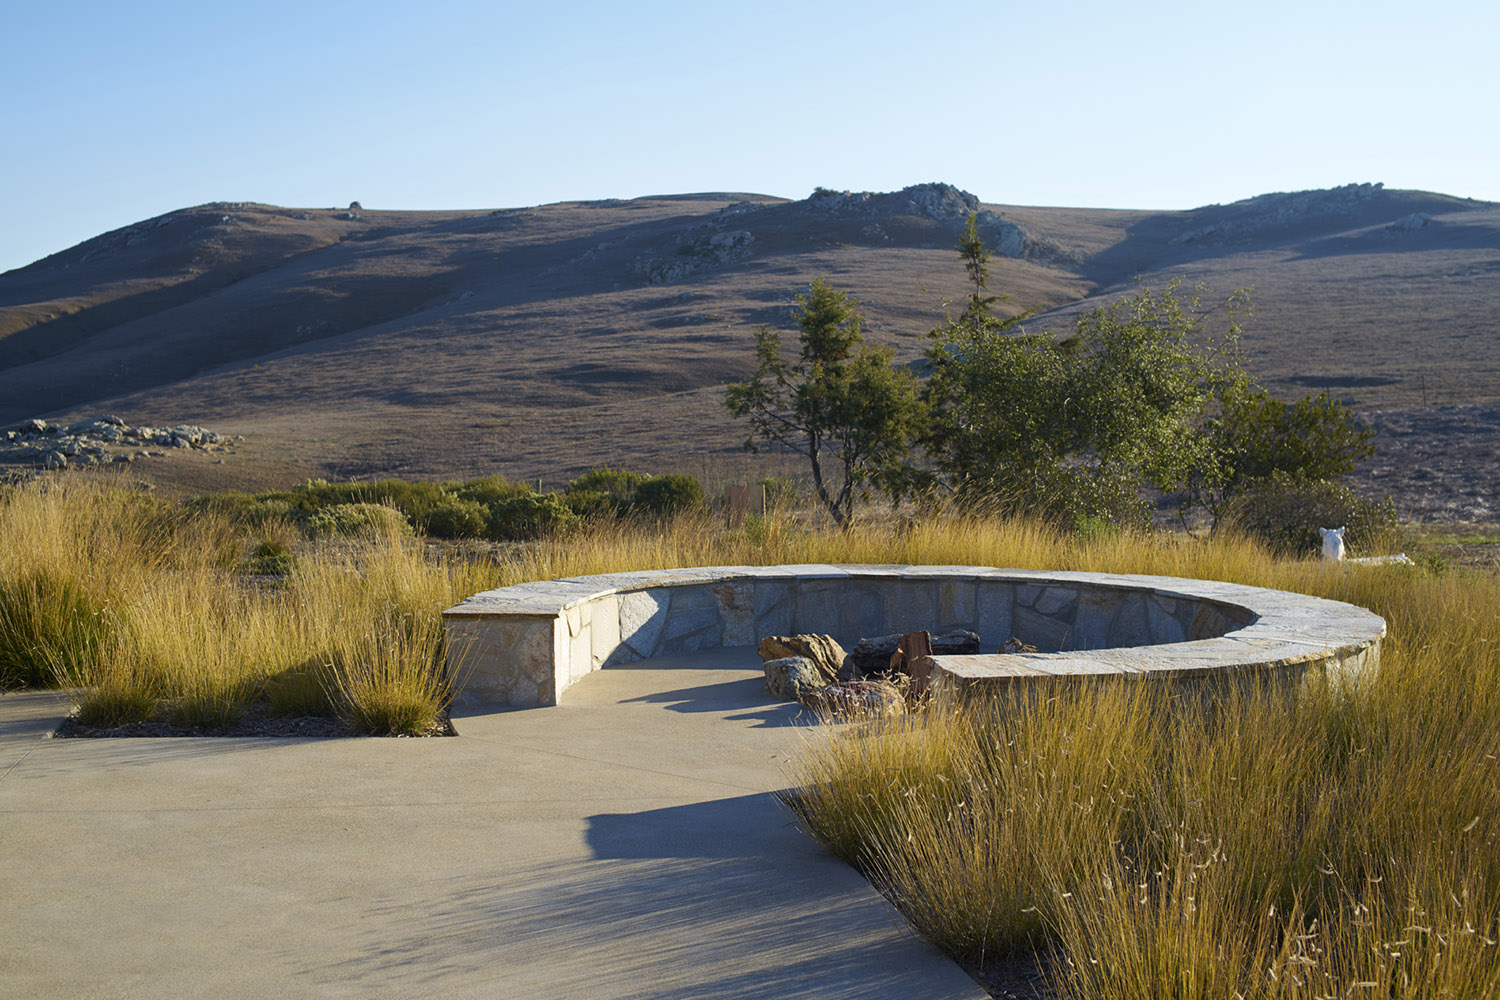
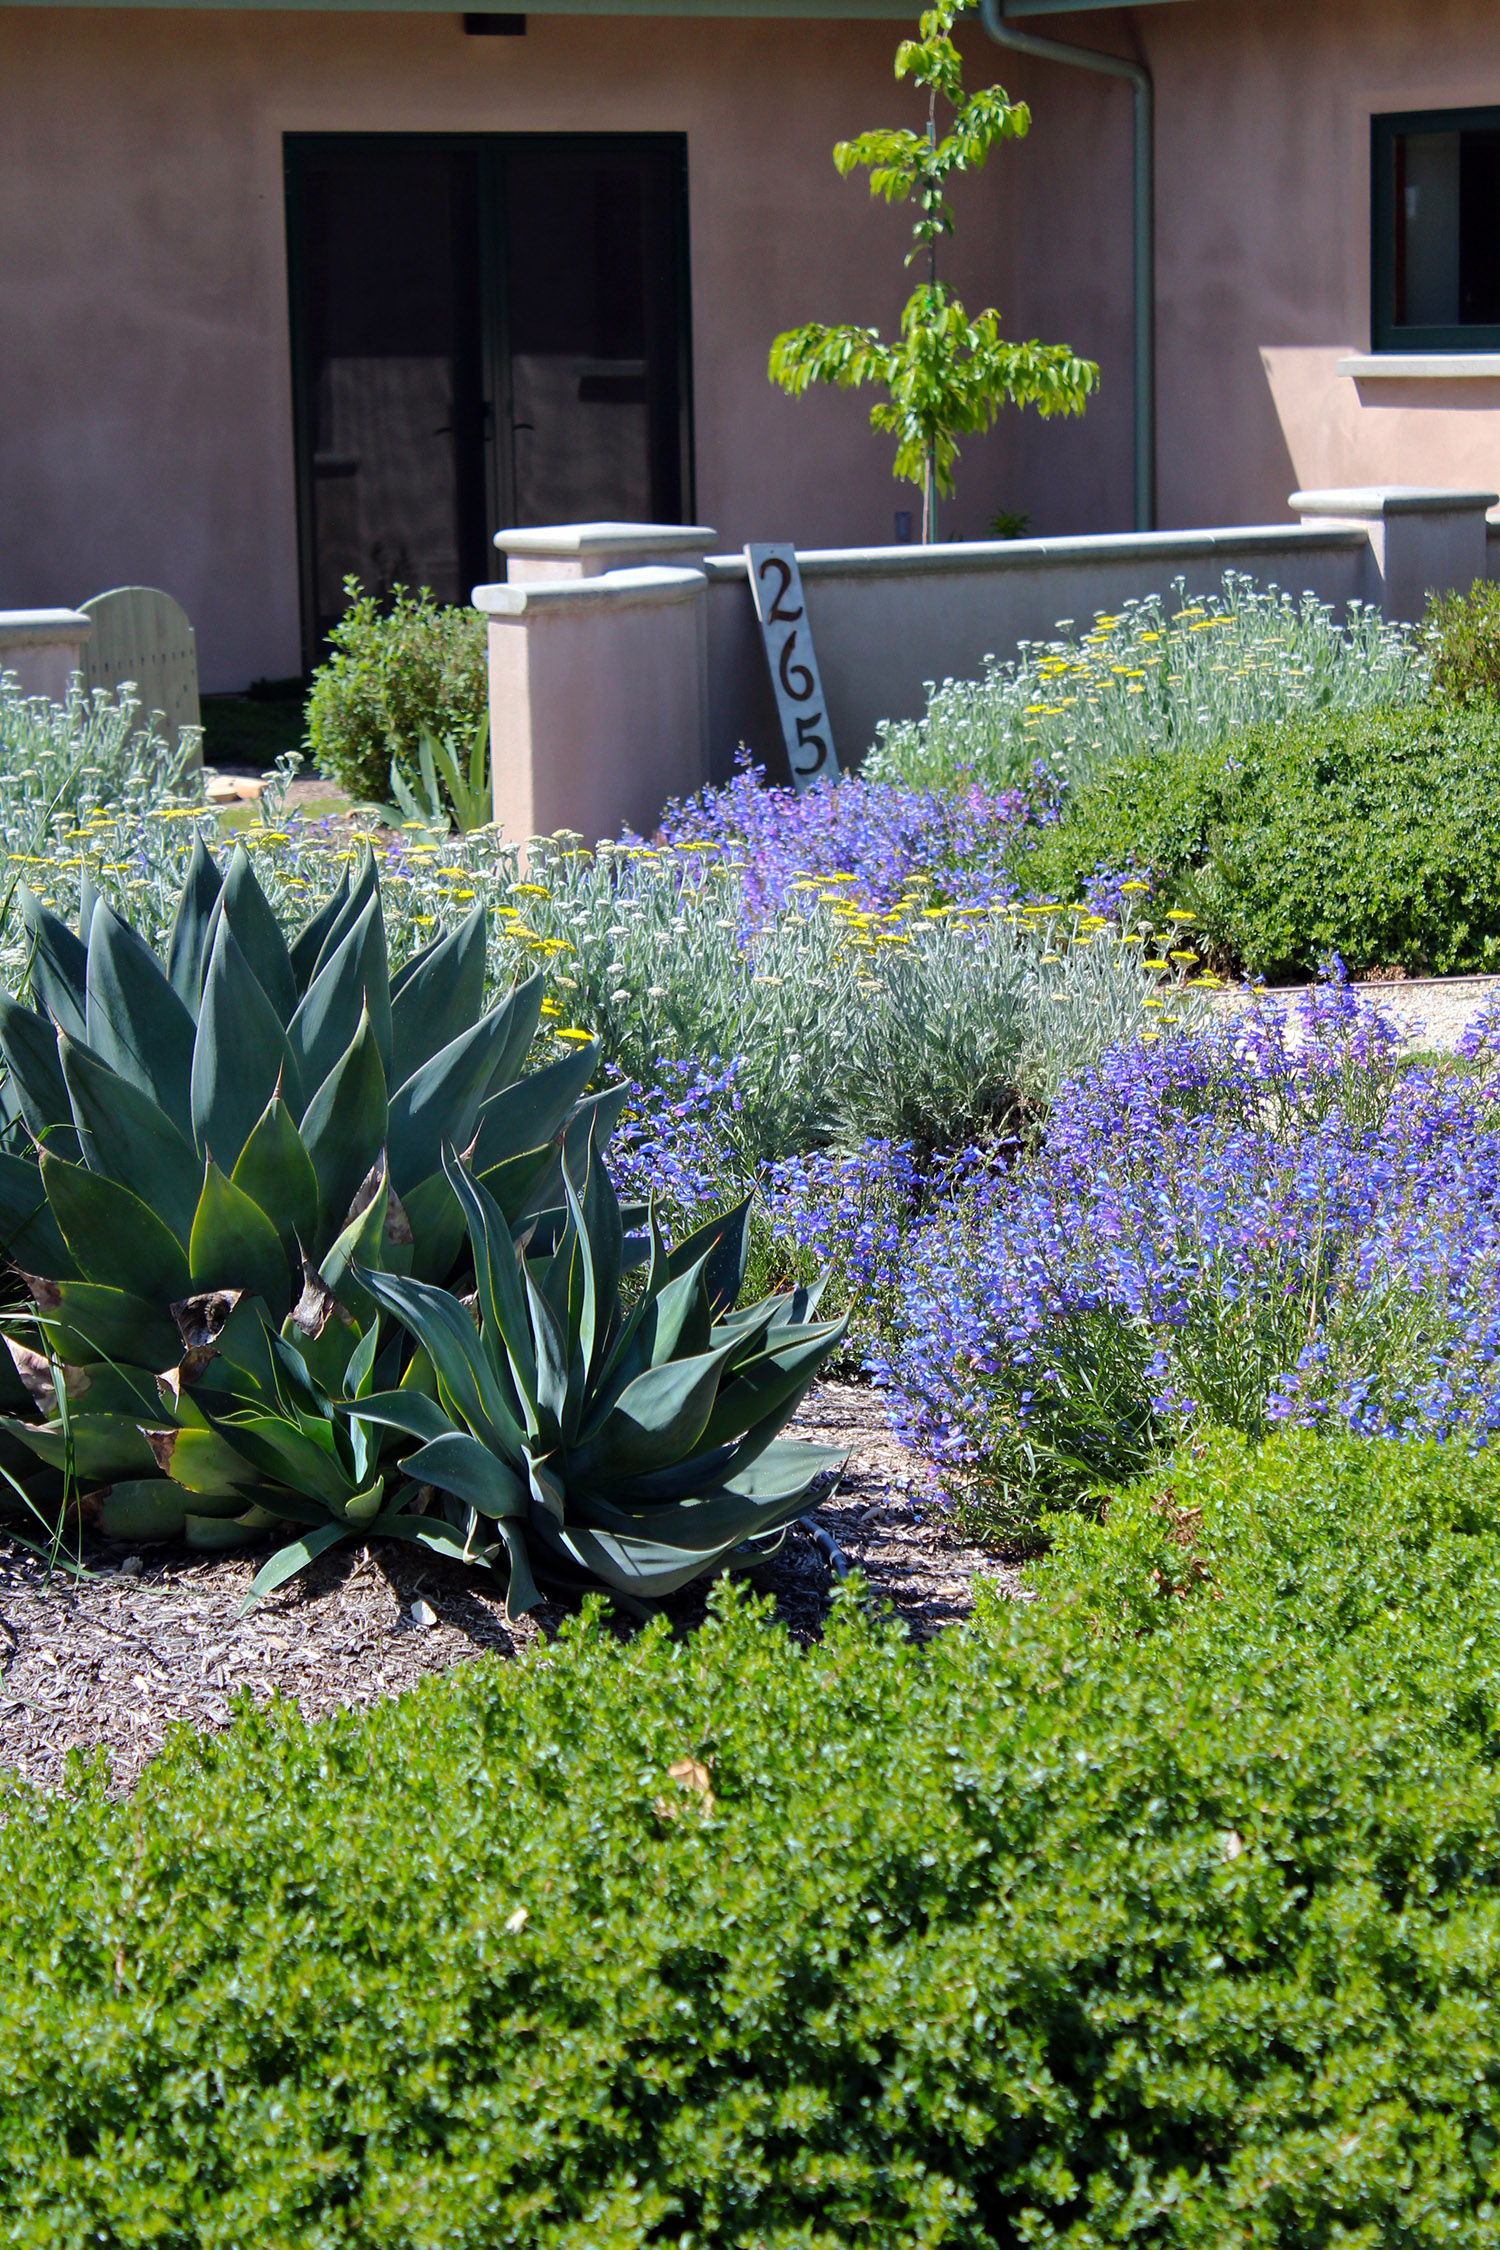
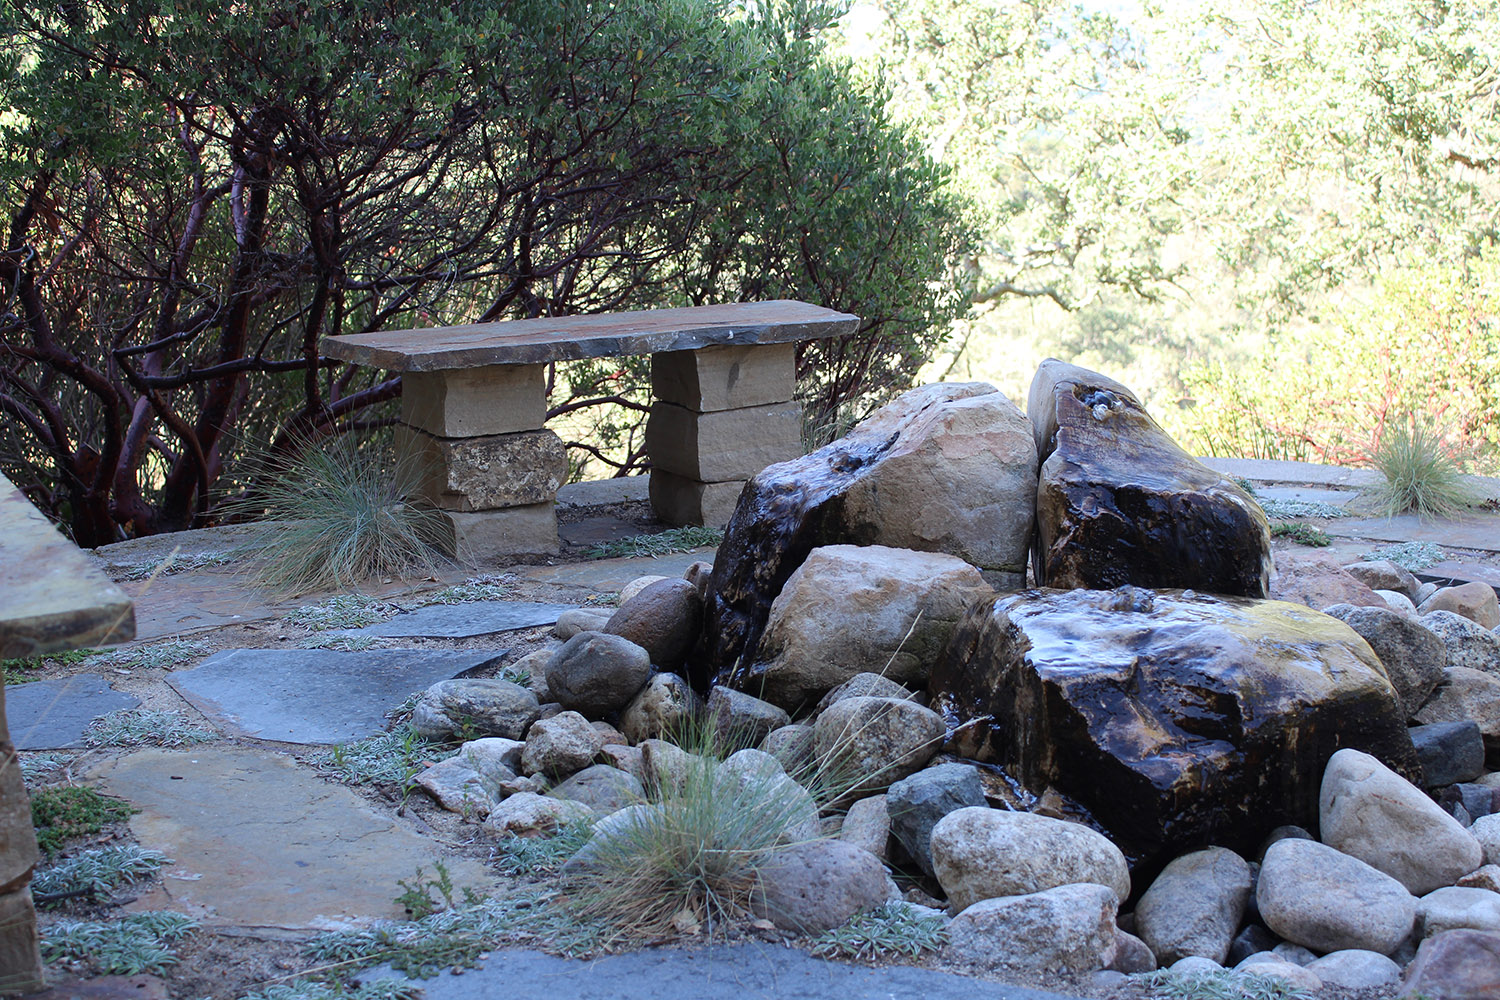
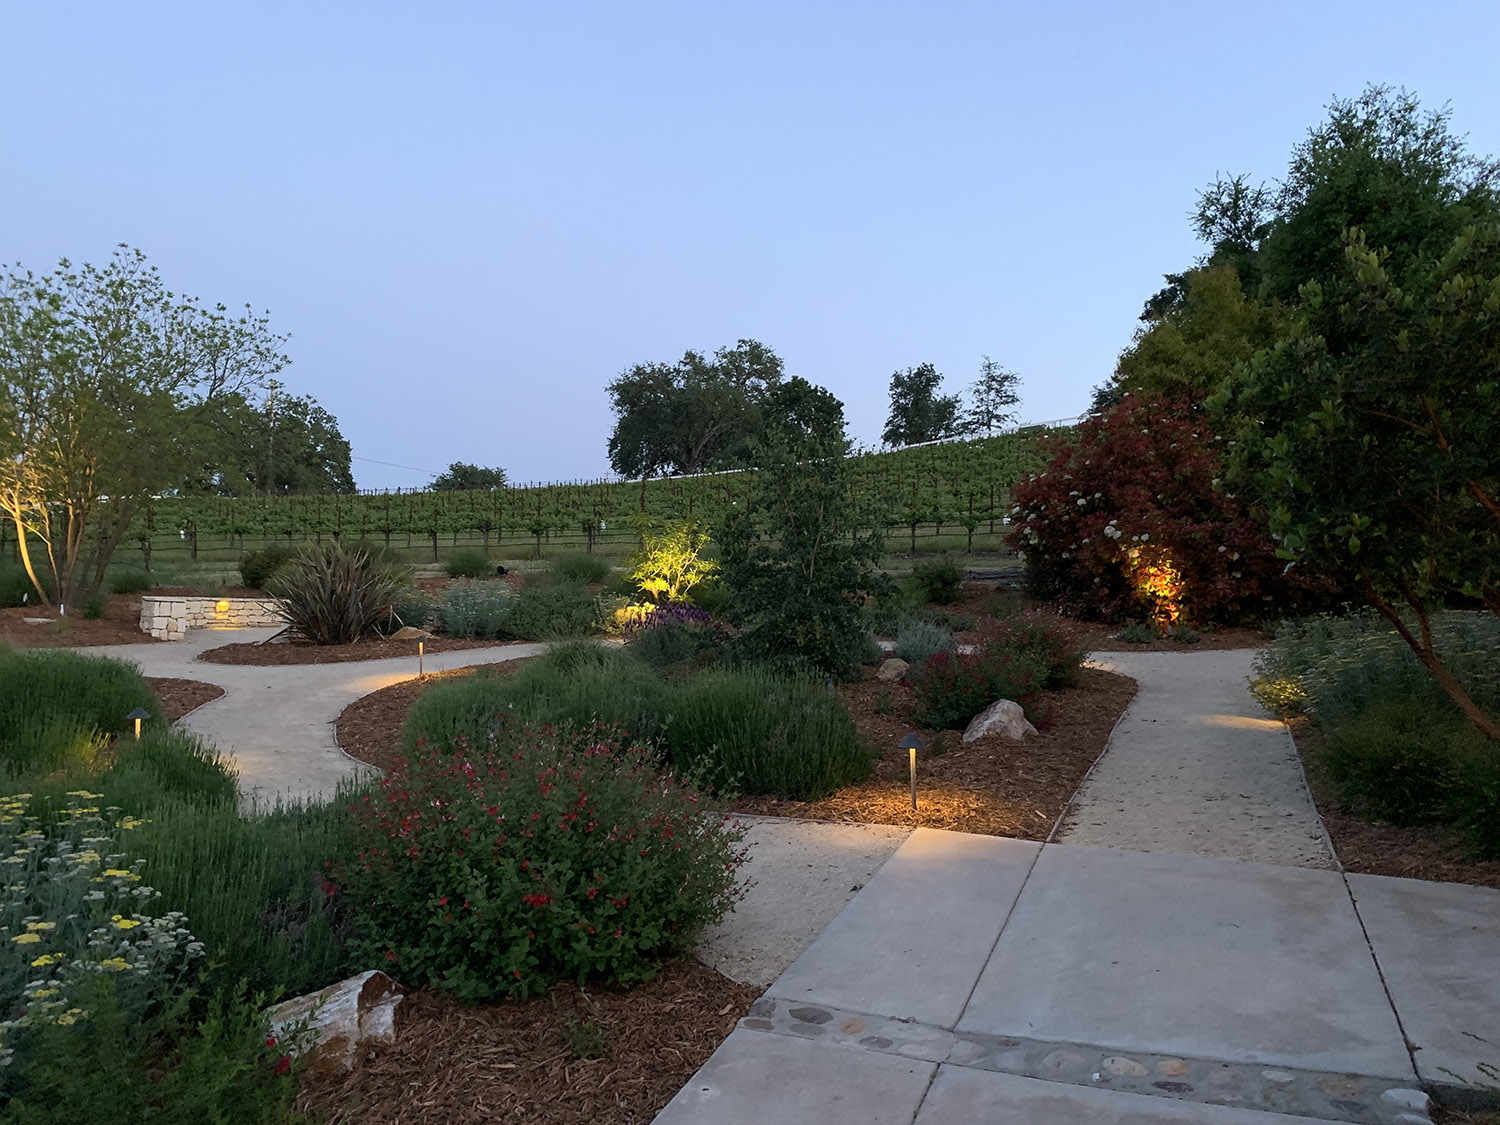
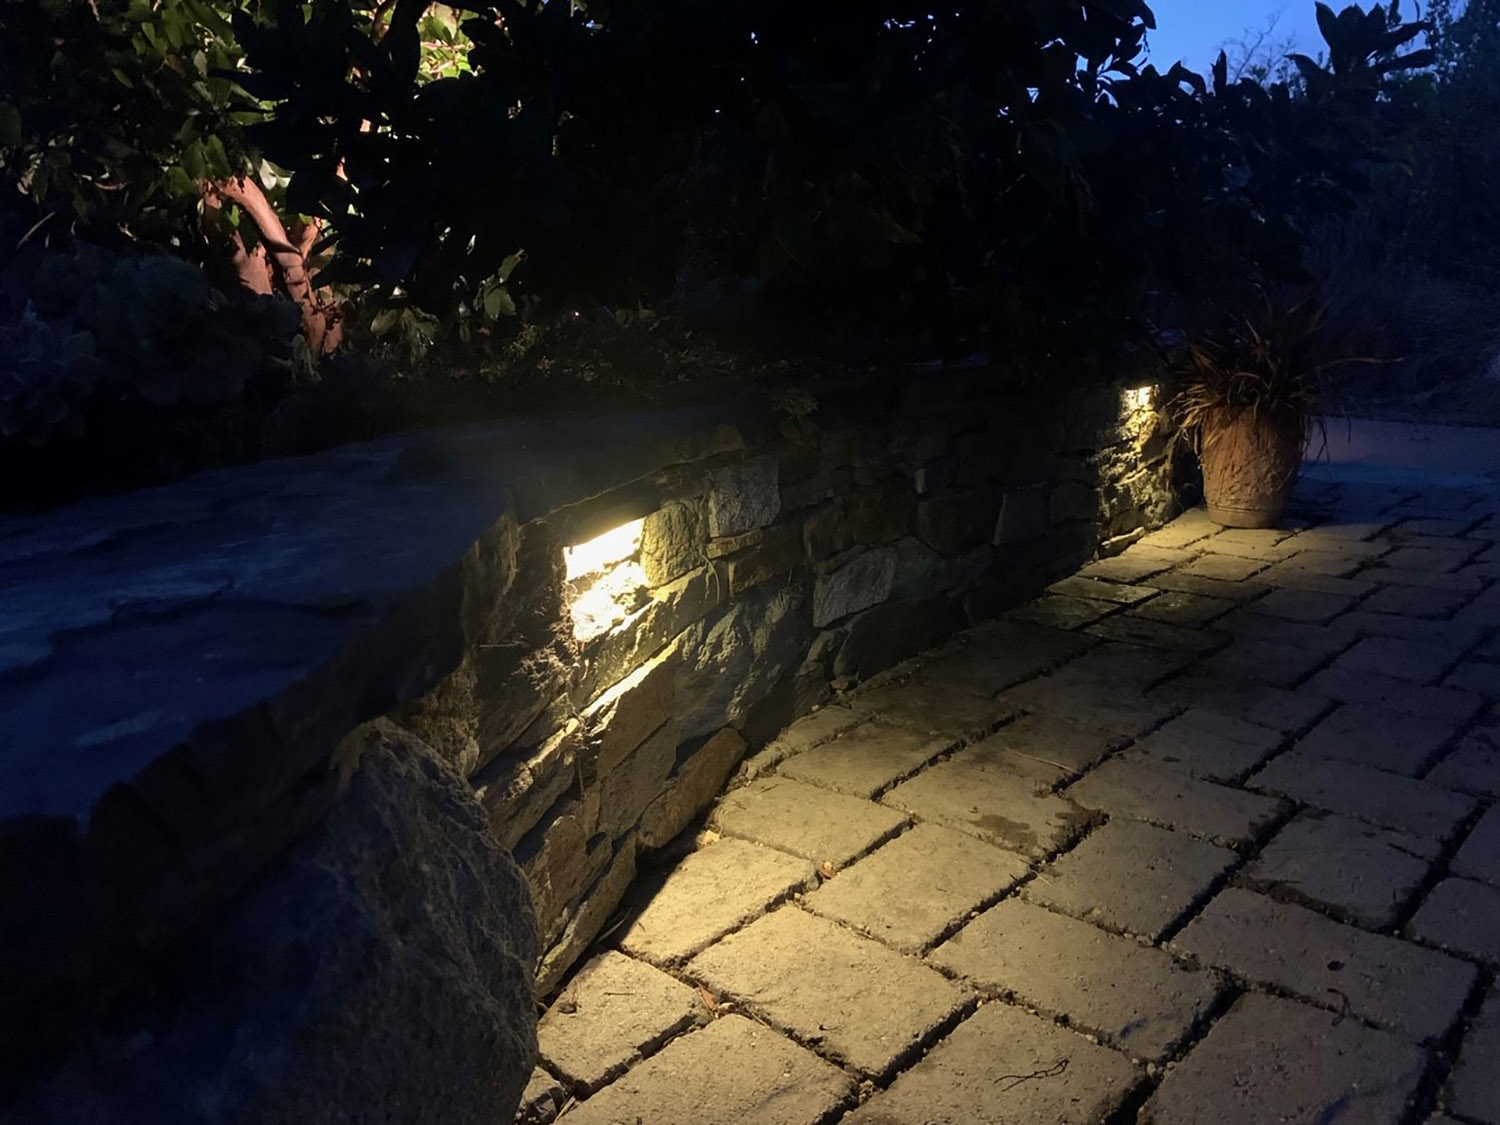
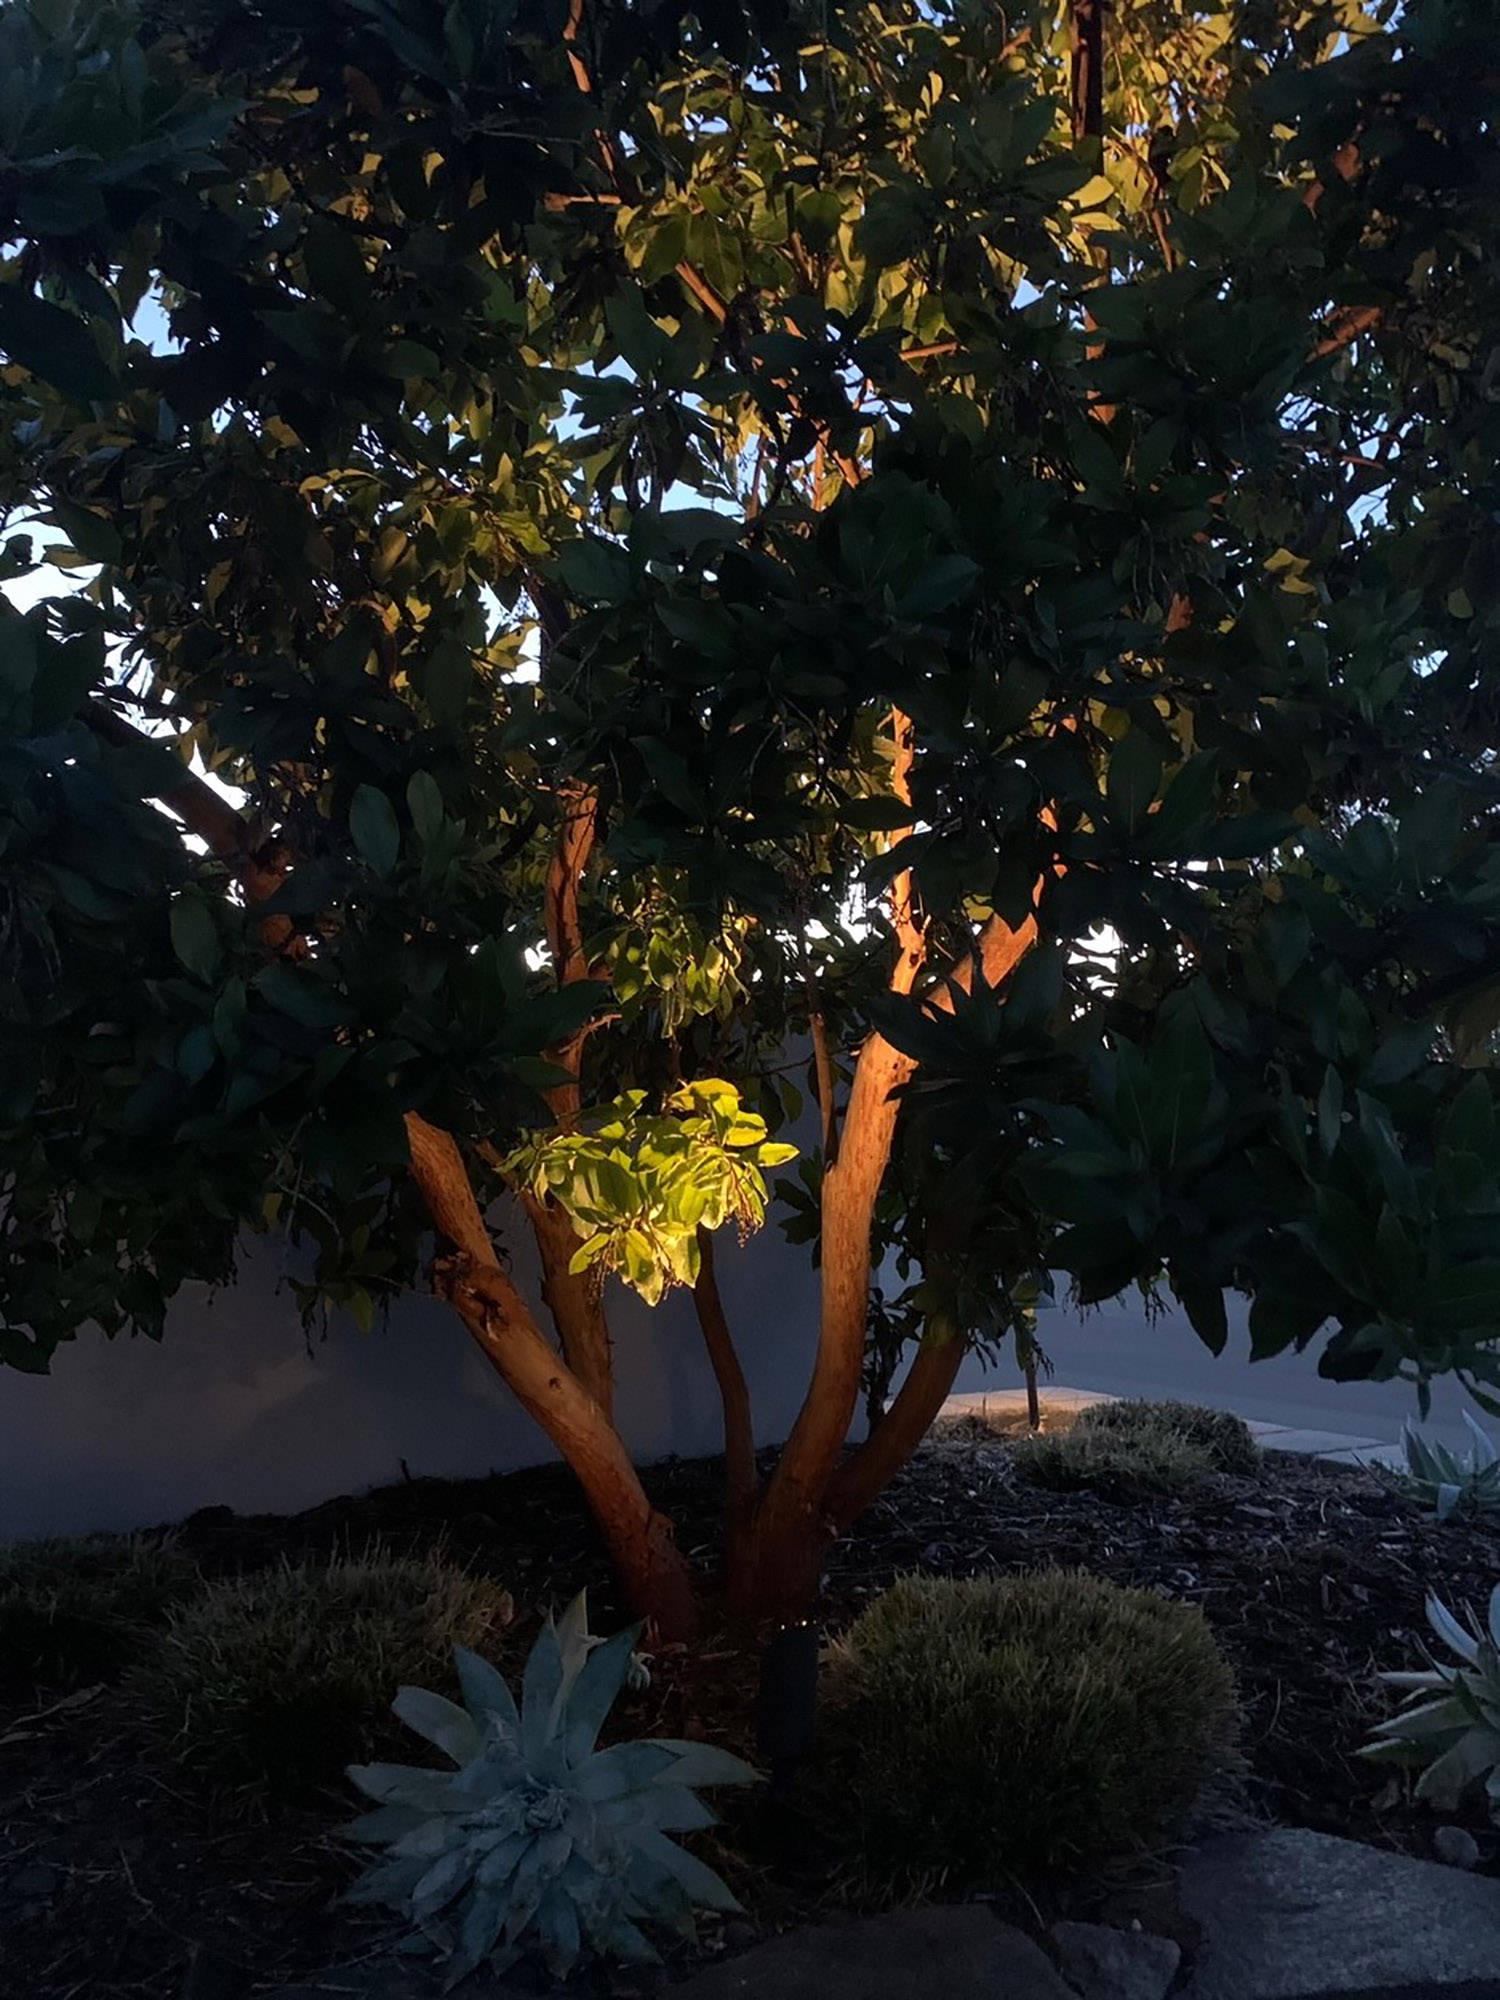
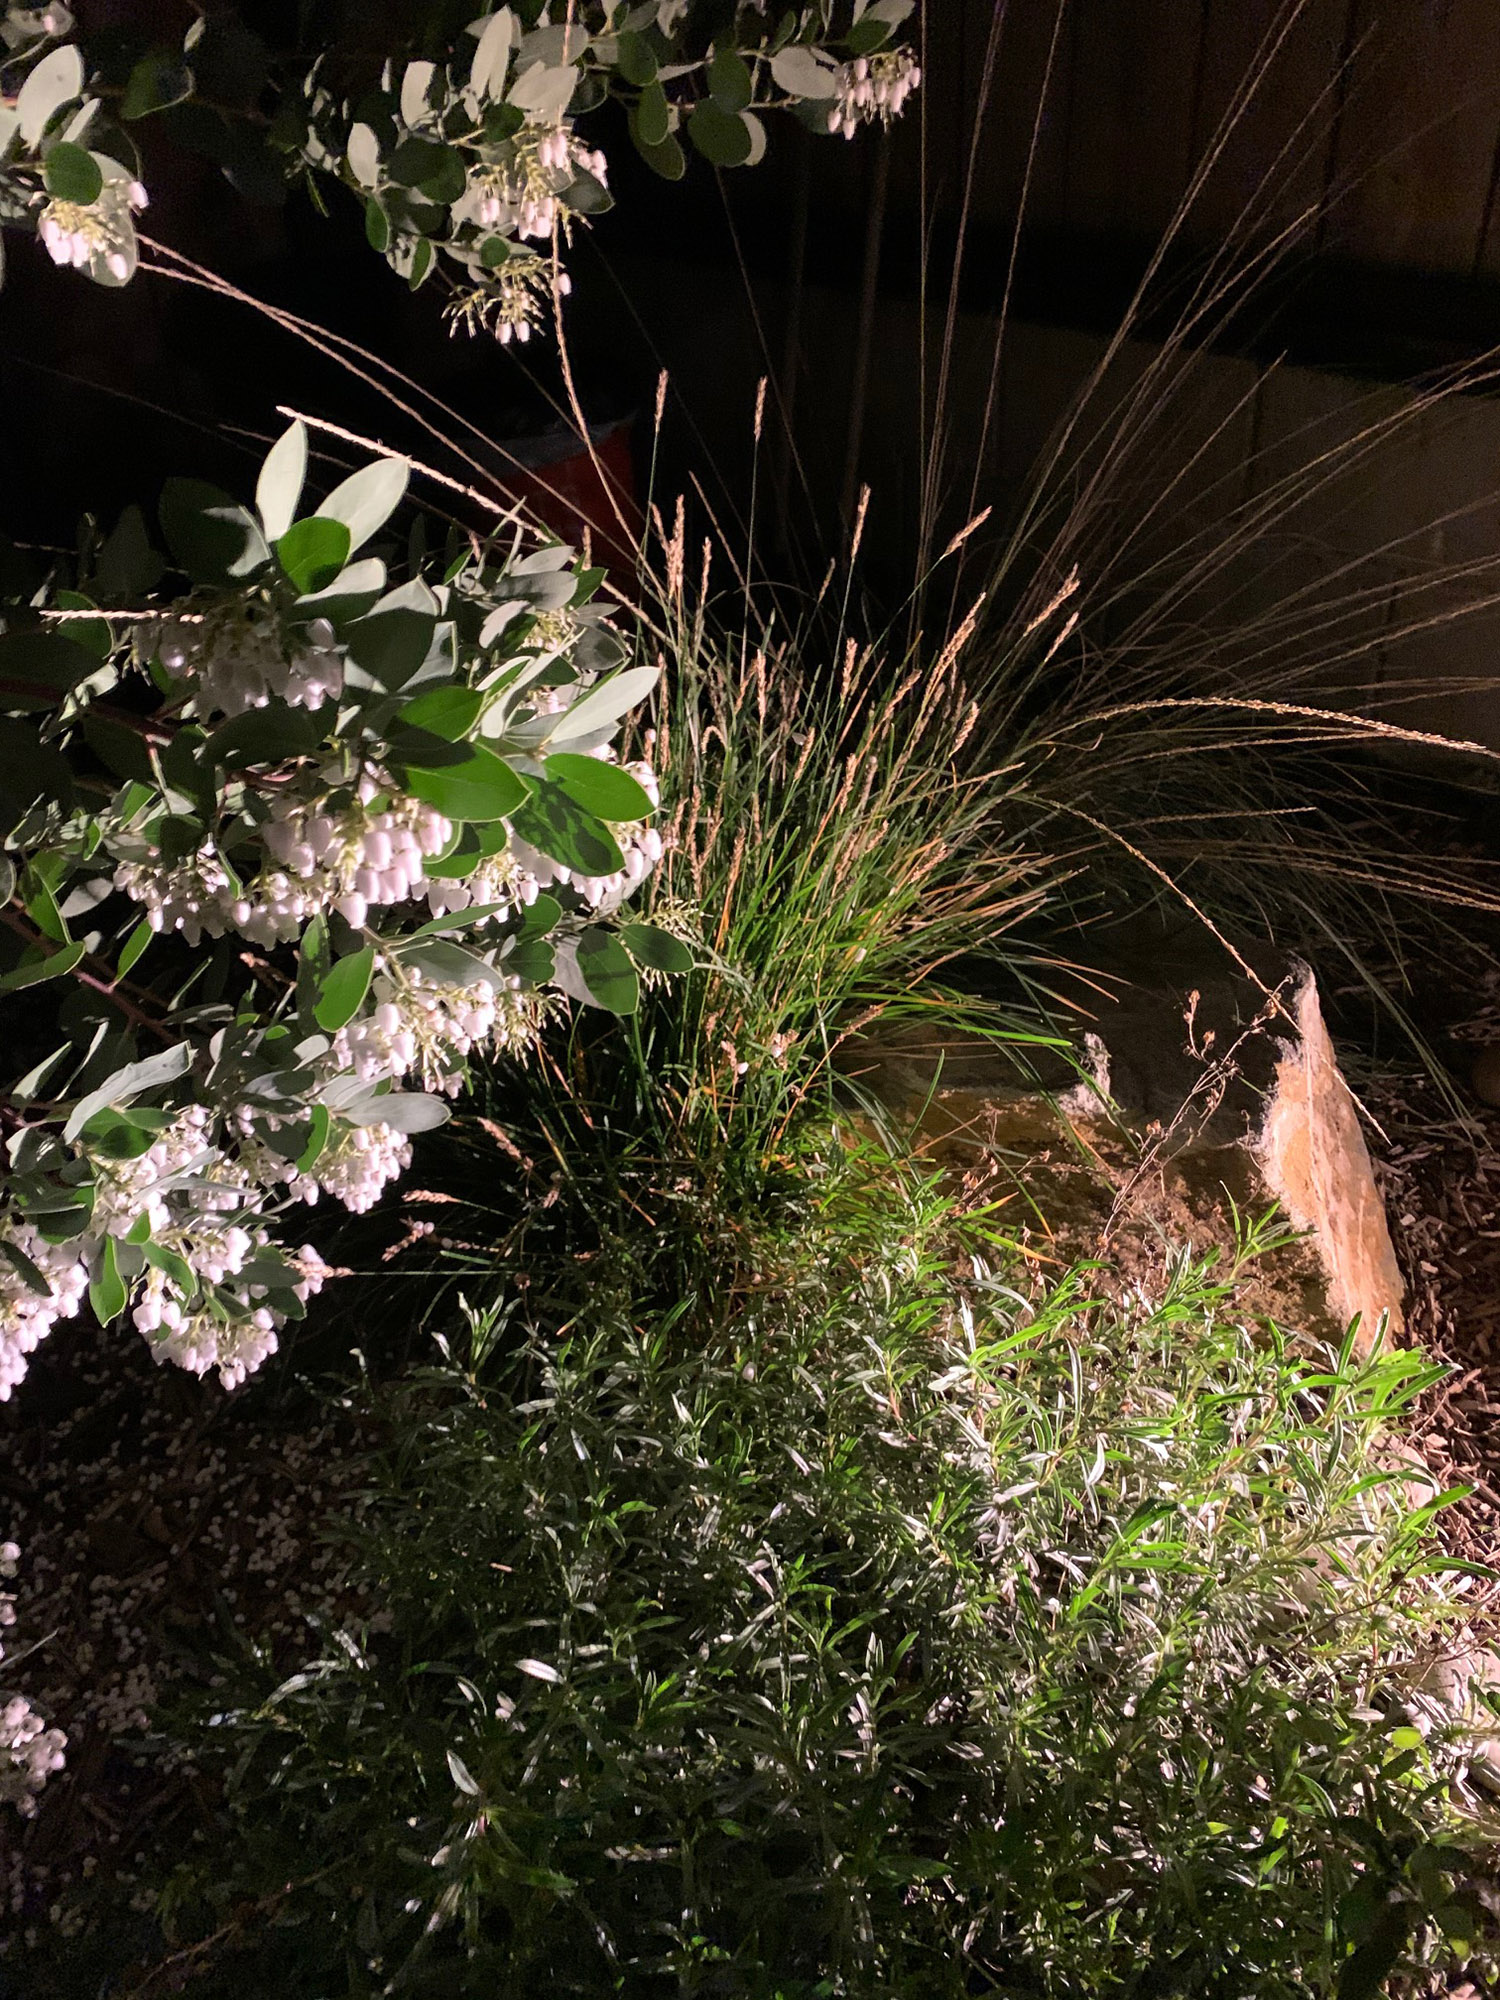
Lighting the edges of your patio or the adjacent landscape can be for function or ambiance. Sometimes it is nice to look out the window and see orderly lighting on the edge of a patio. It will make you feel comfortable by extending your visible perimeter when you hear a spooky sound outside. In addition, you can light objects in the landscape adjacent to the patio, such as boulders, art, tree trunks, or plants. This periphery lighting makes the space feel safe and defined even if you aren’t lighting the patio itself.

Here are three suggestions for using lights to define edges:

  • Place path lights or recessed lights on the edge of the paving.
  • Use broad-beamed wash lights to illuminate boulders and low plants for low detail textures and colors.
  • Position narrow directional beam-up or spotlights to focus on art pieces, tree trunks, or specimen plants.

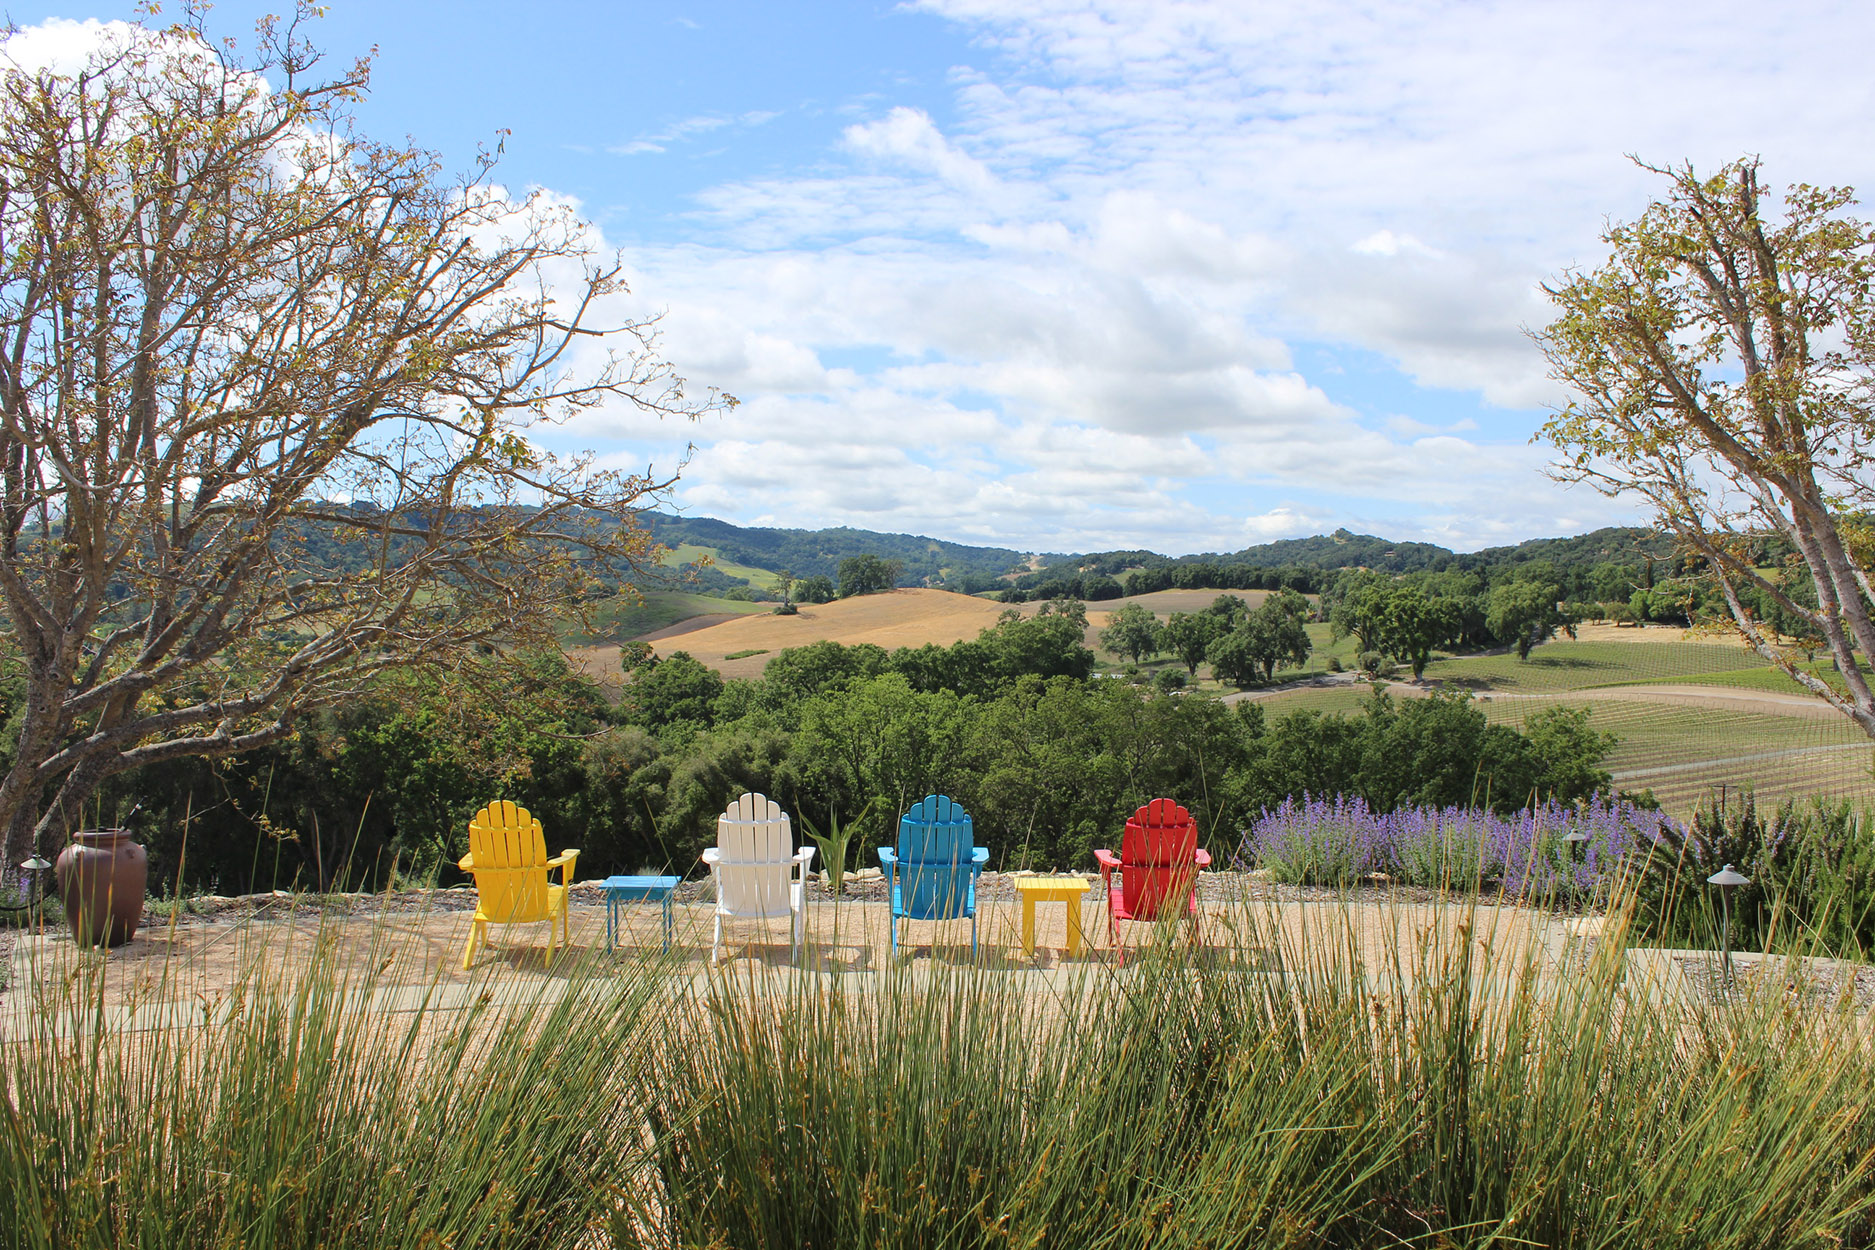
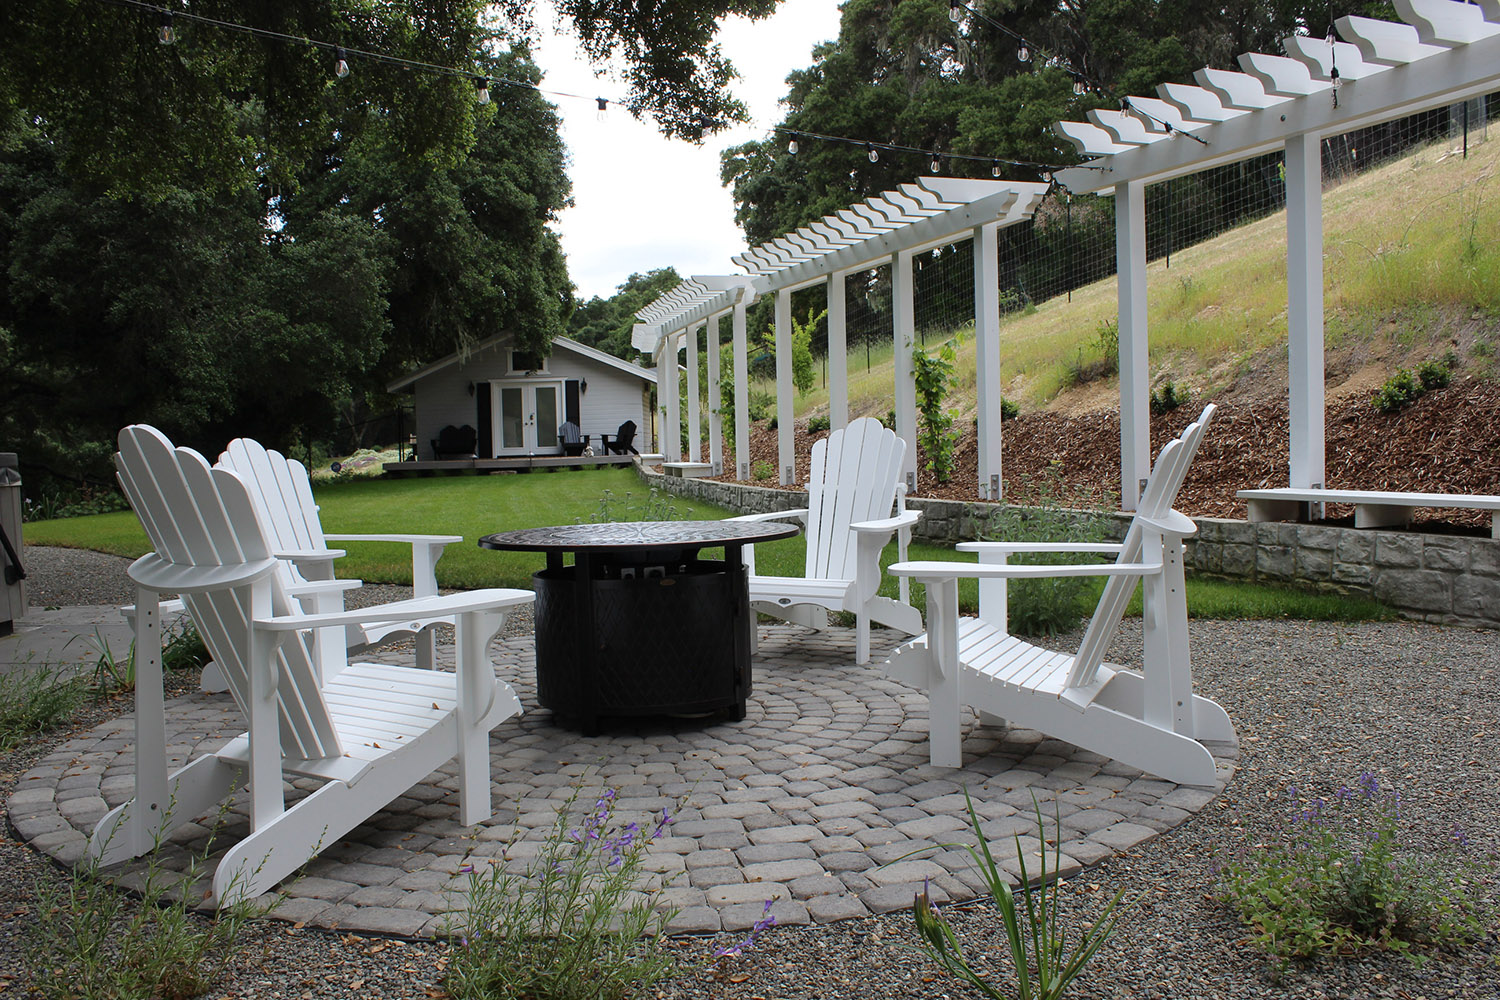
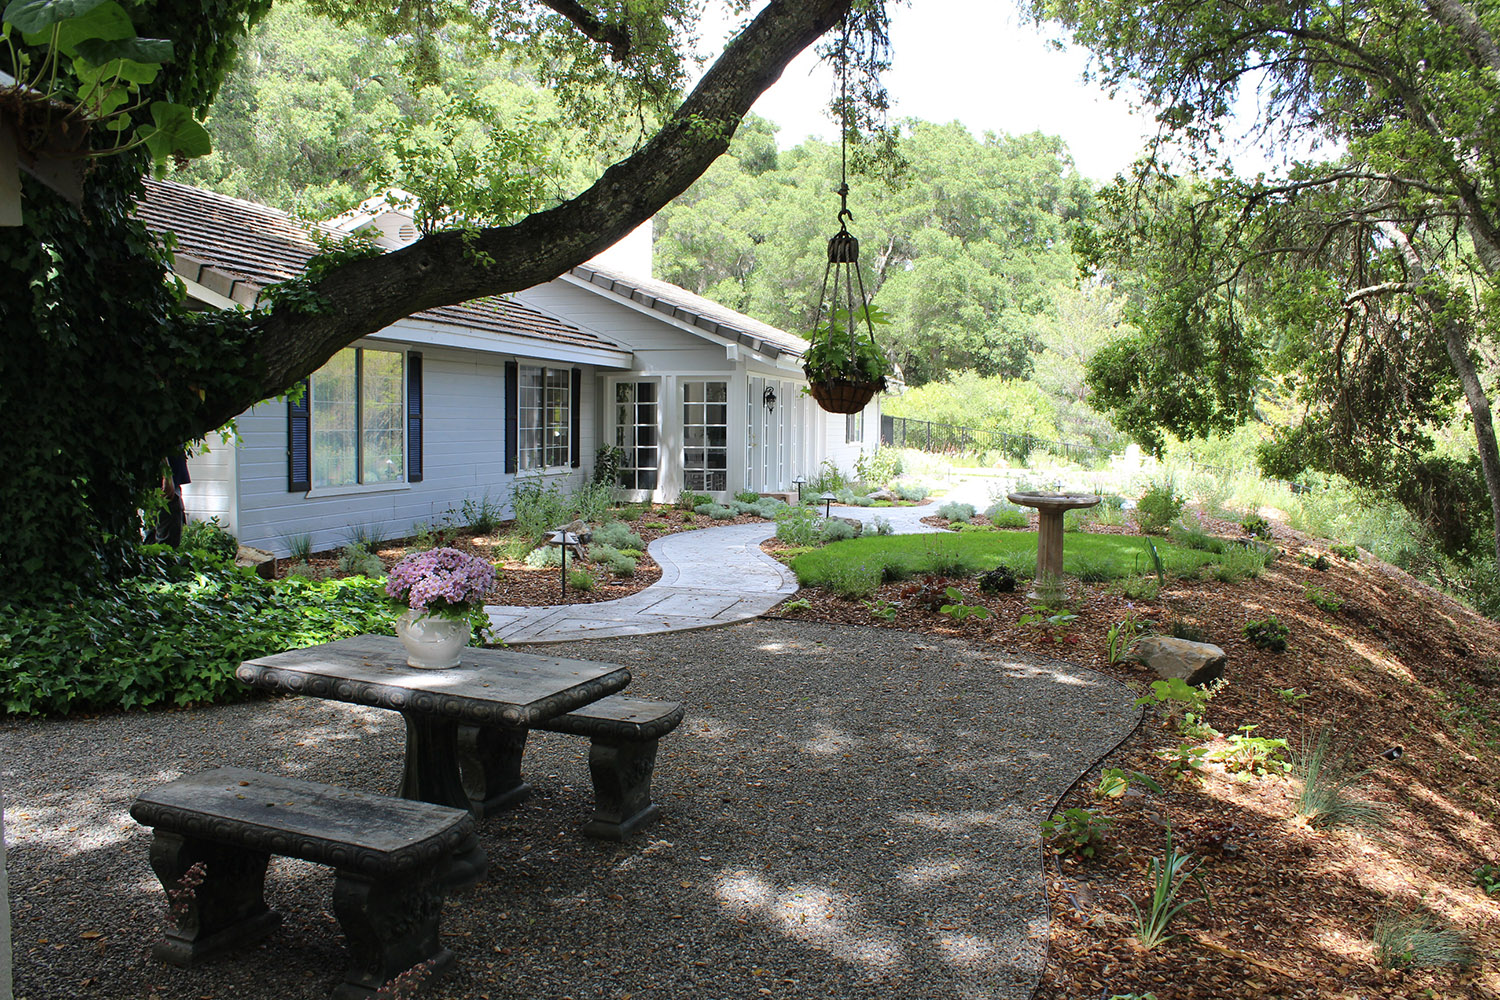
3. Create an Outdoor Room

It is remarkable how a patio can feel open and exposed in the day but warm and cozy at night with proper lighting. Walls and ceilings at proportionate heights create comfortable spaces. Ancient Greek architecture used the golden ratio of 1:1.61; create a restful and secure-feeling patio space with a width 1.61 times wider than the perceived ceiling height. As a rule of thumb, you can strategically light things to make the area feel a bit wider than it is tall. Use whatever is around – trees, bushes, walls, pergolas, fences – to emphasize this feel. Lighting a few select features will cause your mind to connect the dots and feel the geometry of a room you have created.

Trees are great for this use because you can uplight the trunk to create a wall and feather the light into the canopy to define the ceiling at the right height. Built structures like pergolas are beneficial because they can be customized and provide opportunities to uplight, downlight, or create wall or ceiling light patterns.
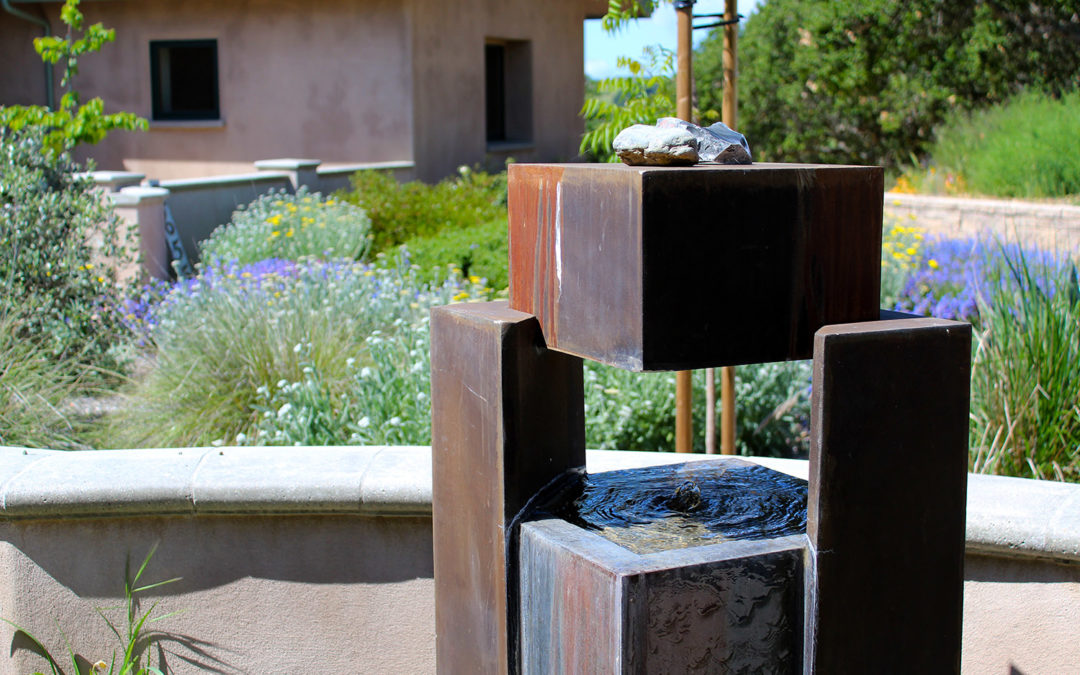
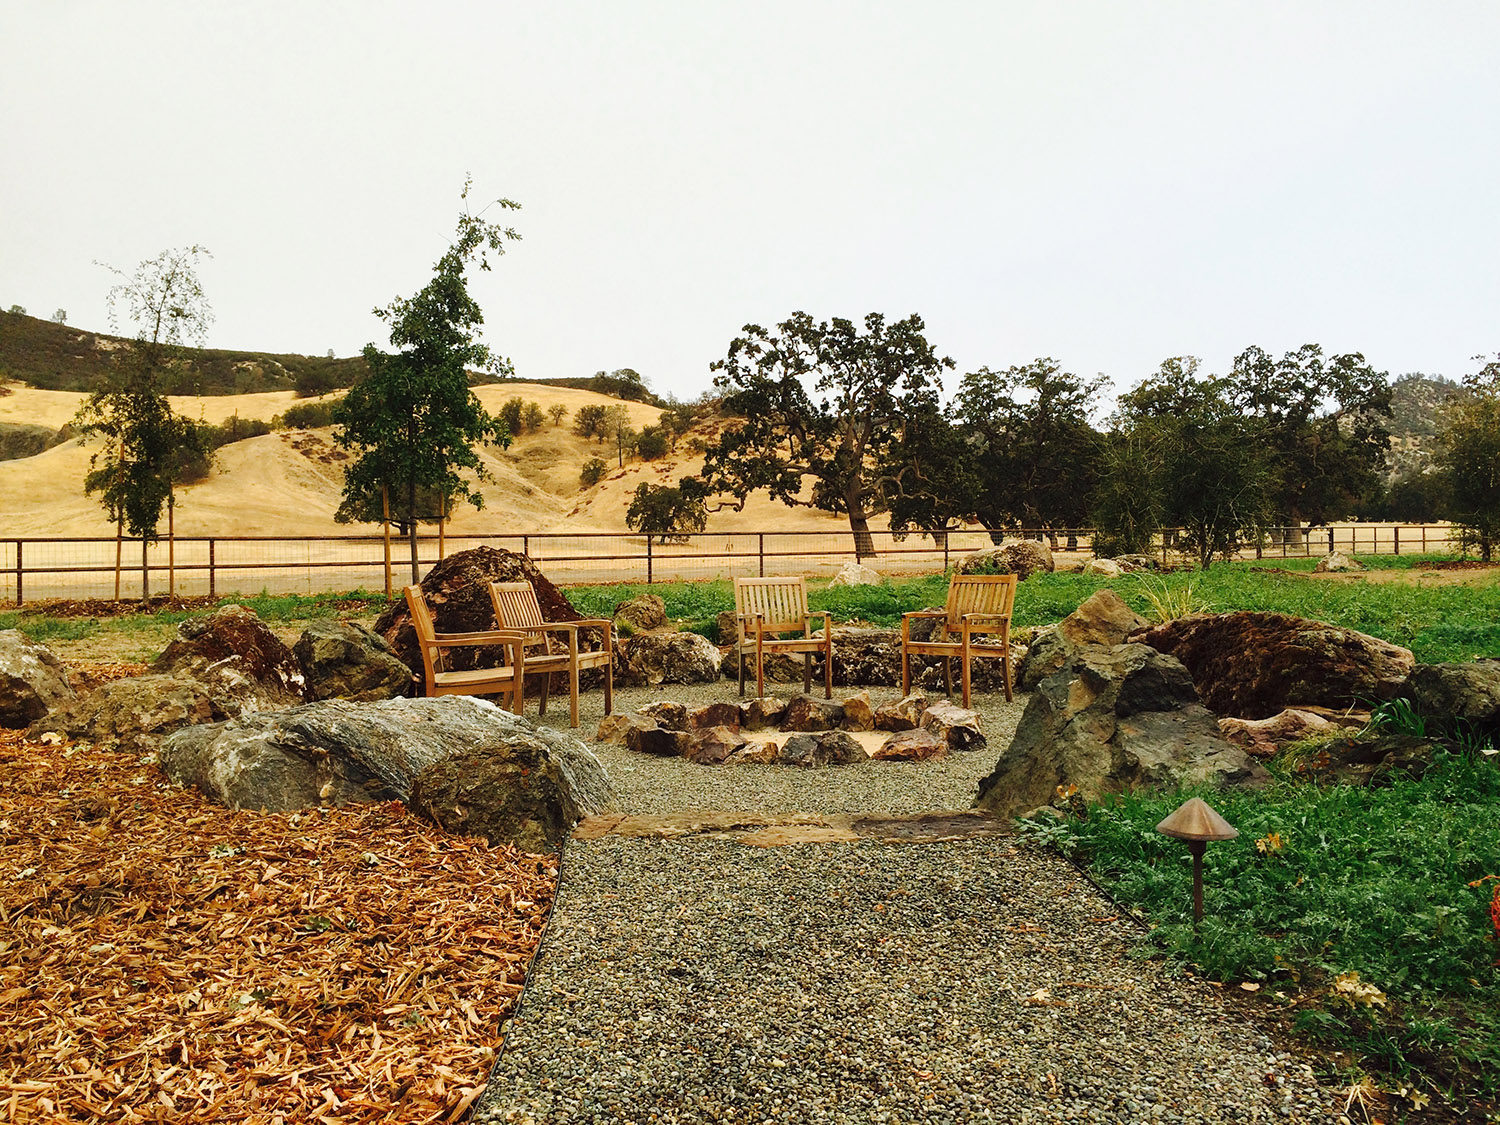
4. Create Ambiance

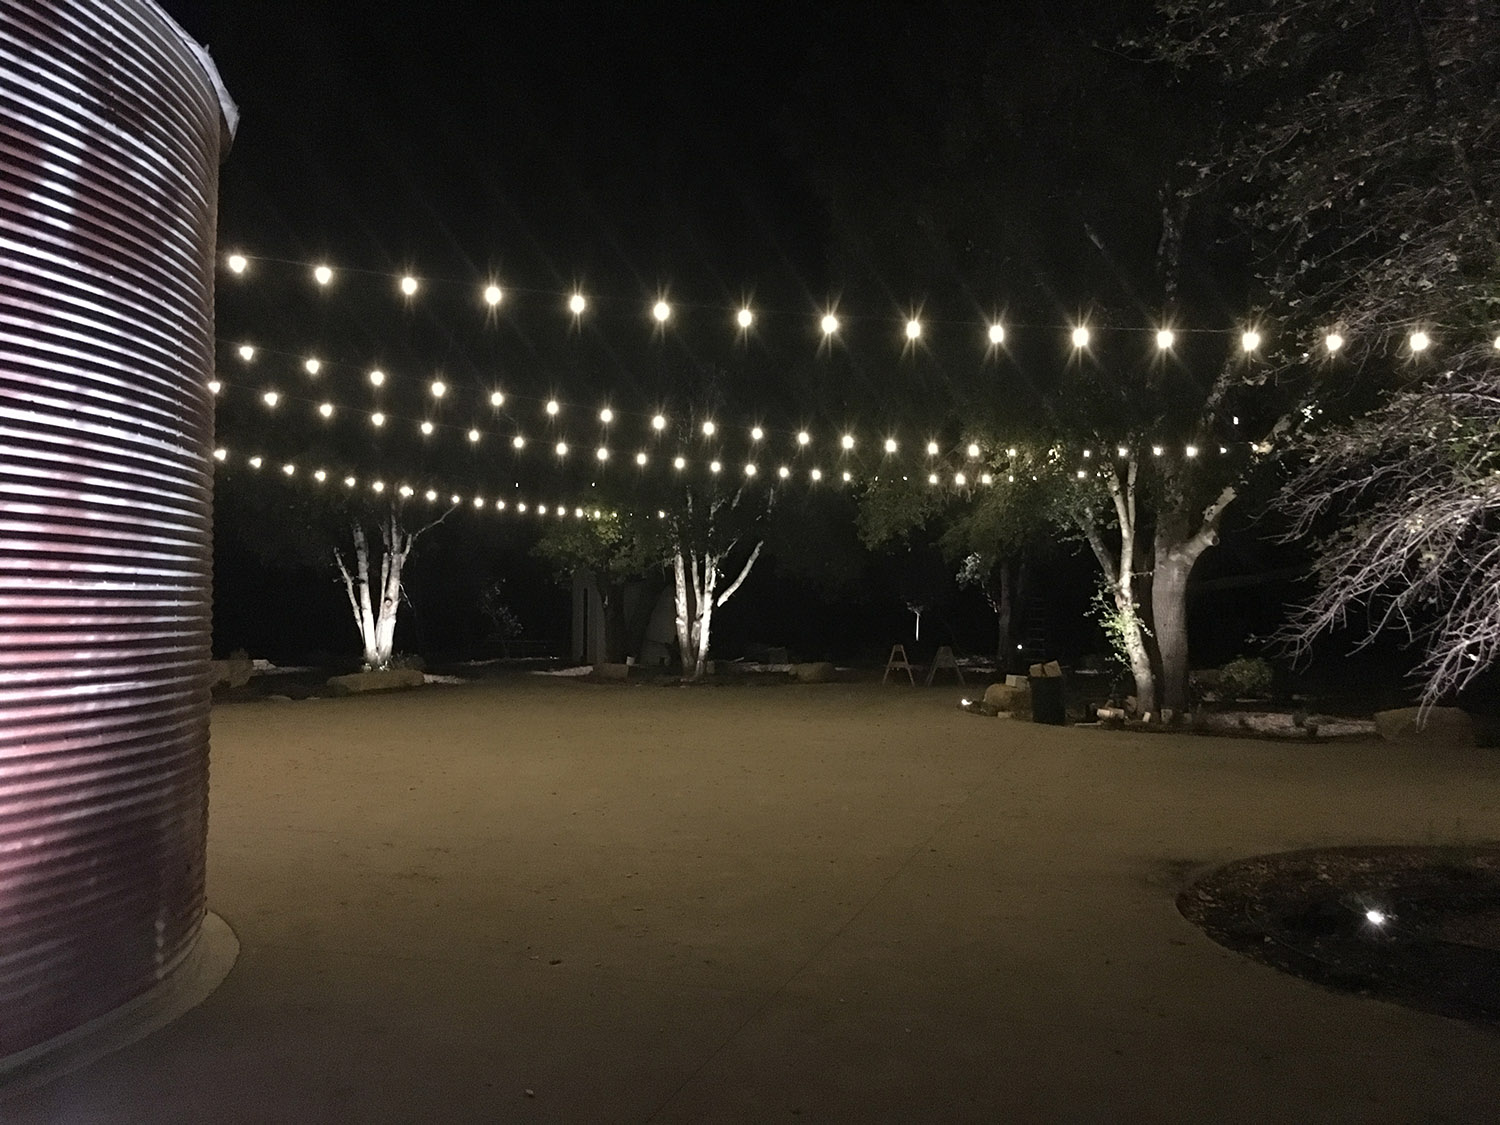
People often say they want low lighting to create an ambiance in their yard. This is not the light for eating your dinner, but it can be stunning in its simplicity. As mentioned before, lighting edges can really create a cozy feel. You can also extend your visible perimeter to more distant features such as trees, plants, art, or even barriers. Use wide angle wash lights to make secluded shrubs and boulders glow. Use directional narrow angle lights to illuminate focal points. For example, a red barked multi trunk tree can be up lit to create a mesmerizing floating warm glow in the distance. You can arrange a line of lights on an isolated or remote hedge or wall to define a wider perimeter of visual space to feel more secure in a brighter lit patio. Moonlights, or hanging pendant lights, can be set high in trees and create a whimsical moonlit forest feel. These are even more stunning if set over a branch to create a shadow pattern on the ground.

Keep in mind that the color of things you light will permeate into the ambient light in a space. You can focus on greens and cool tones to create a calm space. You can focus on reds and warm colors to create a warmer, cozier light. You can also choose warmer or cooler tone lamps/bulbs by using the kelvin rating (A low rating of 2700k is yellow and warm, and a high rating of 4100k is bright white).

And don’t forget the ever-popular bistro lights. These typically low wattage bulbs dangle from strings stretched overhead to provide full area illumination. Bistro lights can be great for a party area because they light the entire zone with semi-dim light. Like a dim bar experience, you may not be able to see your food perfectly, but it is a very nice ambiance for a dance floor or casual hangout. When arranging string lights, consider the density of bulbs for even lighting. Also keep in mind that you would like these strings to look okay during the day, so create intentional patterns and avoid tangled webs. Use built structures, poles, or trees to secure them at a comfortable height.

5. Display Artistic Patterns

These days there are fixtures suitable for creating patterns on the ground, walls, and ceilings. When creating defined designs for a contemporary look, it is essential to map them out with a measuring tape. You are usually working with fans of light over a flat surface. In some cases, you are illuminating things that were already installed in an orderly fashion, like equally spaced trees or wooden posts.

You can use recessed lights in patio flatwork to shoot low fans of light from a central can fixture. Often these have 2, 3, or 4 radiating fans of light that can create a geometric pattern on a ground plane. You can use sconce lights on walls or wall columns to create equally spaced downward or upward fans of light. Some sconces have both up and down light to create an hourglass light pattern. When lighting existing trees or built structures that are already equally spaced, use directional spotlights to create a uniform rhythm. For example, fences usually have equal spaced posts and panels which can be lit by narrow or wide angle up lights, respectively.

Mix it Up

As you can see, these five techniques are not mutually exclusive. Choose what works best for you and your space, and light it up! By using one, two, or several, you can make your outdoor areas come alive at night.

Ready for a landscape lighting design and want to talk to a professional? Contact our landscape designers at [email protected] or (805) 466-6263.

All About Design-Build Landscape Construction

All About Design-Build Landscape Construction

Top tips for a better investment and landscape, from design through construction


What is Design-Build Landscaping?

Design-Build landscaping is exactly how it sounds: one team provides both the design and installation of the landscape, rather than splitting those services between companies. Design-build landscaping is quite common and provides multiple benefits. Unfortunately, a homeowner or building owner will often hire a landscape contractor to install plants and irrigation without design. This is not the ideal scenario. As with any type of building, it is always best to begin with a design.


Why Design-Build?

When the same company performs both design and installation, their professionals work together often and can provide a more seamless delivery. The teamwork involved in the design-build process for landscape construction can add a lot of value to your finished landscape. Often an integration of architects, designers, engineers, and builders, the design-build process takes advantage of professional, licensed experts working together from concept to finished construction. The goal of this integrated process is to fulfill your priorities of landscape design and budget. At Madrone Landscape we believe strongly in the design-build process because the benefits are twofold: it allows us to do incredible work with and build great relationships with both our peers and our clients.

Design-Bid-Build vs. Design-Build: What are the Differences?

Design-Bid-Build: The design-bid-build process is common in the construction industry for clients who want separate design and construction firms. A landscape designer will provide plans for you, and then you will ask contractors to bid the plans. The design can go quickly if there are no cost limitations discussed. Once the contractors provide their costs to install the project, you may be shocked to see how much it will cost to build. This is when you or the contractor decides how to change the design to fit within the construction budget (this process is called value engineering, where items are removed from a plan or less expensive options are chosen to reduce overall cost). You may also go back to the landscape designer to re-design (typically for an extra fee). In design-bid-build, you select a contractor based on the bid price. It then becomes your responsibility to orchestrate all of the design and construction activities – including introducing the contractor to the designer.

Design-Build: At Madrone Landscape, we specialize in the design-build process. Our landscape architect and designers not only help you with the initial design, they also help navigate any obstacles encountered during construction. We provide construction cost estimates during the design process (for more information, see our design page). This usually adds time to the overall design time, for good reason. Knowing construction costs during the design process allows you to make decisions on where to spend money and keeps the plan within the desired budget. A cost-informed design means the value engineering is done well before the project starts. The entire team will be working together with the landscape designer to make sure that there are few unforeseen lapses between designs or construction activities. For new construction, this will include your engineers, architects, and builders. For custom residential updates, your design-build team becomes your expert advocate through design and construction and we handle scheduling and coordination with all parties involved.

Five Tips When Choosing Design-Build Landscaping

1. Know what you need/want before you start.

Often, a client will come to us with a list of items they want designed into their landscape, such as a patio, wall, fountain, or pergola. What they may actually mean is that they need a shady place to entertain guests with pretty things to look at. While your spouse may want a fountain, he or she may appreciate boulders and flowers just as much. When you prioritize your goals before starting design, you can prevent being caught off guard during the design process. Design is almost always a team decision. If you and your family can align your wants and needs before the design starts, the design will turn out better and go more quickly.

2. Establish a construction budget.

Before starting the design process, establish a budget or range for what you intend to spend on construction, and share that information with your designer. This will help them design within range. Typically, the construction cost of landscapes is between 10 to 25 times the design fee, although this may vary.

3. Take your time with budget decisions.

During the beginning of the design process decisions are easy; we refer to this as the honeymoon period. You may find yourself saying, “I love that stone veneer, it looks just like the picture I saw on Houzz!” After construction costs are introduced, major design elements may be on the chopping block. Do you keep the outdoor kitchen, or the stone paving? Allow yourself time, so you don’t rush these decisions.

4. Trust your gut – and your landscape team.

Taking on a big project and the resulting investment of your funds will greatly affect your daily life. You need experts you can trust to help you achieve your goals. If you don’t have a level of trust with your landscape team, the relationship and project will not work. You need to feel comfortable giving them both positive and negative feedback, and they need to feel comfortable giving you good and bad news. Your designer will not only be helping you with the initial design, but also will be helping to navigate any obstacles encountered during construction.

5. Communicate often and clearly.

During design and construction, changes happen. To best facilitate these changes, we will ask a lot of questions to make sure we are designing efficiently. Whether you would like to give us artistic license on decisions, or you have particular opinions that need to be known, it is important you communicate your preferences clearly.


A Better Investment and Landscape

It’s our experience that the design-build process produces a better product with stronger teamwork and a healthy working relationship. The process takes time to do well. Expect two to six months of design before construction for custom residential updates, and often longer for new home or new commercial construction. Being well prepared can shorten this time frame. If you have new construction, you should consider hiring your landscape architect at the same time that you hire an architect. We strongly believe that the design-build relationship you foster with us will make you feel good about the investment and the landscape you create.

Do you have additional questions about the design-build process and its benefits? Email us at [email protected] or give us a call at 805-466-6263.


6 Steps to Designing Your Own Outdoor Sanctuary

6 Steps to Designing Your Own Outdoor Sanctuary

If you’re like most of us, you spend a lot of time staring at a computer screen, stressed about deadlines, and silently willing the weekend to arrive sooner – whether you’ve returned to the office or not. And for the foreseeable future, we have to seek stress release in isolation when we’d rather be meeting friends for dinner at our favorite restaurant or singing along at a concert with a hundred other fans. Instead, we’re at home finally cleaning out that junk drawer in the kitchen, finding new hobbies to master or DIY projects to conquer – anything to take our minds off the sense of being stuck inside our homes.

Right now, it’s perfectly understandable to be looking forward to going anywhere but home, but there’s no reason we can’t transform the spaces we have into personal sanctuaries. So, when you close your eyes and imagine escaping to a place that brings you peace – where do you go? What about relaxing in your backyard? Let’s explore some of the elements that can help elevate our yards into places where we can escape.

1. Seating

Nothing beats collapsing into a comfy chair and kicking your feet up after a long day. Whether it’s lounge seating or dining arrangement, spaces made for relaxing must have seating.

To make your seating area inviting, first, you must find a focal point. Some yards are open and have an ocean view or vista that they can enjoy. Those viewing areas are a perfect place to set lounge seating. However, if the yard is enclosed and without “borrowed” views, you can easily create a focal point using strategically placed plants and hardscape details. For example, if you want to seat a large group, arrange seating around a fire pit. It brings everyone’s focus inward, and the people you’re with become the center of attention. Another example is setting up lounge furniture that faces a water feature surrounded by potted plants. When space is limited, you can build integrated seating – such as seat walls or bench planters.

    2. Plants

    It might seem obvious, but greenery and live plant materials are vital to creating a calming, outdoor oasis. Looking at plants and flowers, whether indoors or outdoors, is a peaceful activity that distracts the mind from worries. It encourages living in the present moment and engages the senses to ease tension and stress.

    Some plants offer wafting scents or the sound of rustling leaves when the wind blows; others have tactile features such as velvety leaves or textured bark. Plus, plants look great! There are endless combinations to utilize plants that will enhance the desired feel of a space.

    Some of our favorite plants are jasmine and sage – for their pleasant fragrance – and sycamores and London planes – for sound and movement. To add texture, we recommend Artemesia and Pennisetum for their soft feel, and the barks of oaks and manzanitas add a more tactile experience.

    Whether they’re planted in pots or the ground, “greening up” your space is a key to soothing your surroundings.

    3. Lighting

    Once the sun sets, lighting is essential to the functionality and ambiance of a space. When done correctly, lighting can completely change the mood of your space.

    First, lighting should provide safety. Stairs and precarious edges of patios are especially important to provide bright, direct lighting. Second, it should define the boundaries of your space. Illuminating features like boulders or trees at the perimeter of your yard is not only pleasant to look, it also subconsciously instills a sense of security. Third, create the feeling of a warm room by illuminating trees, bushes, pergolas, and fences that will serve as walls. Lighting a few select features will cause your mind to connect the dots and feel the geometry of a room you have created.

    Learn five specific ways to light an outdoor patio

    4. Water Features

    Studies have proven that being near water can make you happier and less stressed. While not everyone can take advantage of living seaside, we can recreate the soothing effect of water by implementing water features in the landscape.

    Core-drilled boulder fountains are one of our favorites since they fit seamlessly into the natural, native aesthetic we often find ourselves designing. Boulder fountains offer a subtle bubbling effect and don’t require the same level of maintenance as a traditional fountain since they are pondless – with their recirculating reservoir sitting below ground.

    If subtlety isn’t what you’re after, there are other ways to make your water feature a more significant part of the landscape. Architecturally-integrated water walls are a unique feature that can enhance the architectural aesthetic of a structure. Standalone ponds can also offer a tranquil oasis without much-added noise, while waterfalls and spouted fountains can provide white noise, which also has a calming effect.

    5. Nooks and Cozy Corners

    When you’re looking for a place to relax, creating intimate nooks or vignettes, especially with seating, is a great way to give yourself a quiet place to hideaway. There is a sense of relief that comes with feeling like you are in a protected little corner of the world, especially when set in a familiar atmosphere like your own backyard.

    These special spaces are perfect for receiving some extra attention. Enhancing these spaces, or creating them from scratch, can be as simple as adding intentional seating in a sheltered corner of the yard, or growing some plants over an arbor and adding a bench below. But, sometimes, these unique places don’t necessarily have to be tucked away in a corner. They can be in the open – like a swing hanging from a tree, or Adirondack chairs amid a tall, grassy meadow. The key is to find the spaces where you feel at ease and add to them in a way that makes them more private and cozy.

    6. Useable Features

    What does your yard need to draw you outside and use it? This question is essential when going through the design process because “destination” features throughout the landscape move people through the space with purpose.

    While making spaces look beautiful is always part of the goal, making them useable is just as important. For example, cooking usually takes place inside, and sometimes feels like a chore. But, placing an outdoor kitchen into your backyard getaway can make cooking for the family feel like it is on vacation. Even if it’s just a grill with a little counter space, outdoor kitchens are convenient and useful enough to be used any day of the week – not only weekends or special occasions.

    Fire features are another useful, popular request. Just as humans are attracted to water, they are also attracted to fire. There are firepit shapes, fuel types, and styles for every space. A small, wood-burning pit is rustic and offers the nostalgia of sitting around a campfire roasting marshmallows. More modern fire bowls fit a different aesthetic and provide the same warmth and coziness of a flame without the presence of smoke.

    Other worthy features for your backyard oasis might be designated spaces for games such as a bocce court, horseshoe rings, or open lawn; or more stylized areas for reflection such as labyrinths or reflexology paths.

    Whatever you enjoy doing, explore how you can give yourself a space to do it outside!