Rainwater Harvesting for California’s Central Coast
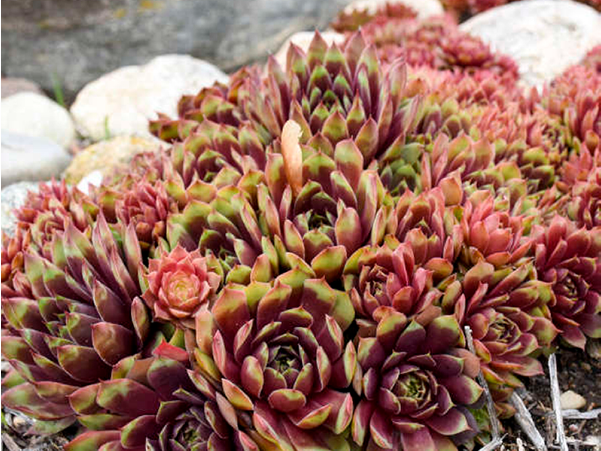
As Californians, we know that every drop we get is precious. Mindful water use as well as saving water costs can feel difficult, but one way to go about it is through capturing and using rainwater. Not only is rainwater free, it is 100% soft, free of salts, minerals, and chemicals, slightly acidic and a natural source of nitrogen—all beneficial for the plants in any landscape. To harvest and utilize rainwater, owners and landscapers can use a number of techniques.
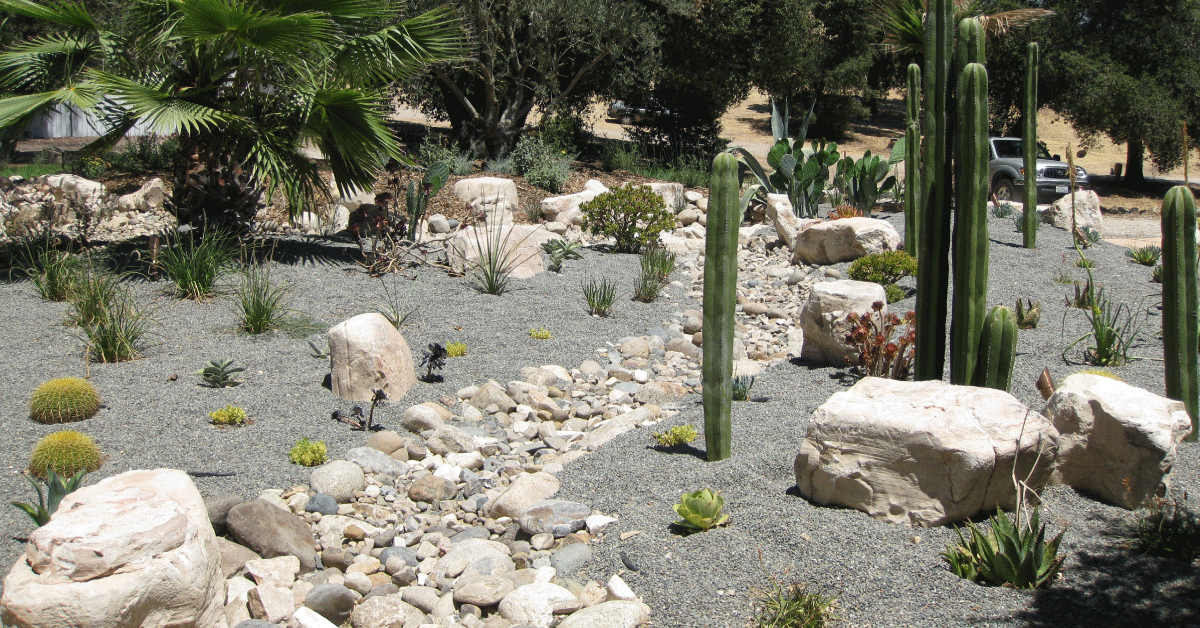
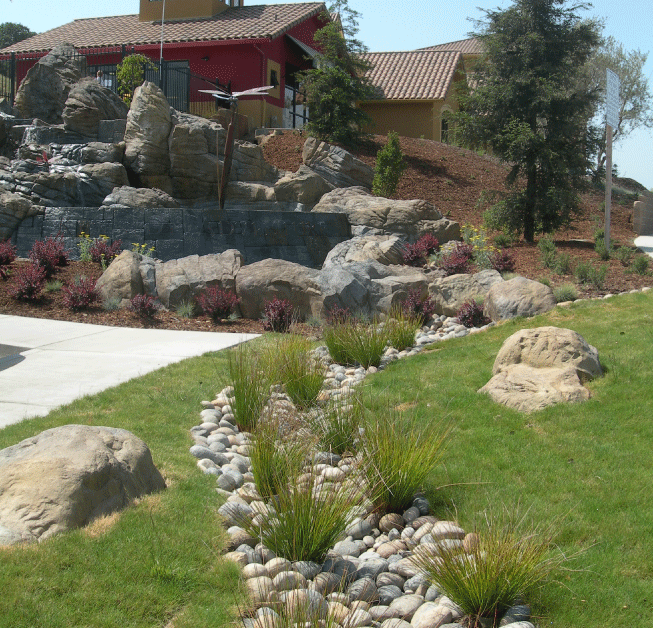
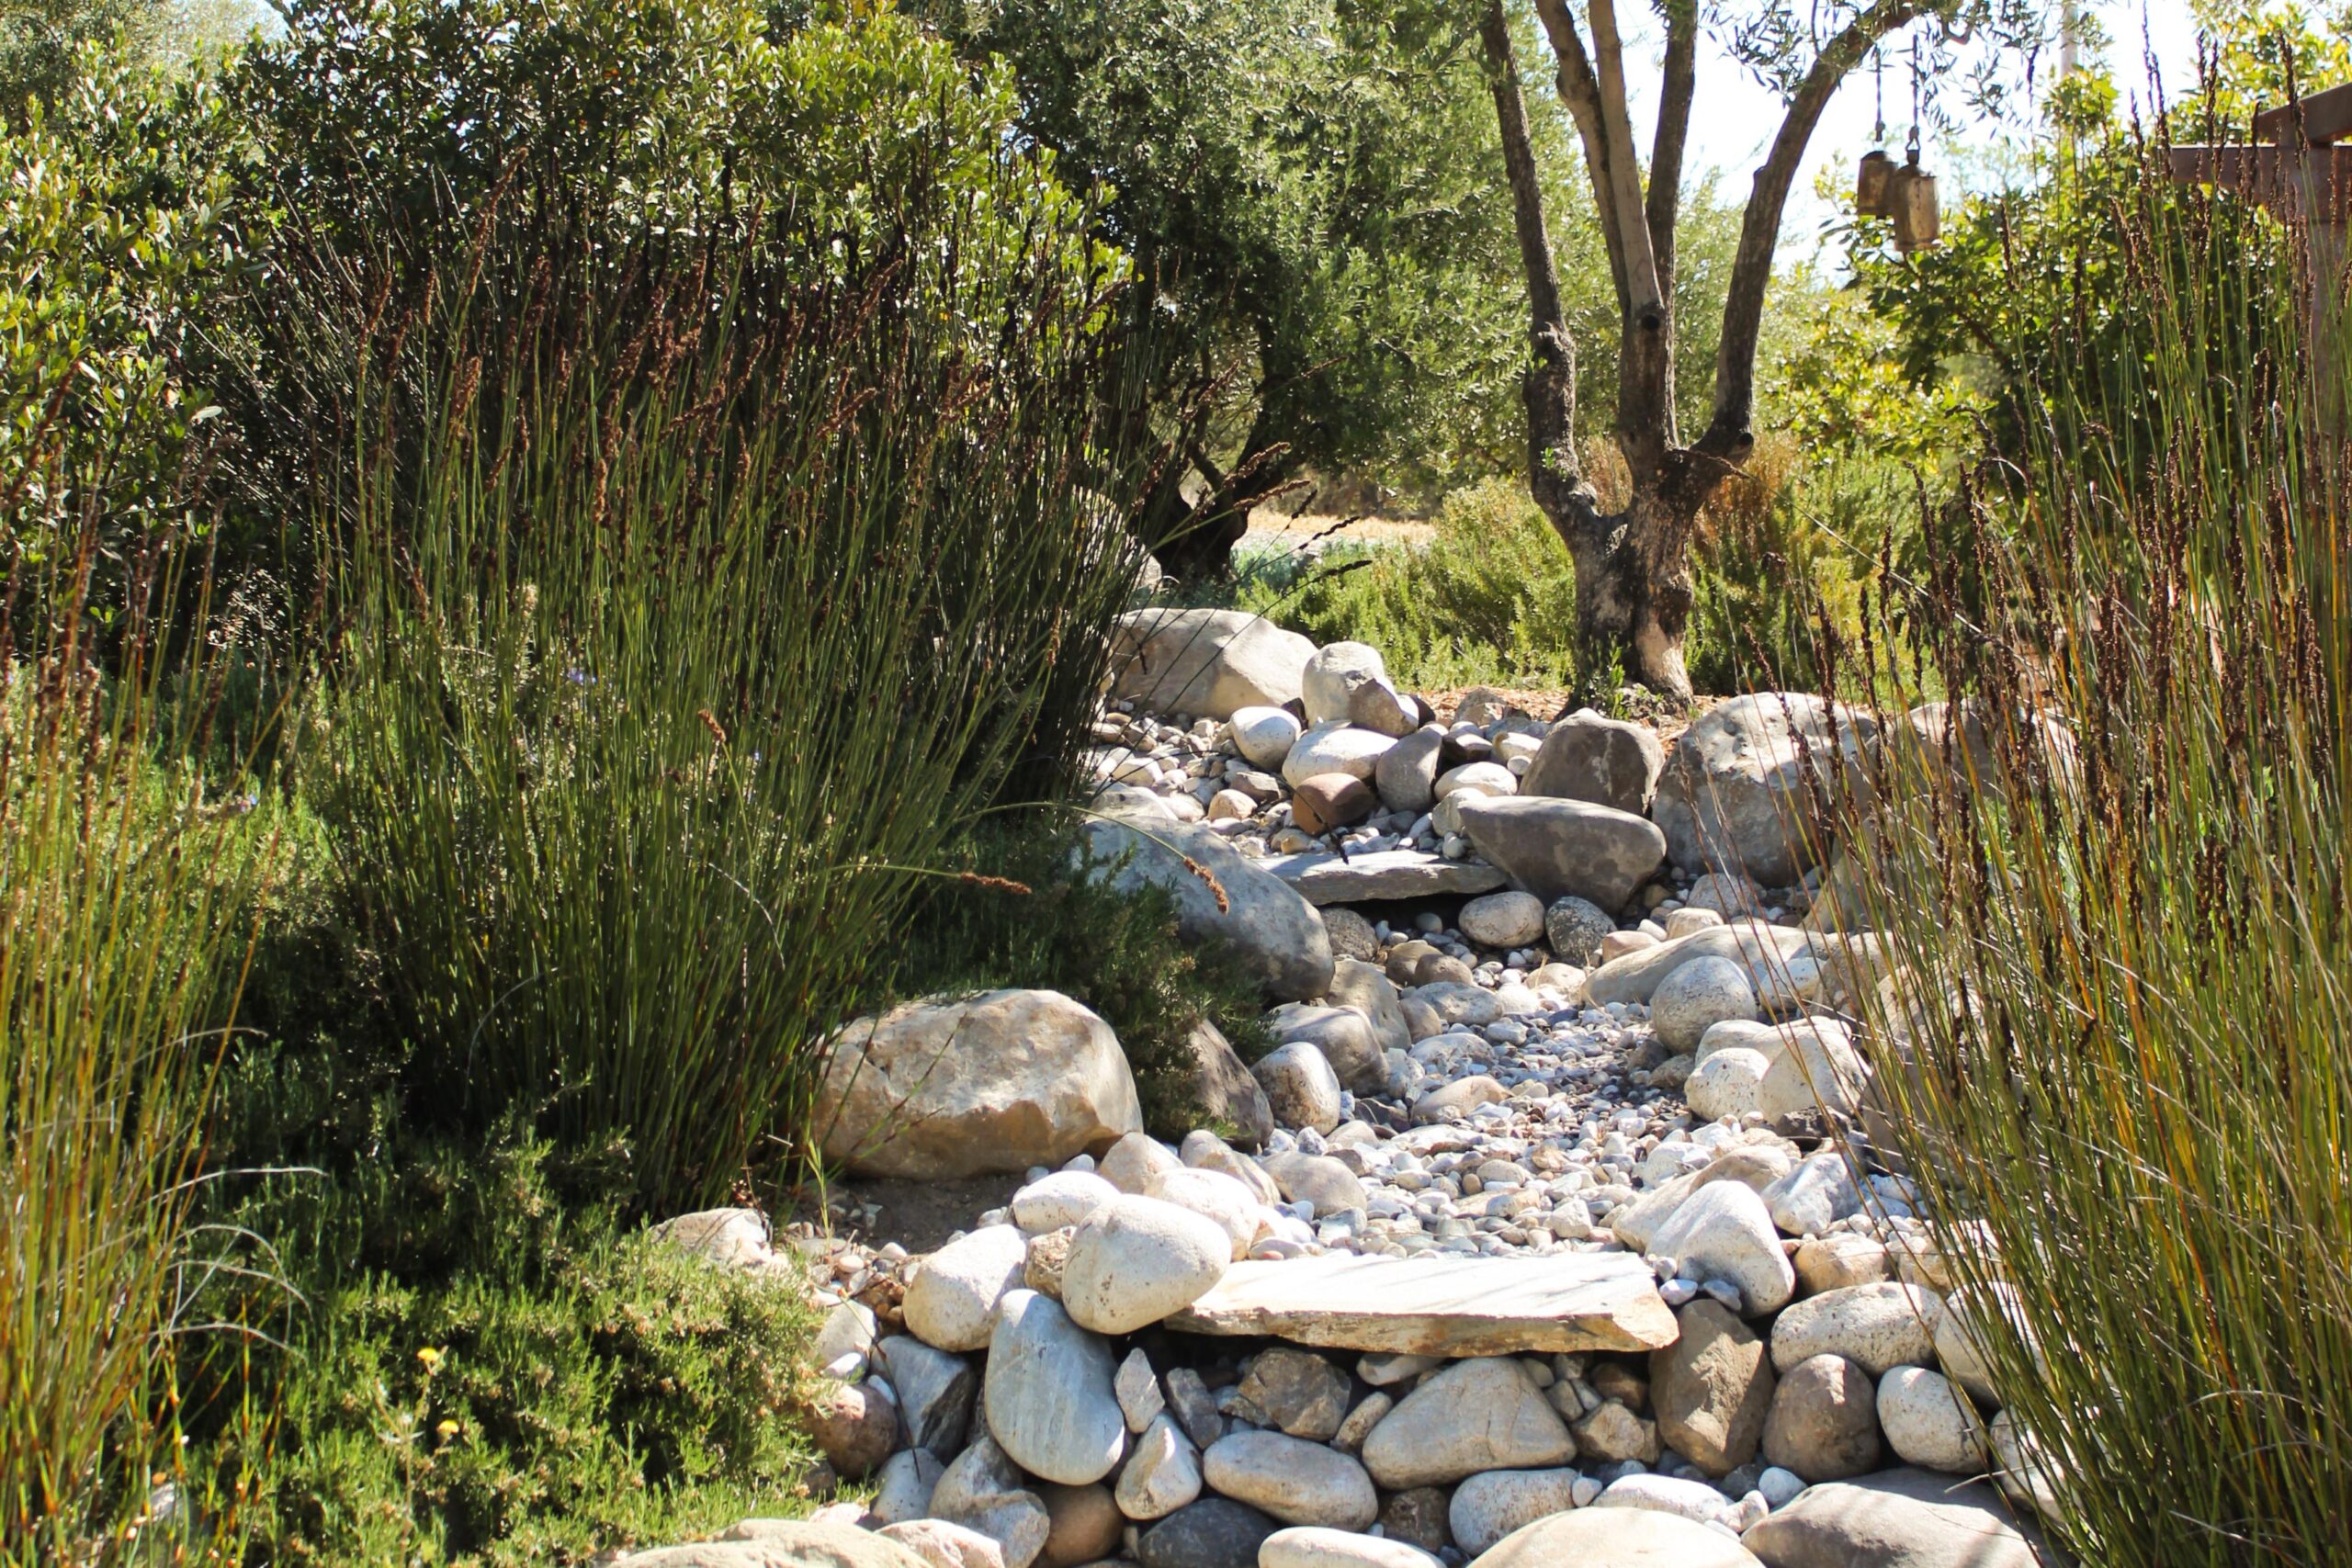
Bioswales and Detention Basins
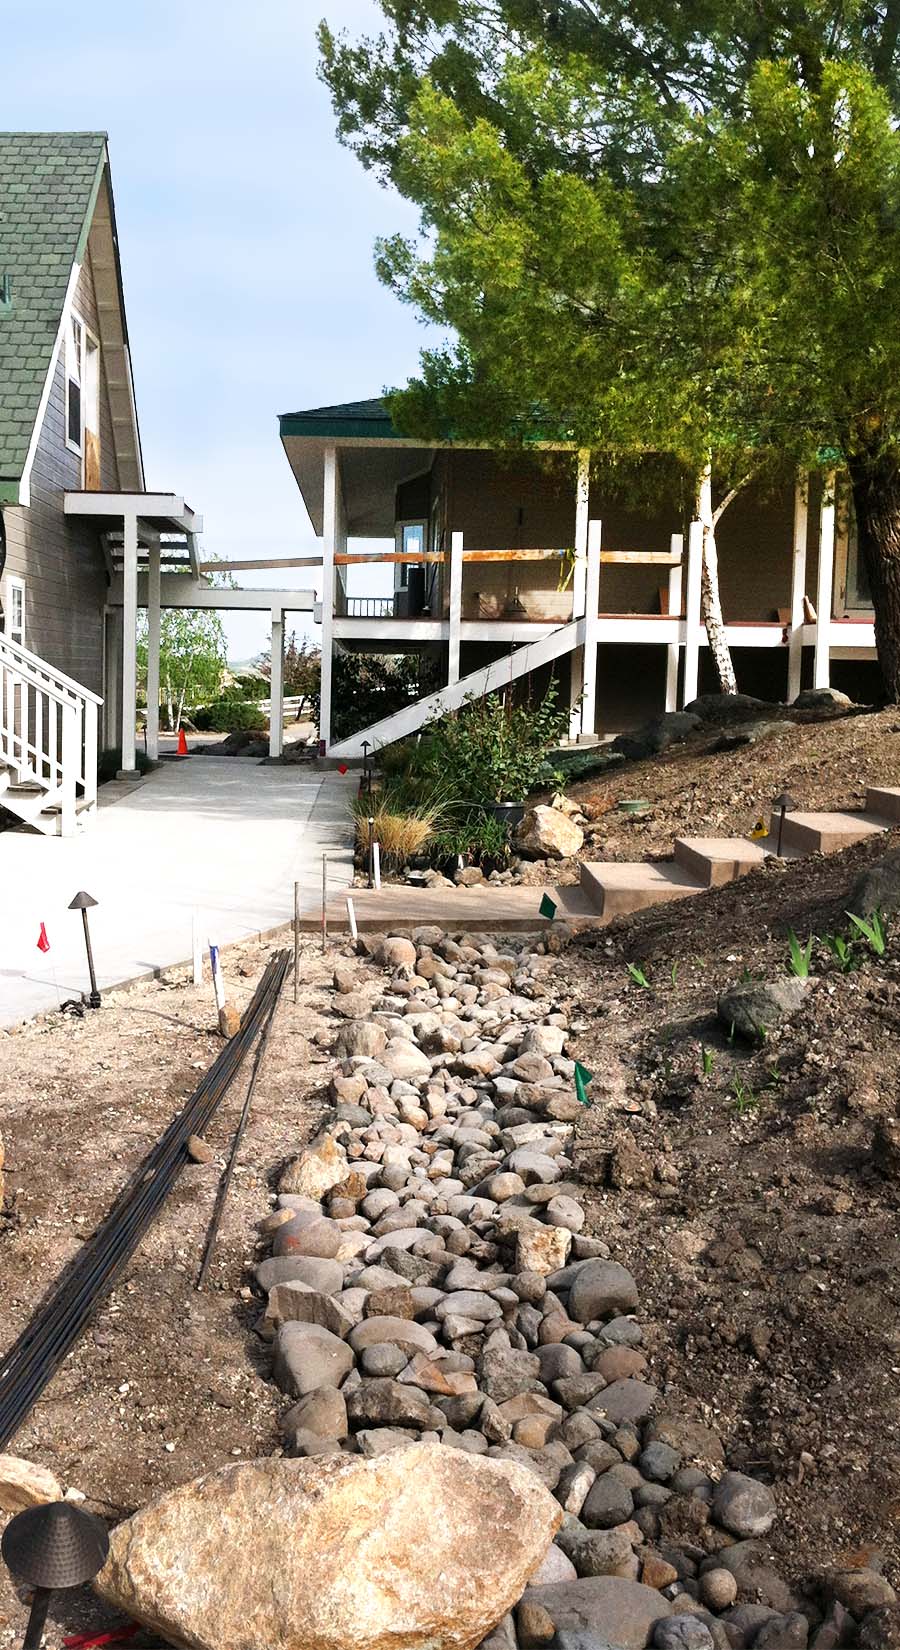
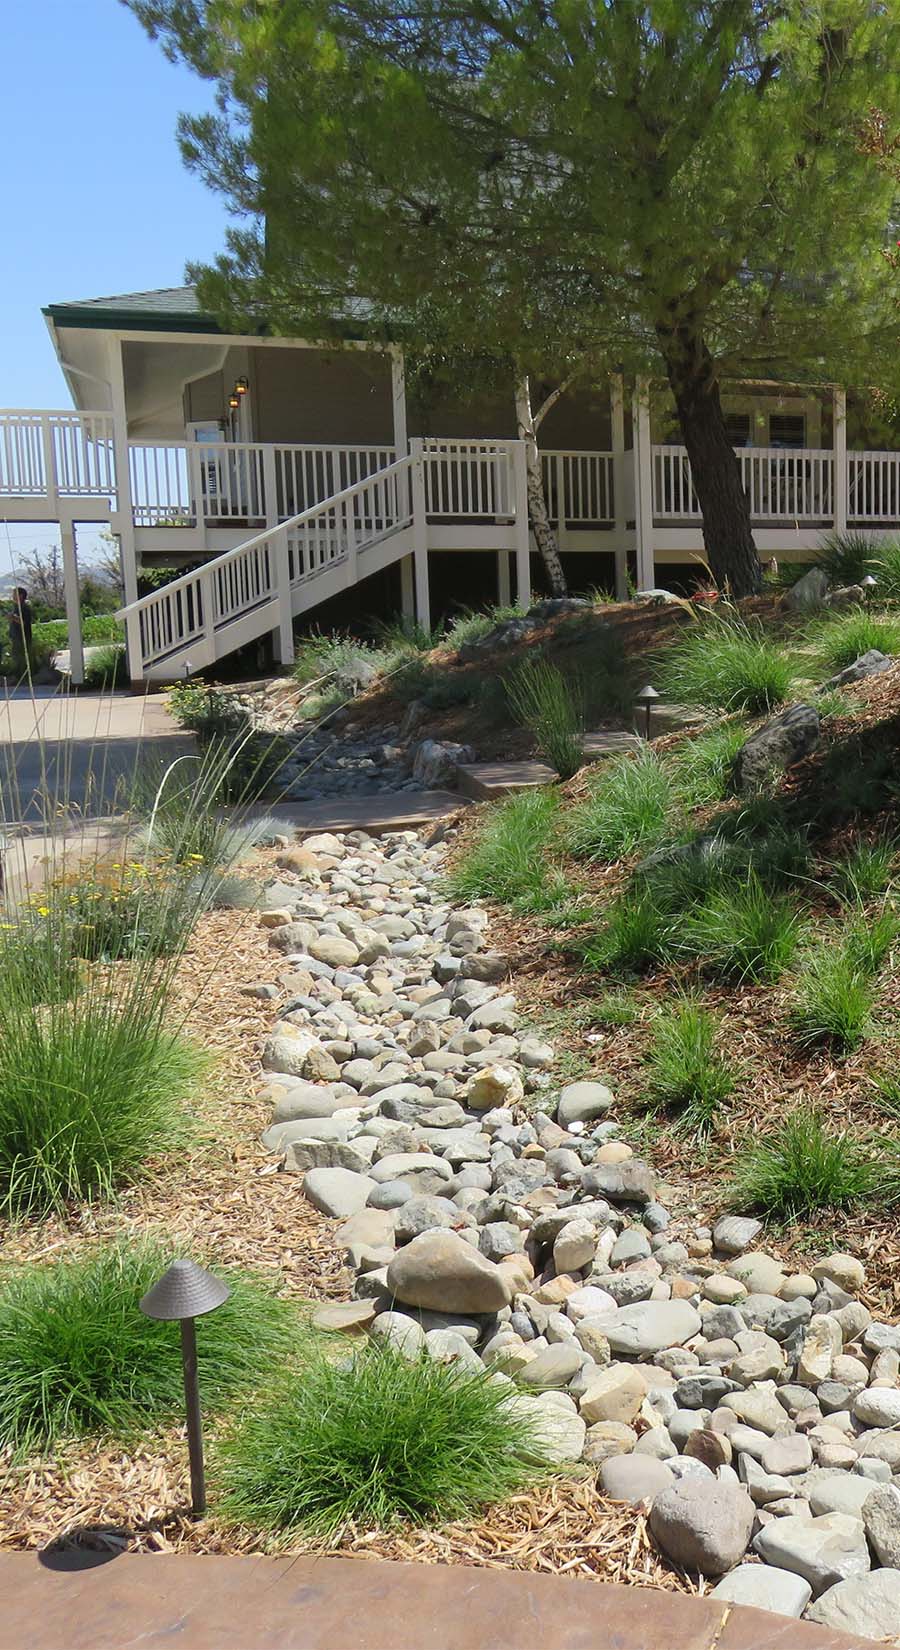
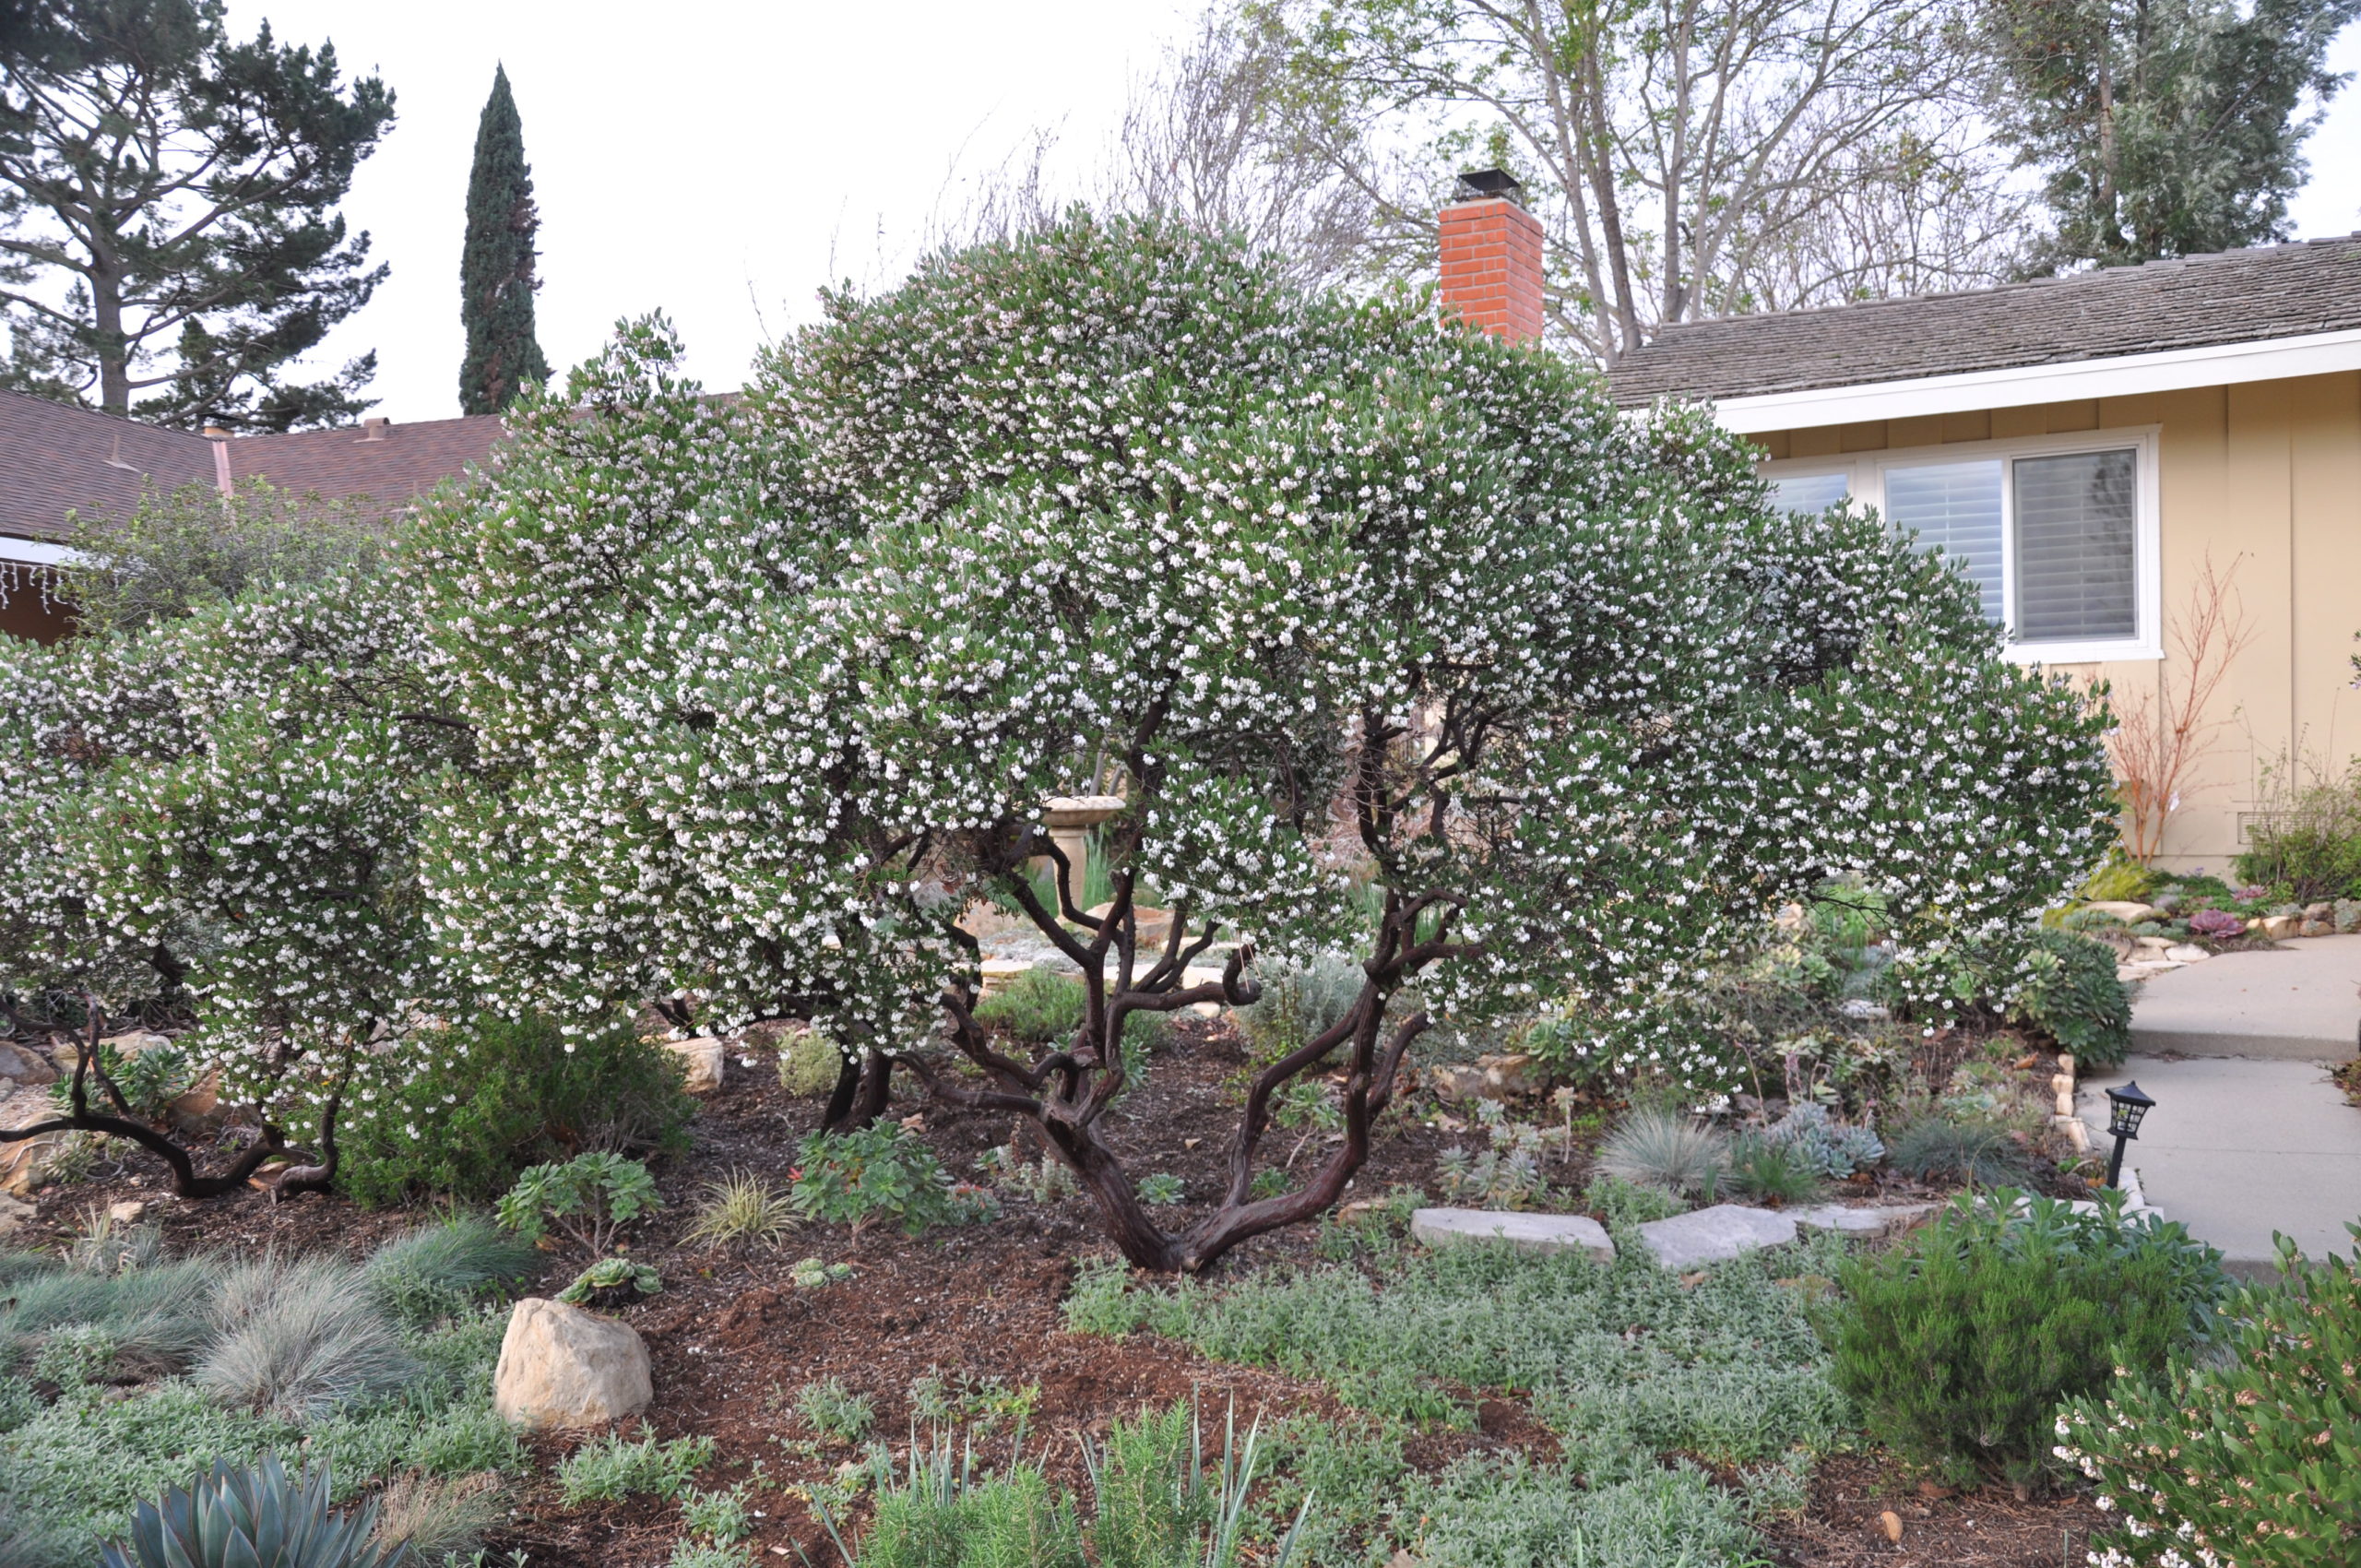
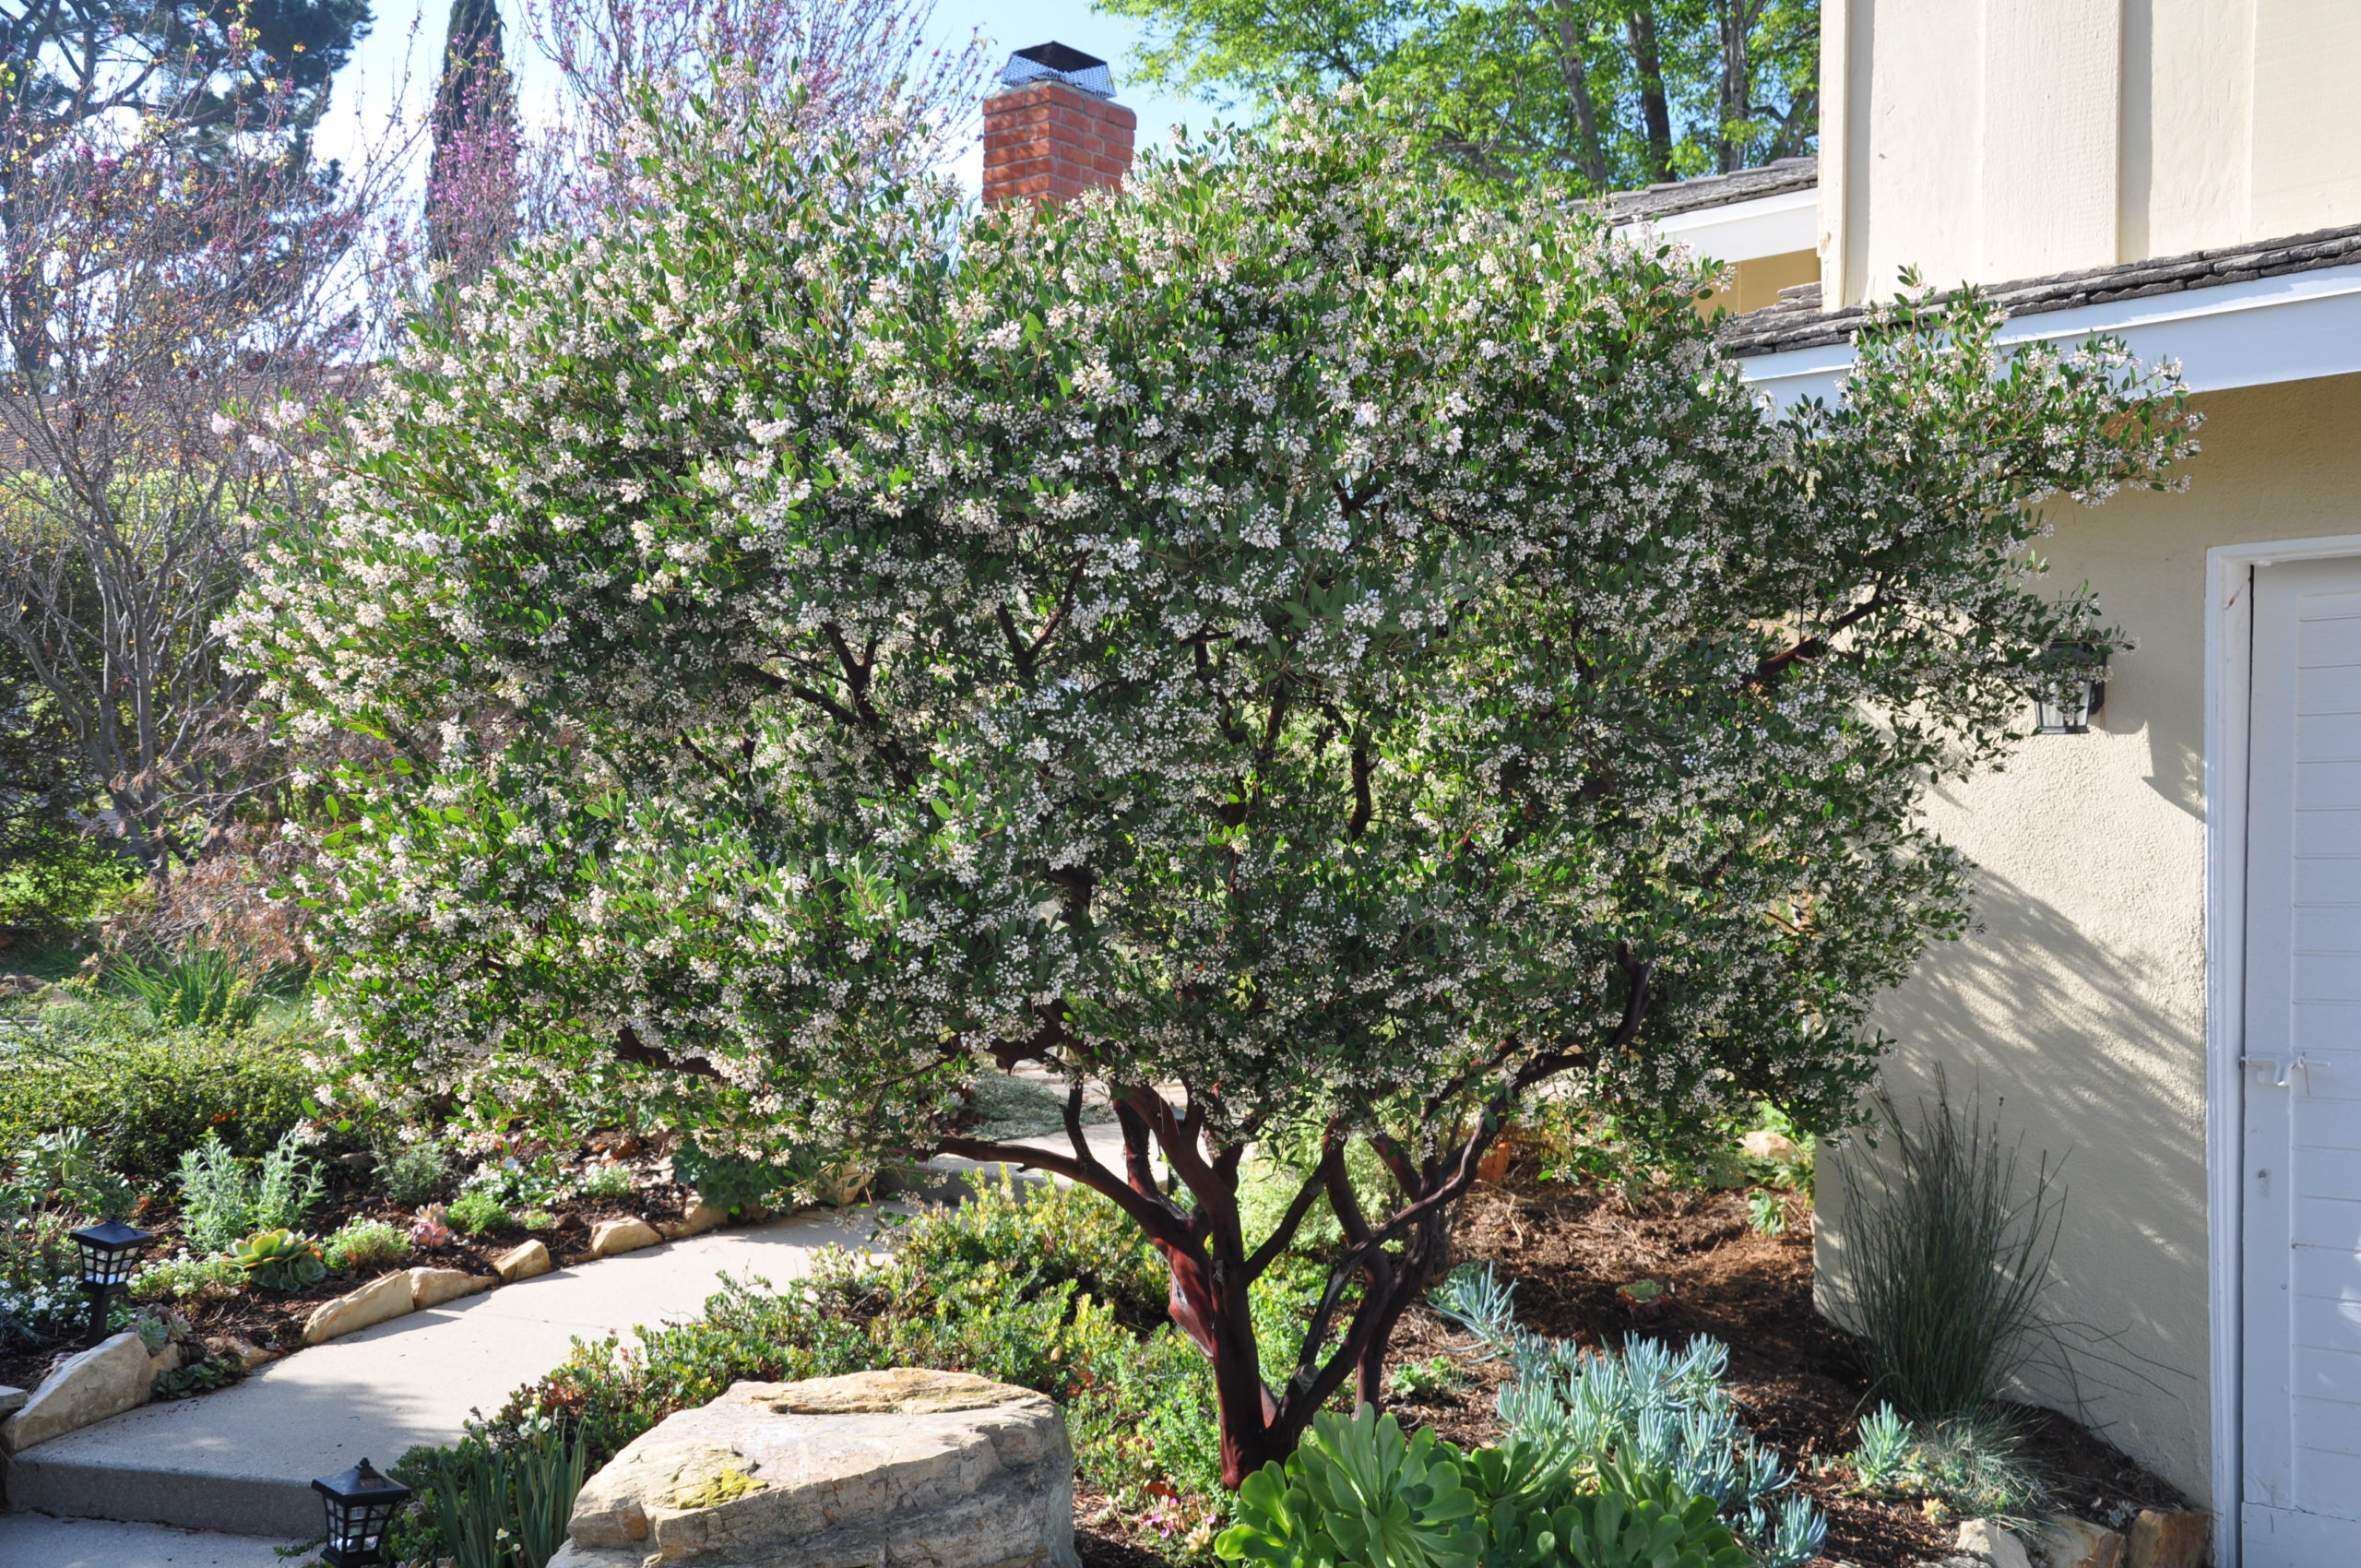
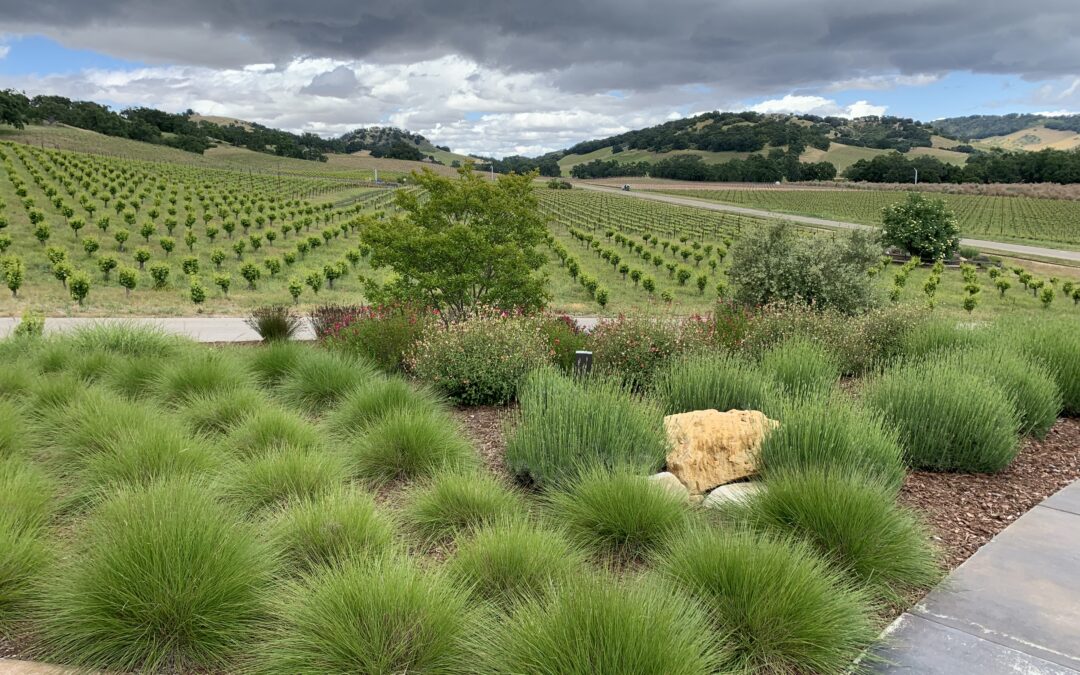
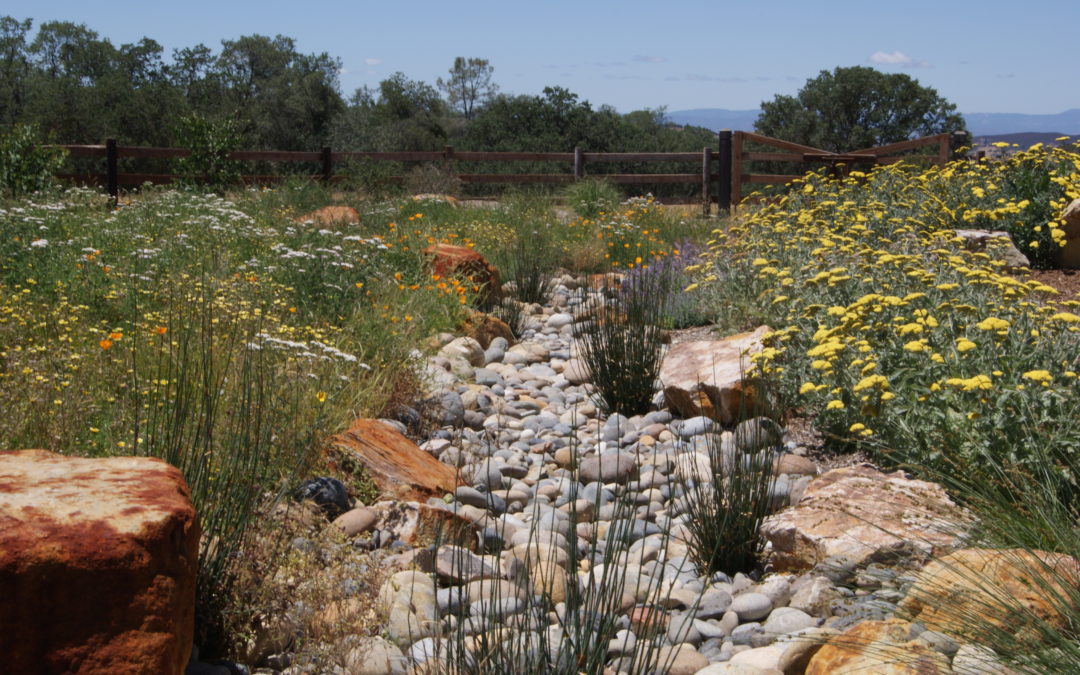
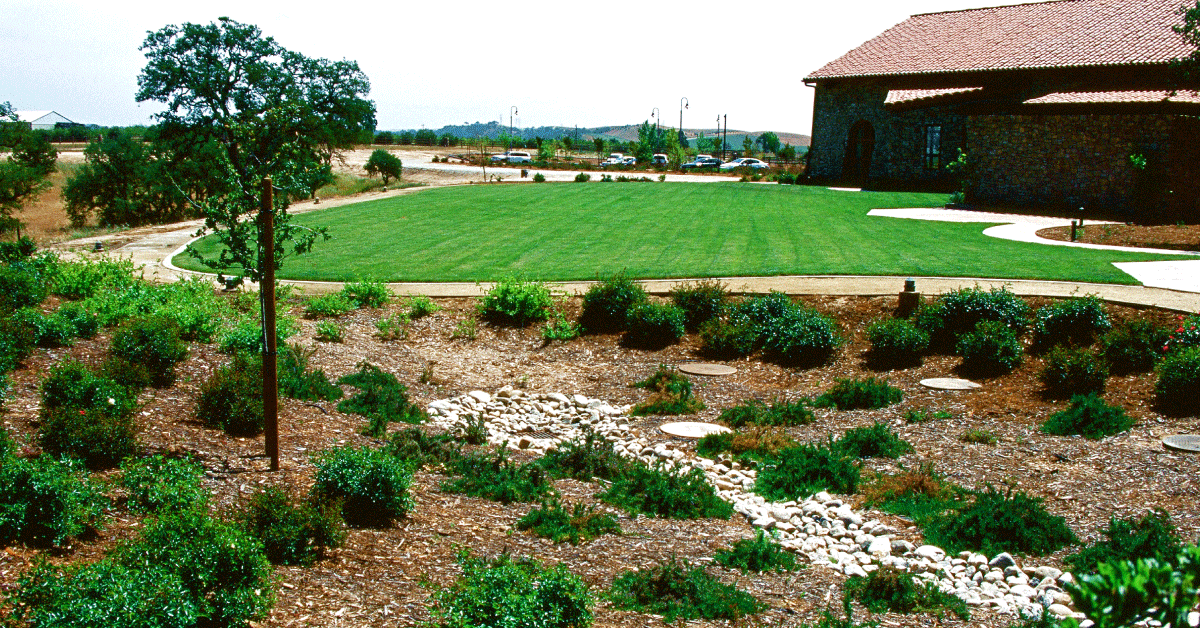
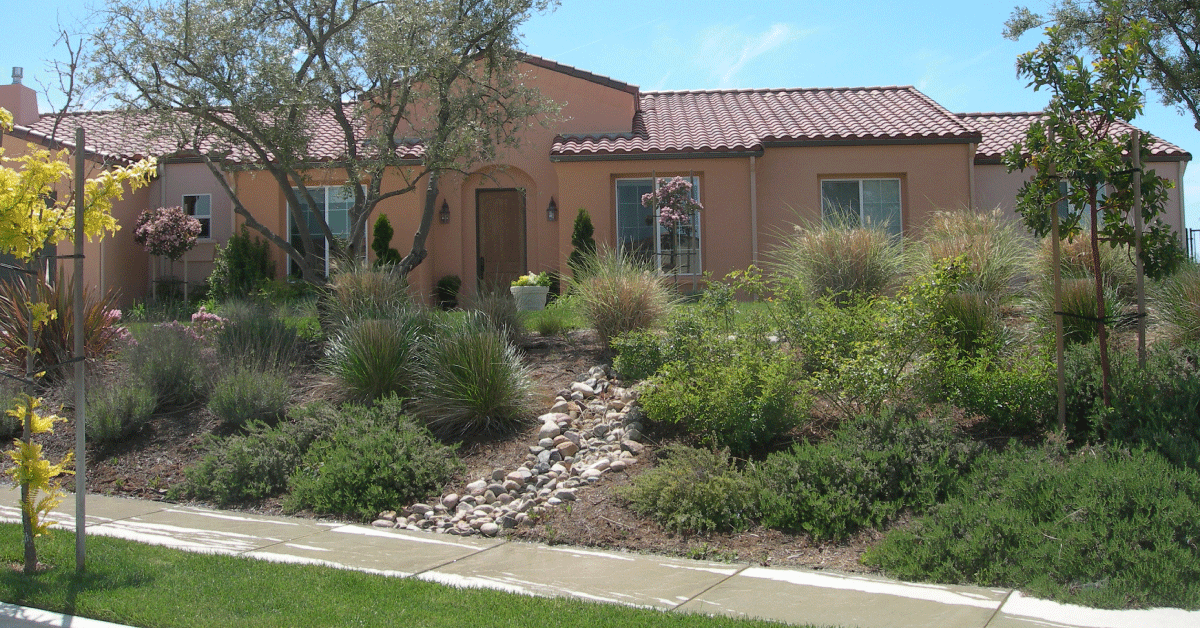
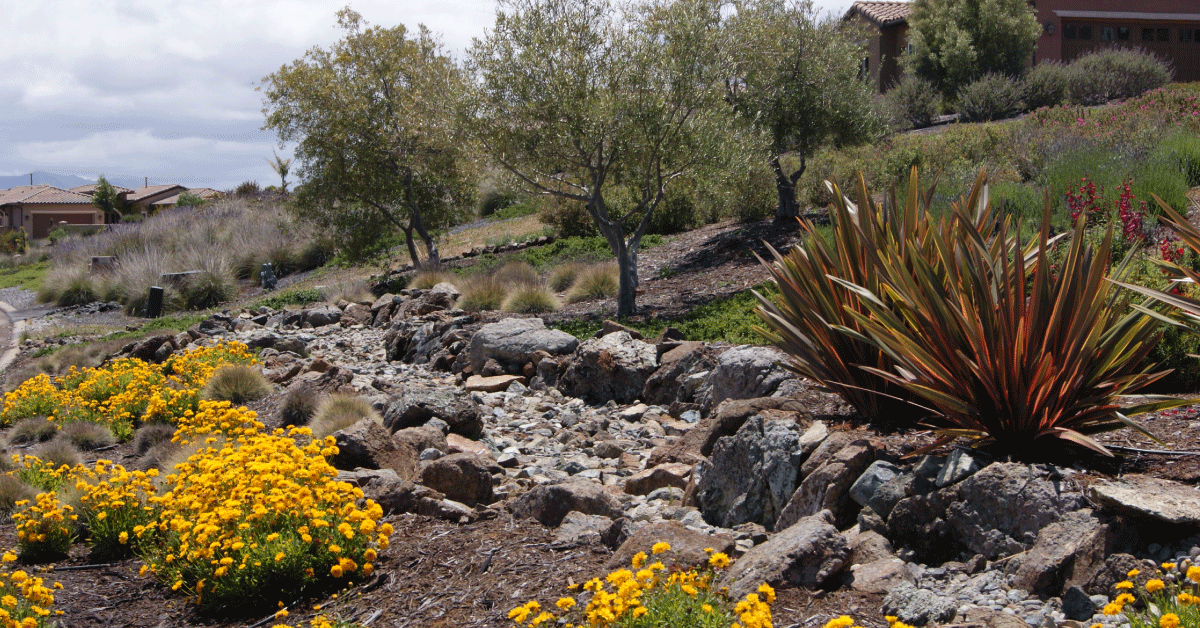
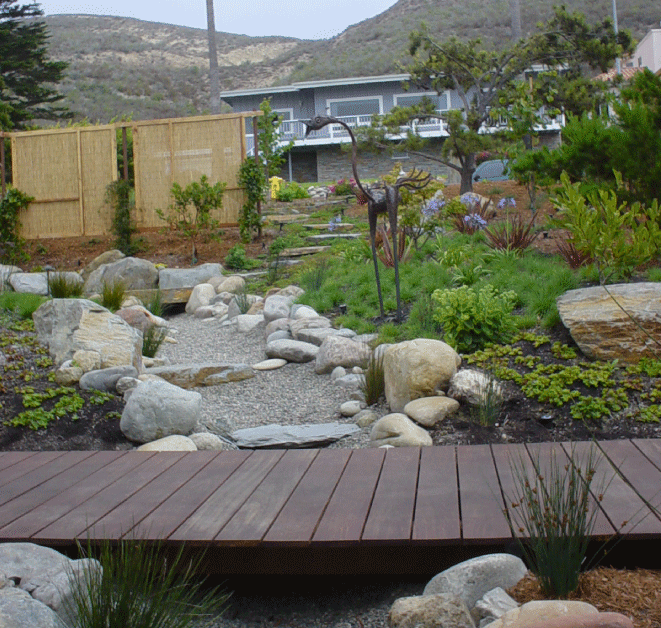
A beautiful way to maximize the effect of rainfall is through passive techniques, which more effectively reach deep-rooted plants such as trees. Bioswales and detention basins are a common approach that allow for deeper infiltration in specific zones of the landscape by capturing roof water and stormwater. Keeping water on site reduces runoff and erosion downstream from your property.
Bioswales can be beautiful additions to the landscape if made to look like a natural creek or pond with rocks and plants. Concealed detention basins can serve the same benefit through underground gravel leach fields around tree groves.
For the 3,000 square foot home, you can get almost 500 gallons from downspouts with a light ¼” rainstorm. Even in a drought winter, your trees can get a good deep watering.

Rainwater Cisterns
The most efficient way to harvest rainwater is to collect it from roof surfaces by piping downspouts into a cistern system. With a properly designed rainwater harvesting system, you can transfer nearly 100% of the rainwater that hits your roof into storage.
For every 1” of rainfall, you can capture 0.62 gallons of water per square foot. This means that a home with a 3,000 square foot roof will collect 1,870 gallons from 1” of rain. With an average annual rainfall of 19” in San Luis Obispo and 13” in Paso Robles, that same home has the potential to collect between 24,000 and 37,000 gallons over one winter. Once stored, the rainwater can be filtered and pumped into an irrigation system to supplement the water supply during the dry season.
Options and Costs
One major constraint for rainwater harvesting systems is the cost. In California, most of the rain comes during our short winter season, with little need for irrigation between storms. To maximize the harvest, you need to have a lot of storage for the water. Above-ground tanks are the most common was to store collected rainwater. These come in many designs and options, with plastic being the least expensive material. Collected water can also be stored in a holding pond, but this method allows for water loss to evaporation.
To have a system installed with a storage capacity between 5,000 and 40,000 gallons, you can expect to pay between $2 and $5 per gallon for overall cost installed by a qualified contractor. If a full system isn’t in the budget, you can keep costs low and use simple rain barrels to harvest water from downspouts. You can use collected water for indoor plants or landscape areas that don’t get direct rainfall.
When to Plan
With all of the different ways to think about harvesting rainwater, planning is key. Think about your system now, during the wet season. That way, you can have your system designed and installed during the dry season to prepare for the following year’s rain. We recommend 3–8 months to allow for design and installation without rushing decisions. When June comes around, rain may be the last thing on your mind—just remember watching that precious rainwater running down the drain and plan, plan, plan!
At any time of the year, consult with your landscape designer. If you are already working on a landscape plan, be sure to consider your rainwater harvesting system. It can be designed alongside planting and irrigation designs to allow your contractor to take care of everything at once.
Want to learn more about including bioswales or dry creeks in your landscape design? Contact our team at [email protected] or (805) 466-6263.