The Essential Guide to Fire-Safe Landscaping in San Luis Obispo County
Fire Season is here again.
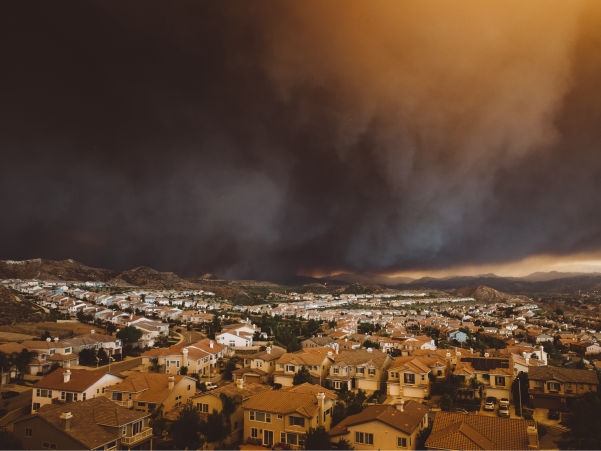
 As the wildfire threat increases through the summer months, the question always remains: How can your landscape help?
In 2022, California had a bit of a reprieve from the destruction of 2021. While over 772 buildings were damaged or destroyed in 2022, no fires reached the size of the three largest fires in history, all from 2021. Just over 363,939 acres burned over the course of 7,667 wildfires, which was a significant decrease from the 2.6 million acres that burned in 2021. This was a welcome improvement from the previous two years, although a state of emergency was declared to support communities recovering from fires worsened by an extreme heat wave.
Property owners are at risk, to be sure, but what can we do to minimize those risks? Is it possible to improve the defensibility of our properties by landscaping wisely?
The answer is yes.
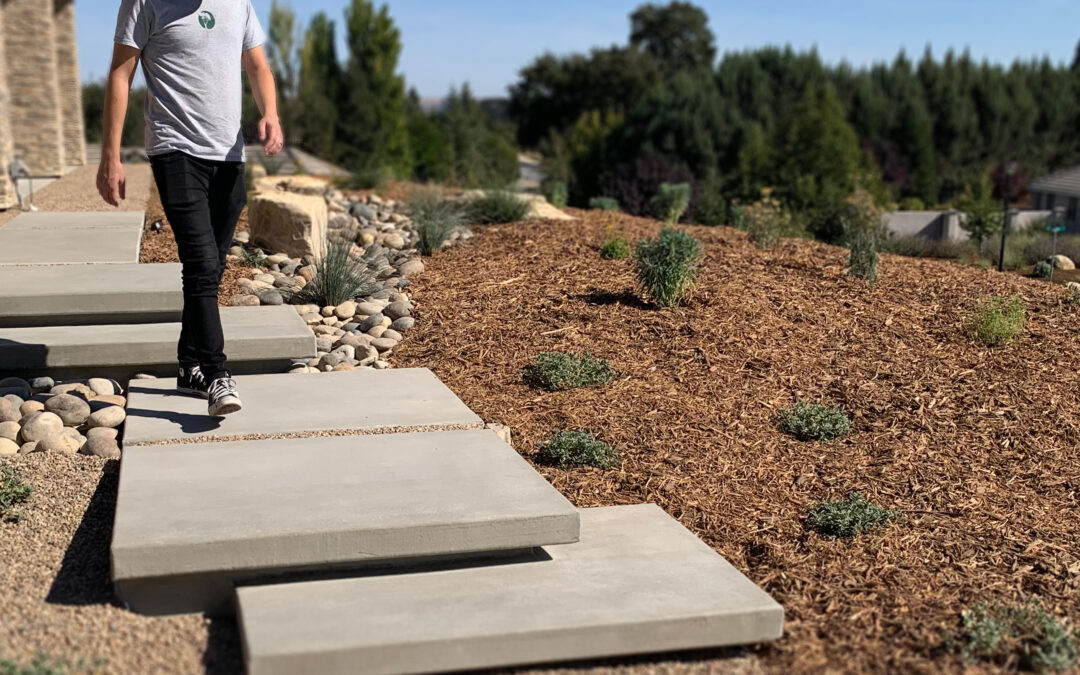
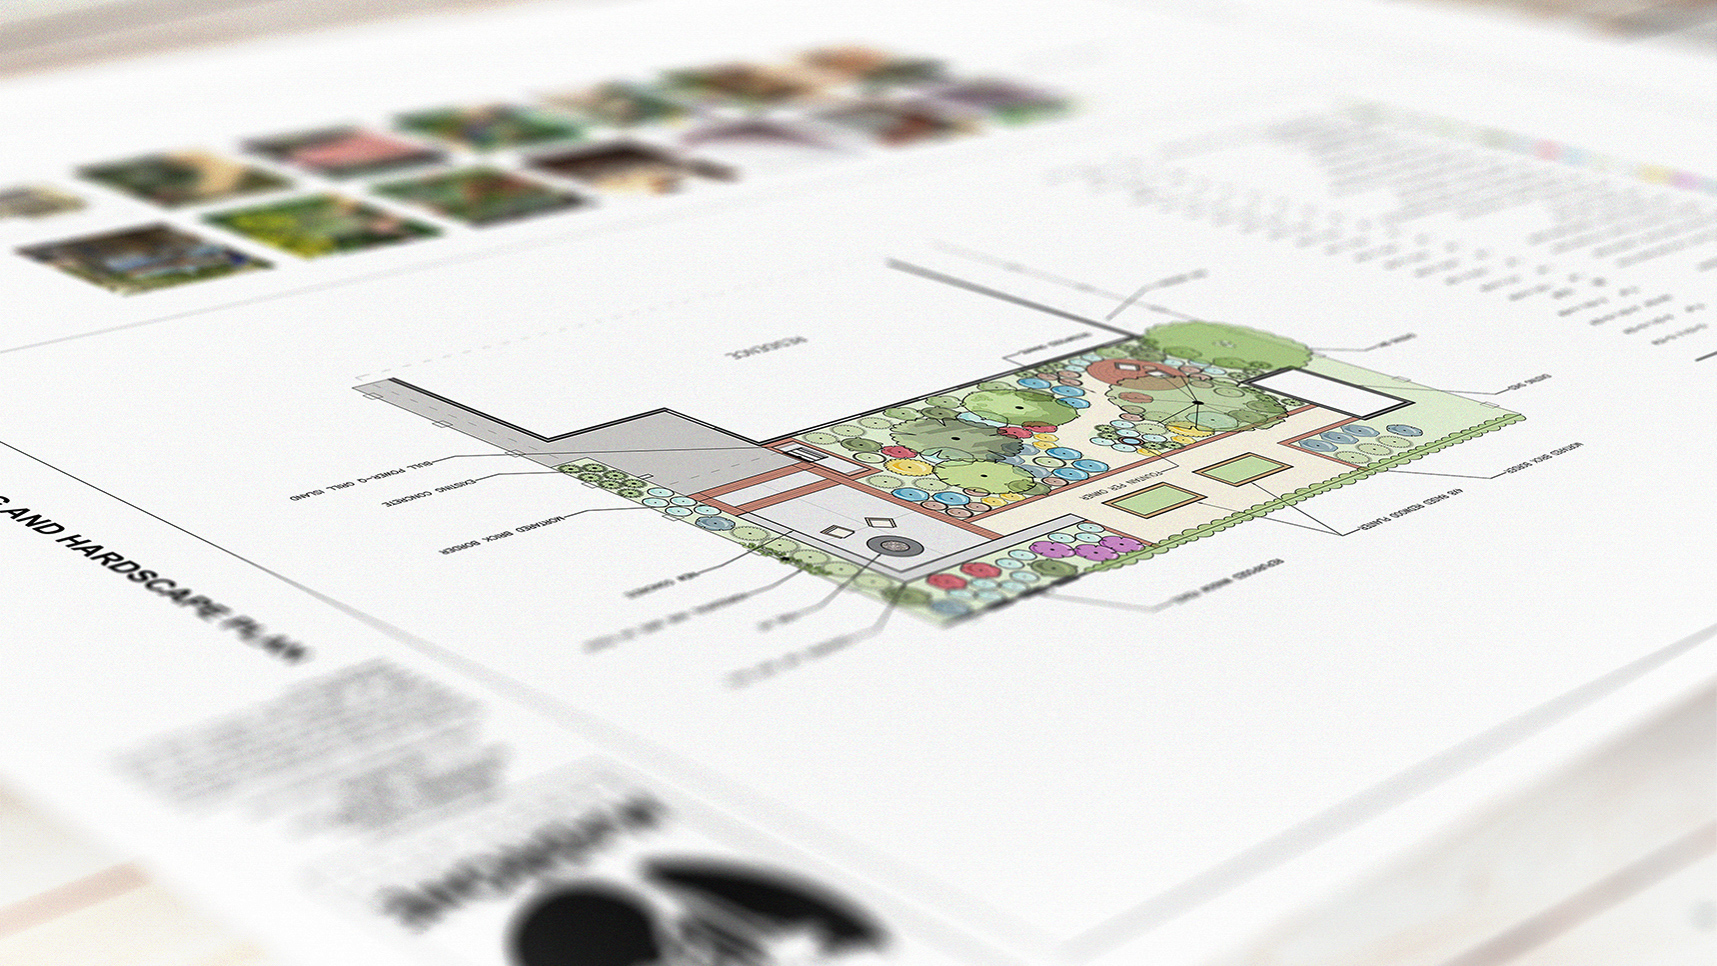
At Madrone Landscape, we have dealt with properties in high fire danger areas for decades. There are many ways to enhance the defensibility of a property, whether through plant selection and layout design or irrigation and water system strategies. Fire-resistant plants selections are available, but it is every bit as important that your plantings be well-spaced, properly pruned, and adequately watered in order for them to perform their fire-resistance function. Also, eliminating plants entirely from around structures may not be the best or only option. Properly chosen plants can catch air-born fire embers, letting them die out harmlessly, and plants’ roots are often vital to control erosion after a fire event.
For the latest recommendations on ways to make your family and home more fire safe, visit the SLO County Community Fire Safe Council website.
Defensible Space – Defensive Landscaping
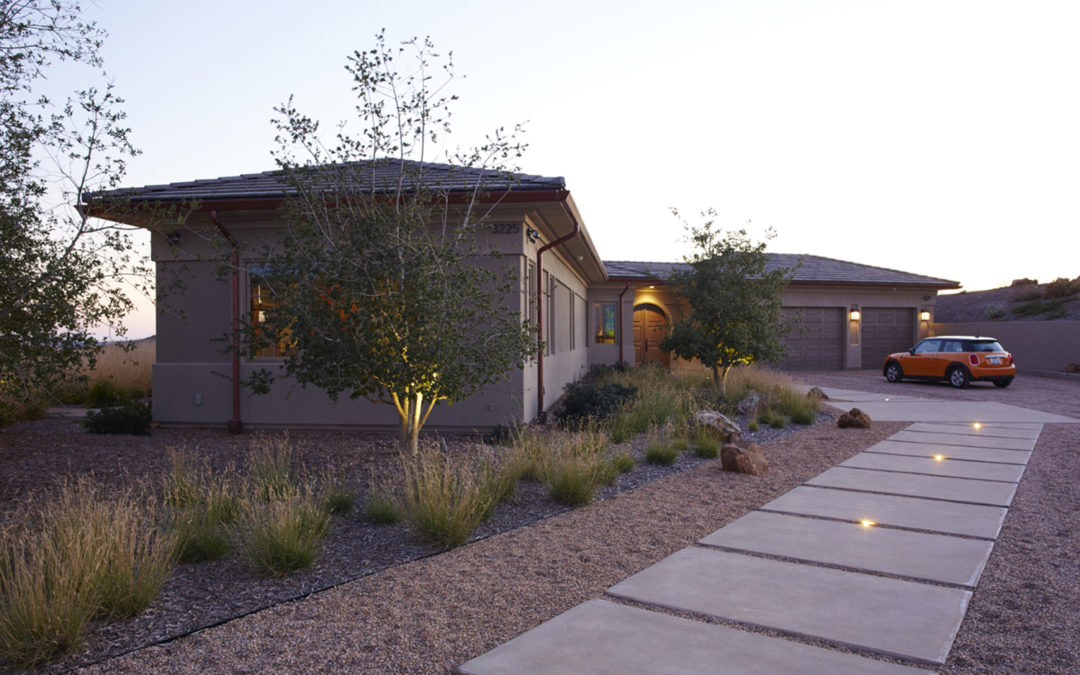
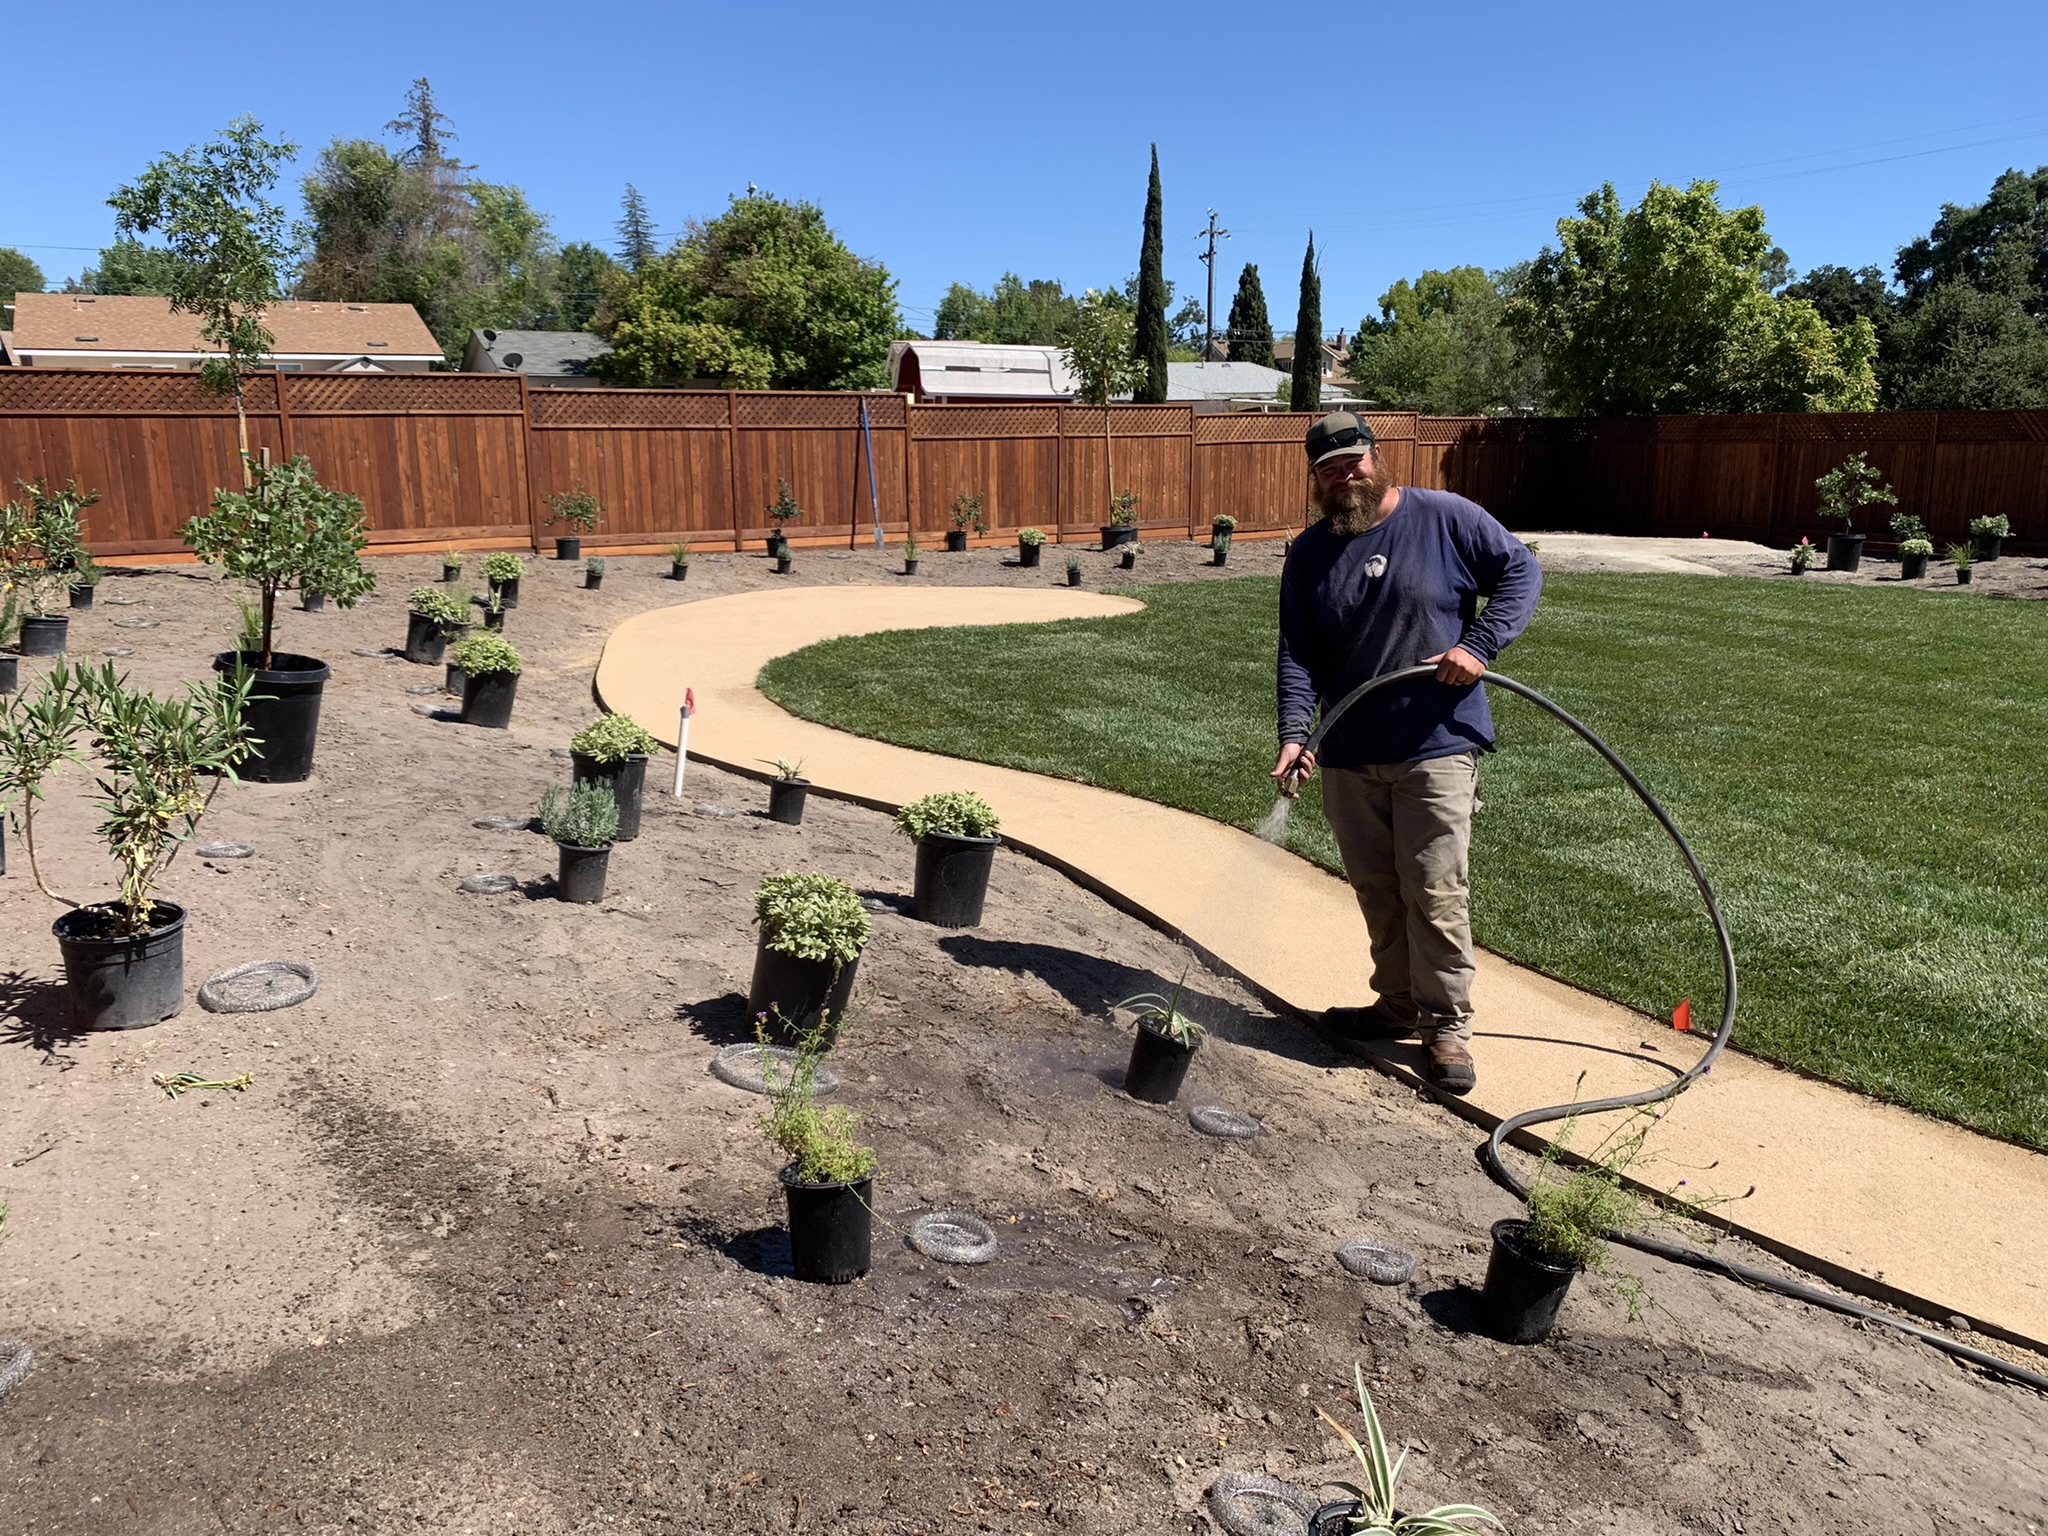
What you plant in your yard, and where you plant it, can be just as important as how your home is built. When in the path of a wildfire, your garden and lawn can become fuel for the flames. But, by learning the different zones around your property, you can create a more fire-safe home. 
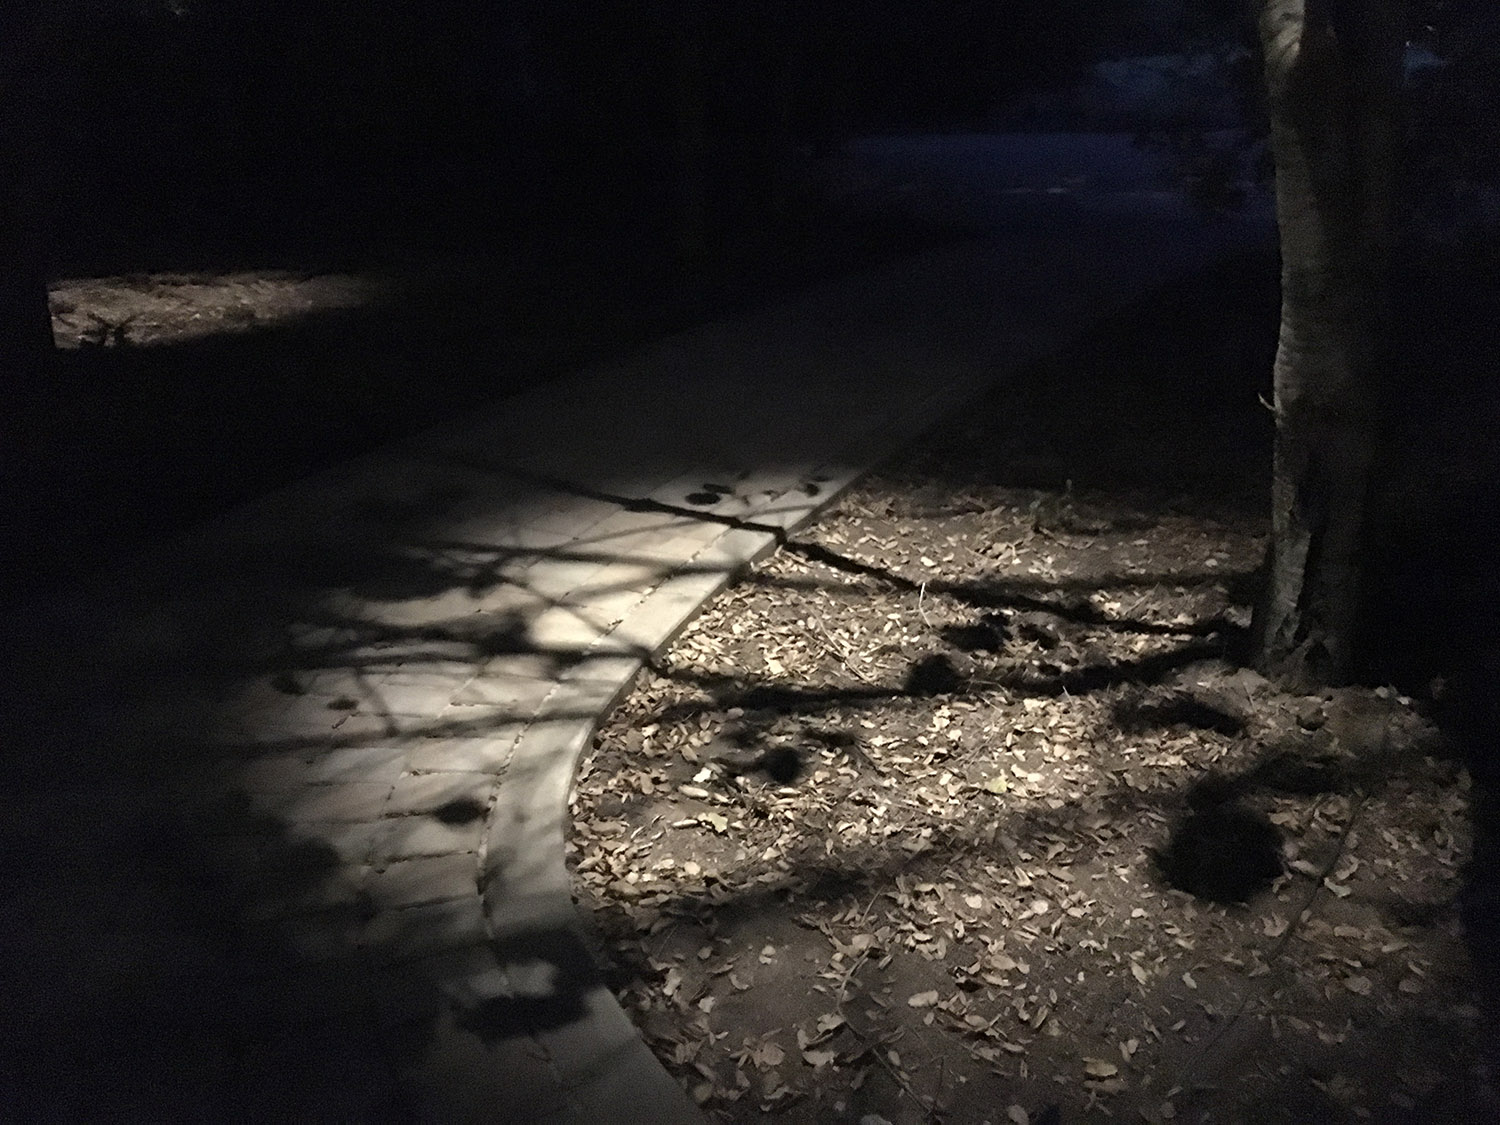
Immediate Zone: 0–5 feet from the furthest attached exterior point of the structure. This is the most important zone, as fire in this area will present the greatest danger to your house. This area should be kept irrigated and clear of debris at all times.
Top Fire-Resistant Landscaping for the Immediate Zone:
- Plants up to 18 inches tall that are low-volume (not thick and bushy)
- Plants with a high moisture content, such as succulents
- Grasses a maximum of 3 inches tall
- Tree branches trimmed 10 feet up
- Area is irrigated and kept clean
- Use of rock mulch against the house (instead of bark mulch)
- Removal of all dead, dying, and diseased vegetation from gutters, ground, roof, and exterior attic vents
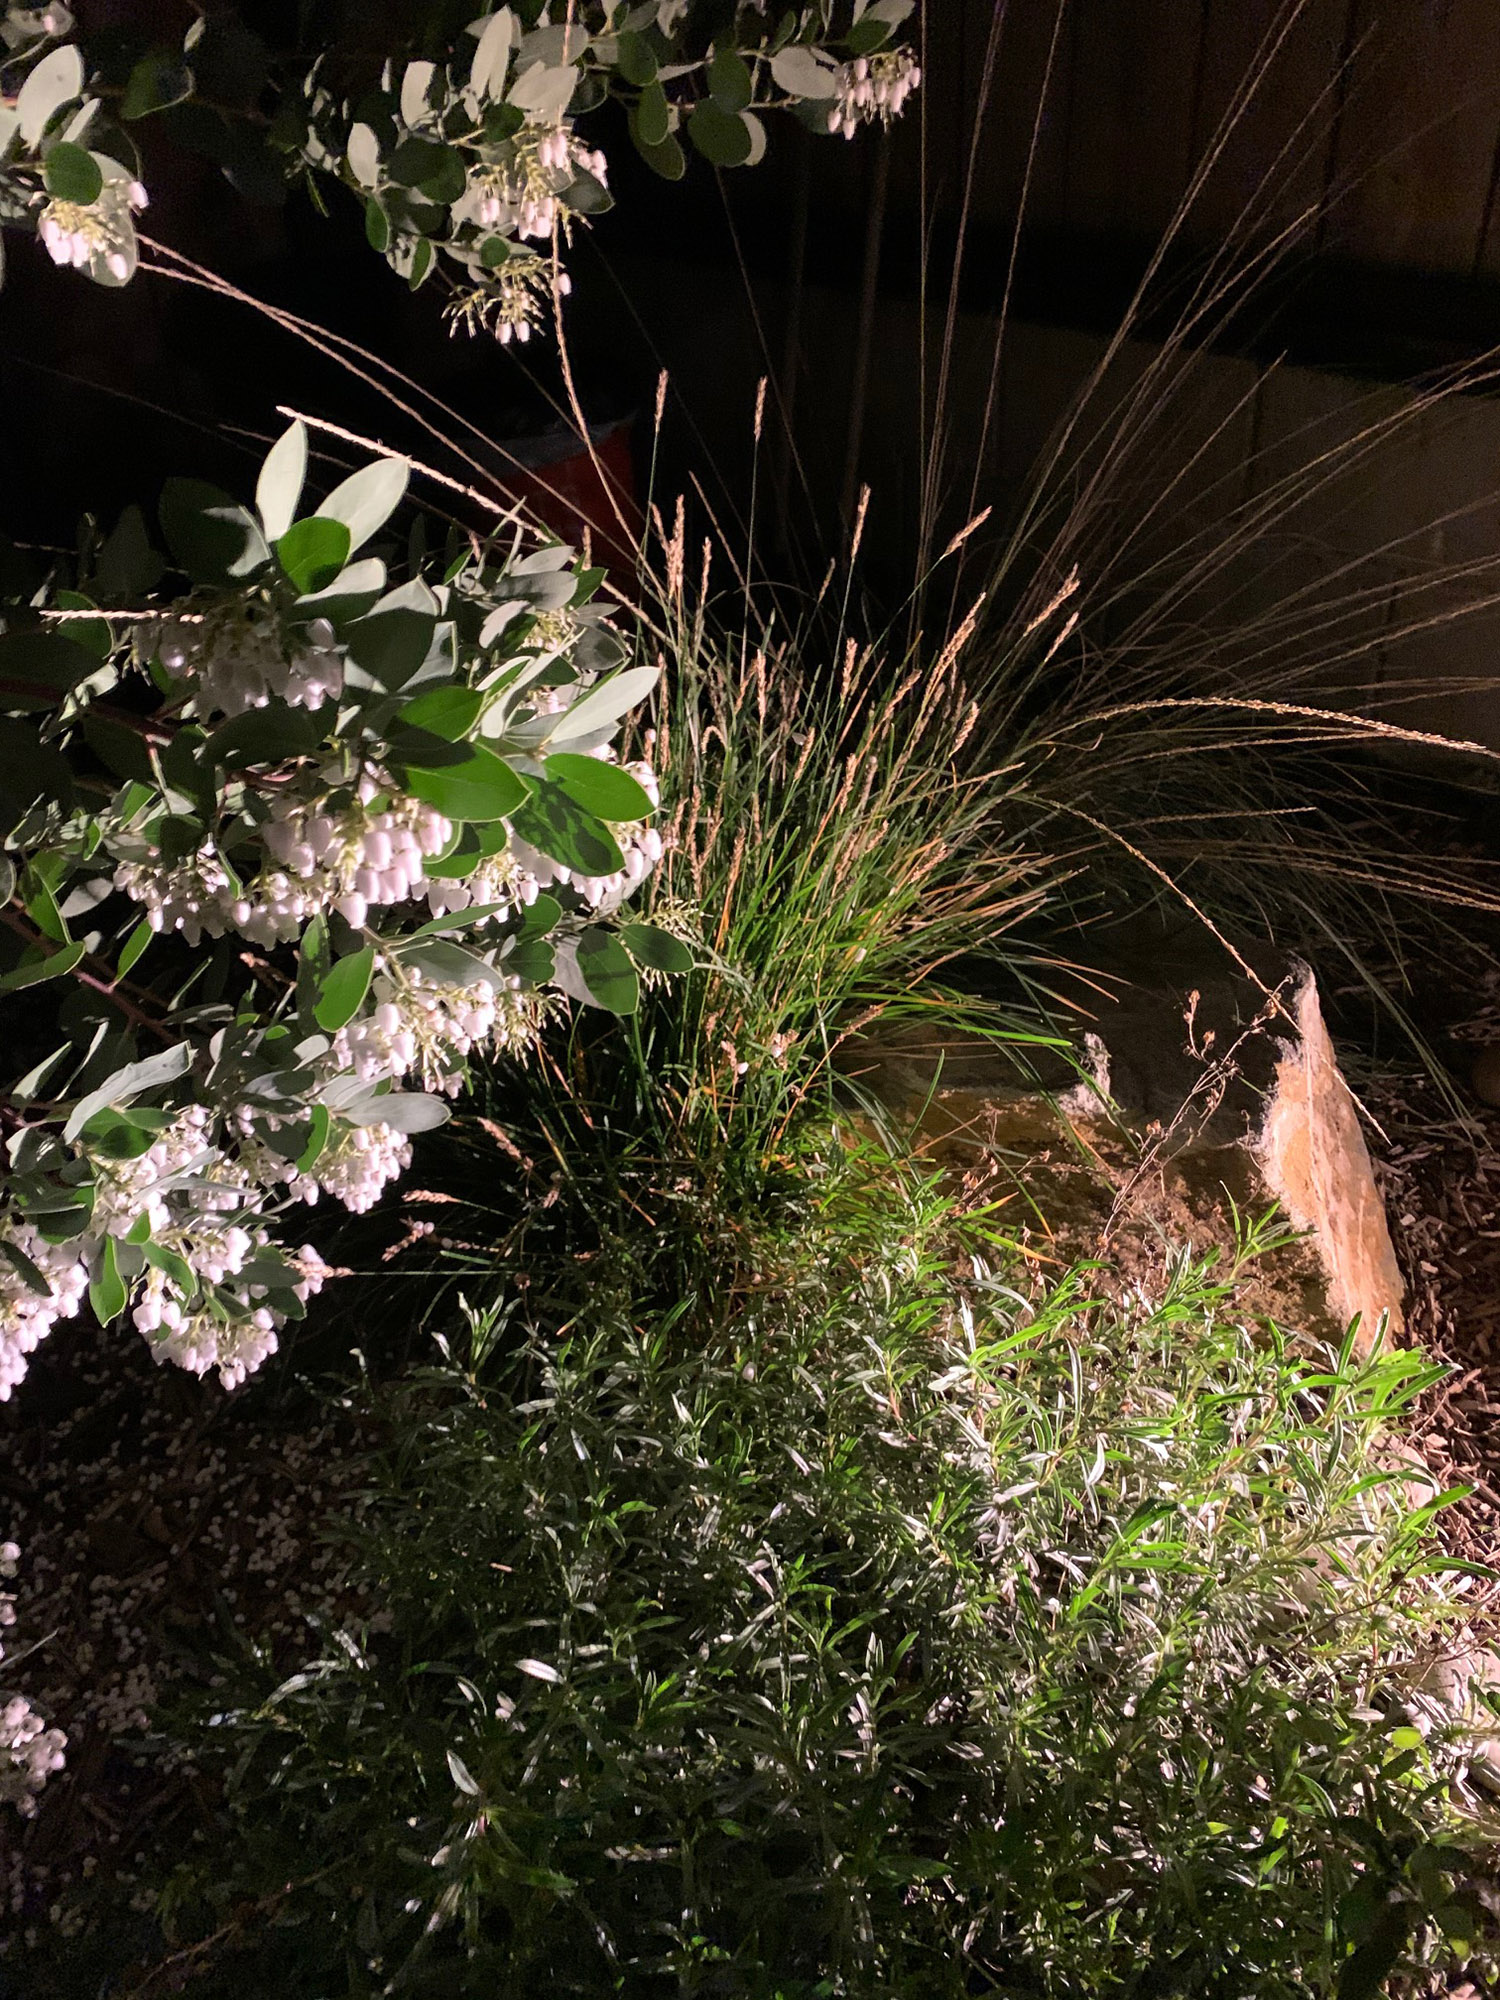
Intermediate Zone: 5–30 feet from the furthest exterior point of the structure. The goal of this zone is to reduce the available fuel in order to slow a ground fire. Larger shrubs and trees can be introduced here, as long as a distance that is twice their height separates them. This will prevent the “fire ladder” effect, where fires jump from one clump of shrubbery or trees (fuel) to another. Grass in this area should be mowed to 6”. This area should be kept irrigated and maintained.
Top Fire-Resistant Landscaping for Intermediate Zone:
- Succulents, small to medium shrubs
- Trees at least 10 feet apart and tree crowns 10 feet off the ground
- Lower tree limbs removed 6–15 feet from the ground
- Grass a maximum of 6 inches tall
- Shrubs separated by two times their height (a 6 foot shrub will be at least 12 feet from its neighbor)
Extended Zone: 30–100 feet, as far as 200 feet, from the furthest exterior point of the structure. The major effort here should be to thin existing vegetation and remove debris to interrupt and reduce potential fires.
Top Fire-Resistant Landscaping for the Extended Zone:
- Low to medium height plants
- Grass mowed to 18–13 inches
- Plants grouped in “islands” for water efficiency
- Dead branches, leaves, and litter removed
Landscaping in fire-prone areas should try to create a fire safe buffer—a defensive space—around your structure. On top of everything else, it is crucial to ensure there is a deliberately clear path to the structure for firefighters, ensuring both their safety and yours. Taking these measures can make it easier and safer for them to save properties from wildfires.
Looking for some inspiration and additional information?
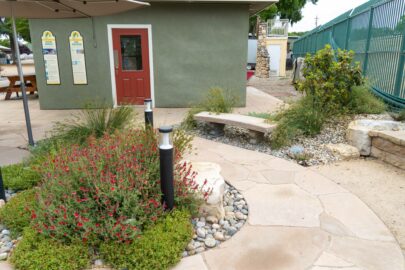
Fire Safe Demonstration Gardens
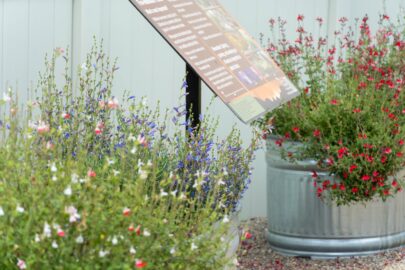
Next time you visit the Mid-State Fairgrounds, check out the Madrone design-build fire safe landscape surrounding the Fire Safe Council Building. In addition to examples of appropriate hardscape materials, rock mulch and boulder options, and fire-resistant furnishings, a variety of informational materials are posted around the landscape.
The San Luis Obispo Botanical Garden has a Fire Safe Demonstration Garden located at 3450 Dairy Creek Road, San Luis Obispo, CA 93405. They are open daily during daylight hours. The Gift Shop and Office are open 9 am to 5 pm Tuesday through Friday.
Visit the UC Master Gardener Program‘s Demo Garden and their Fire Safe Landscape display at Garden of the Seven Sisters, 2156 Sierra Way in San Luis Obispo.
Get more tips from the San Luis Obispo Botanical Garden’s Fire Safe Landscaping Brochure and the University of California’s Home Landscaping for Fire publication.
Make your landscape defensible. We can help! Contact us at [email protected] or (805) 466-6263.


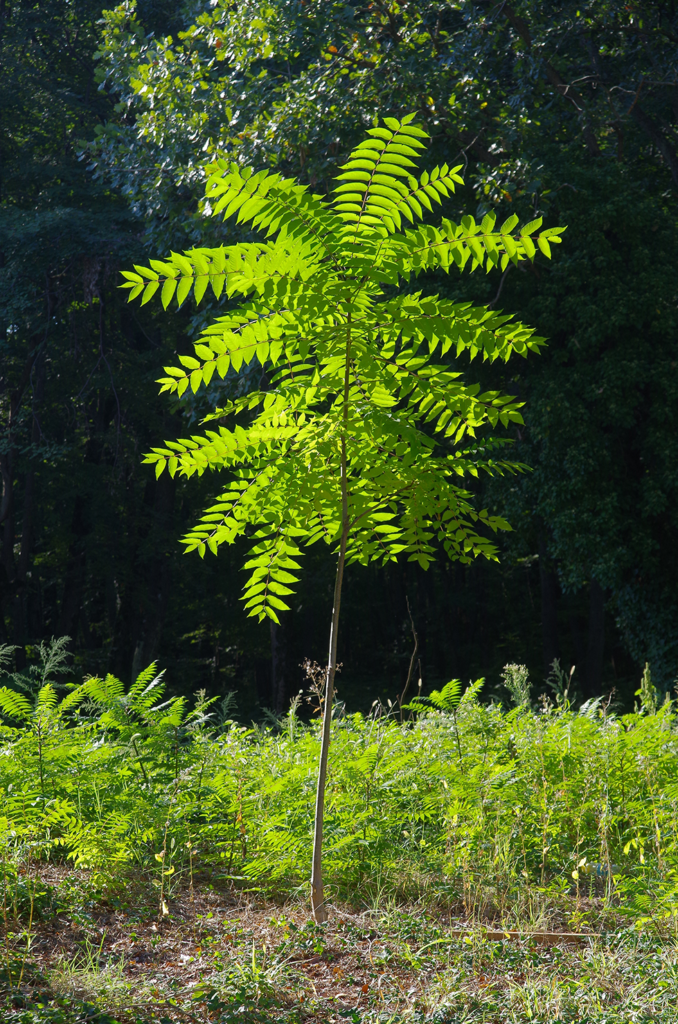 Contrary to its angelic name, the Tree of Heaven is a highly aggressive non-native tree. Luckily, it is not quite so popular in planting palettes due to its offensive smell; however, its hardiness and lack of insect or disease problems still makes it a dangerous contender for many properties. A quick reproducer, it is known to stifle or even kill native species, secreting chemicals into the soil that are toxic to surrounding plants. Largely uncontrollable, we urge anyone to consider better-smelling, native trees that are just as hardy.