Mar 4, 2024
Set it, forget it. Give plants the nutrients without all the hassle.
Irrigation in California’s Central Coast is a crucial supplement to little rainfall. For plants and gardens that need more, applying controlled amounts of water also contributes to soil moisture from groundwater.
Fertilization, too, supplements its environment. Plants need a number of chemical elements to grow and thrive, from nitrogen to potassium. Fertilization can help otherwise struggling plants flourish by simply bringing the soil up to their needs.
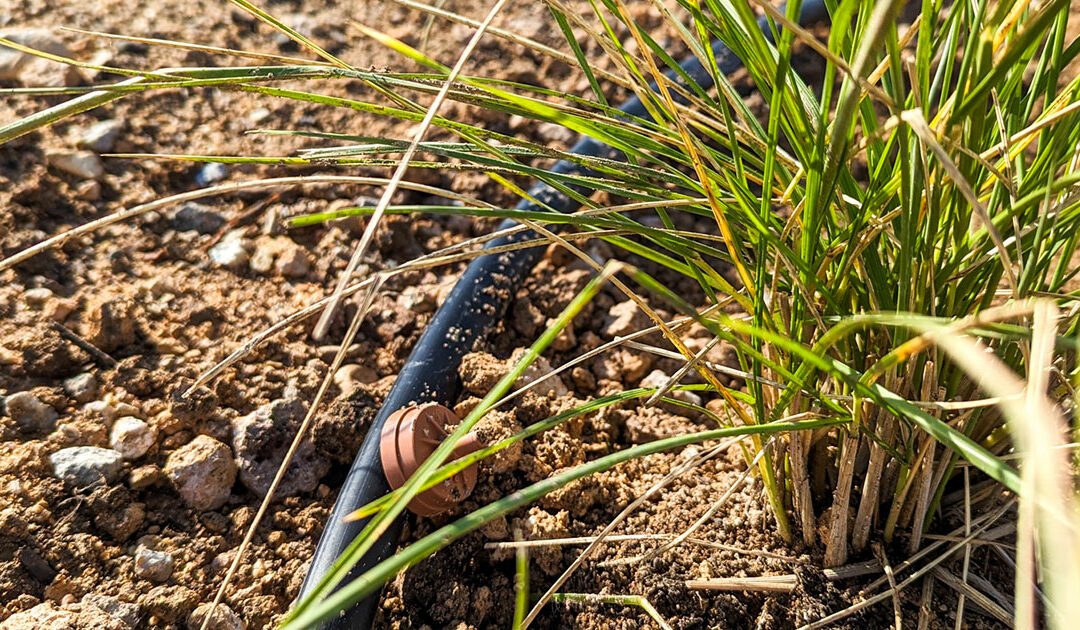
Fertigation is the combination of both supplements, serving as a nutrient delivery system for landscapes. Fertilizer is delivered in the irrigated water and can use drip irrigation, spray nozzles, or heads.
How We Do It
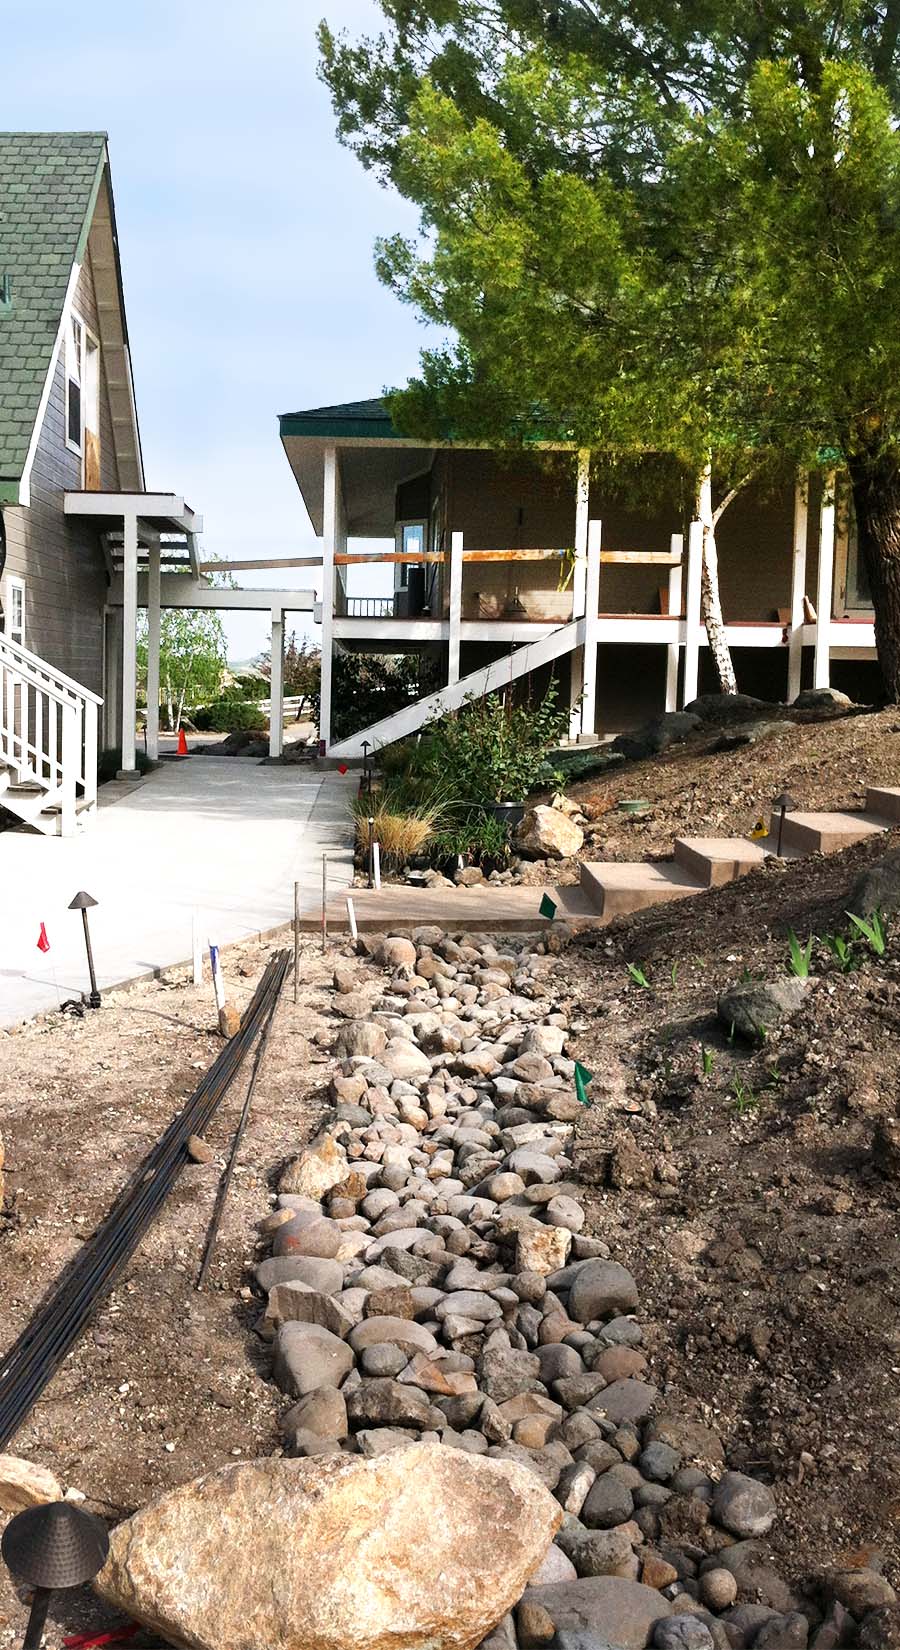
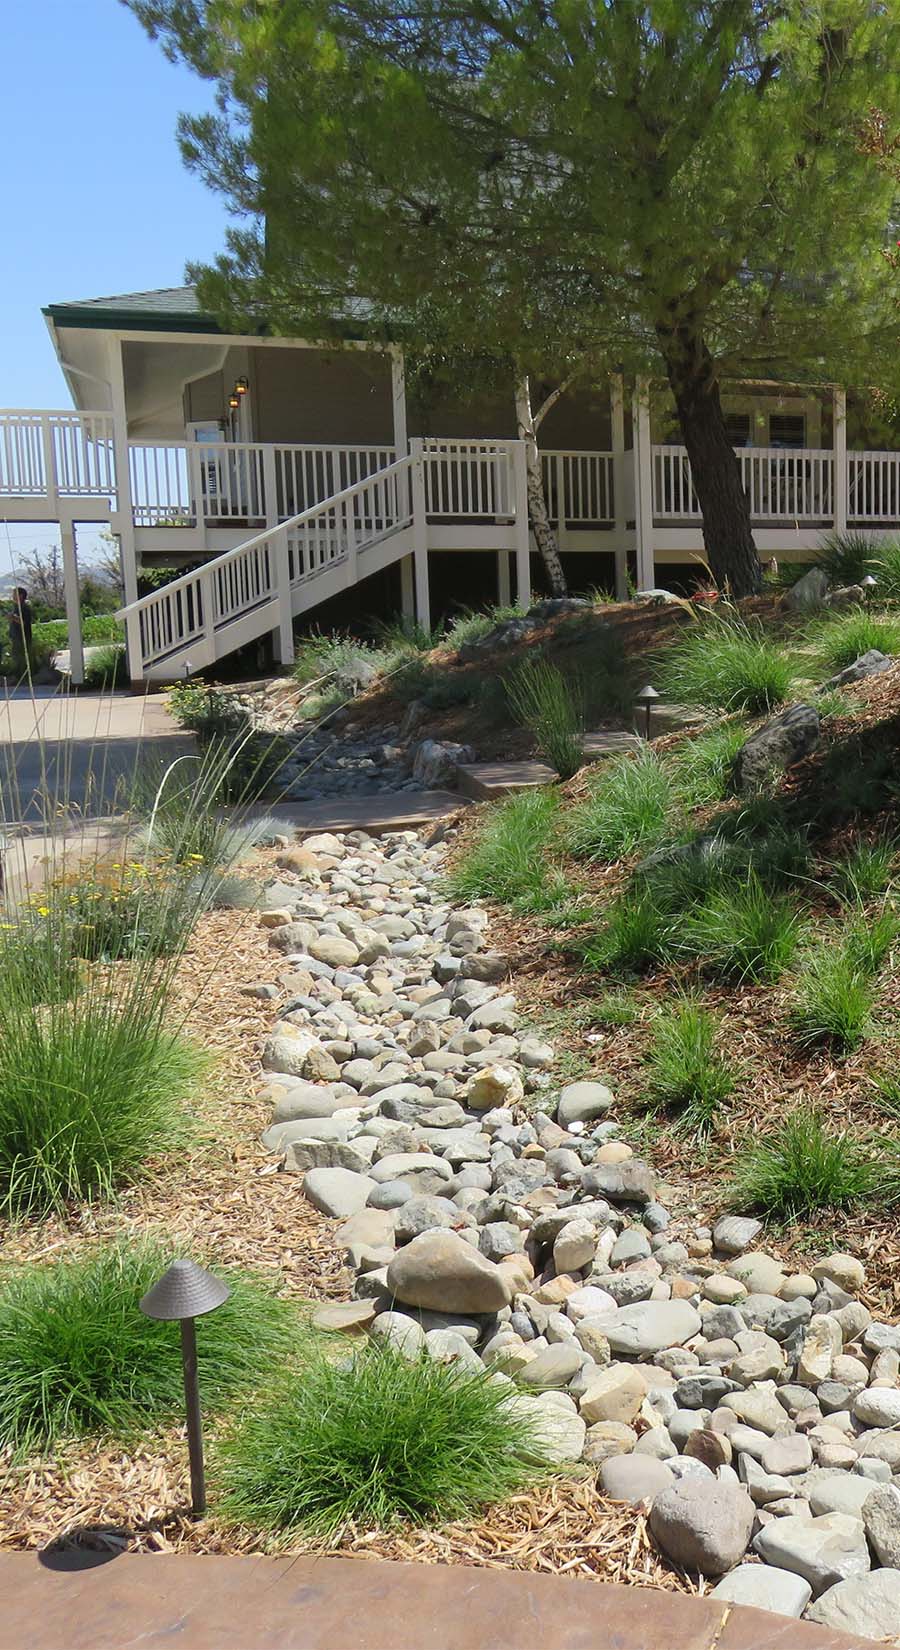
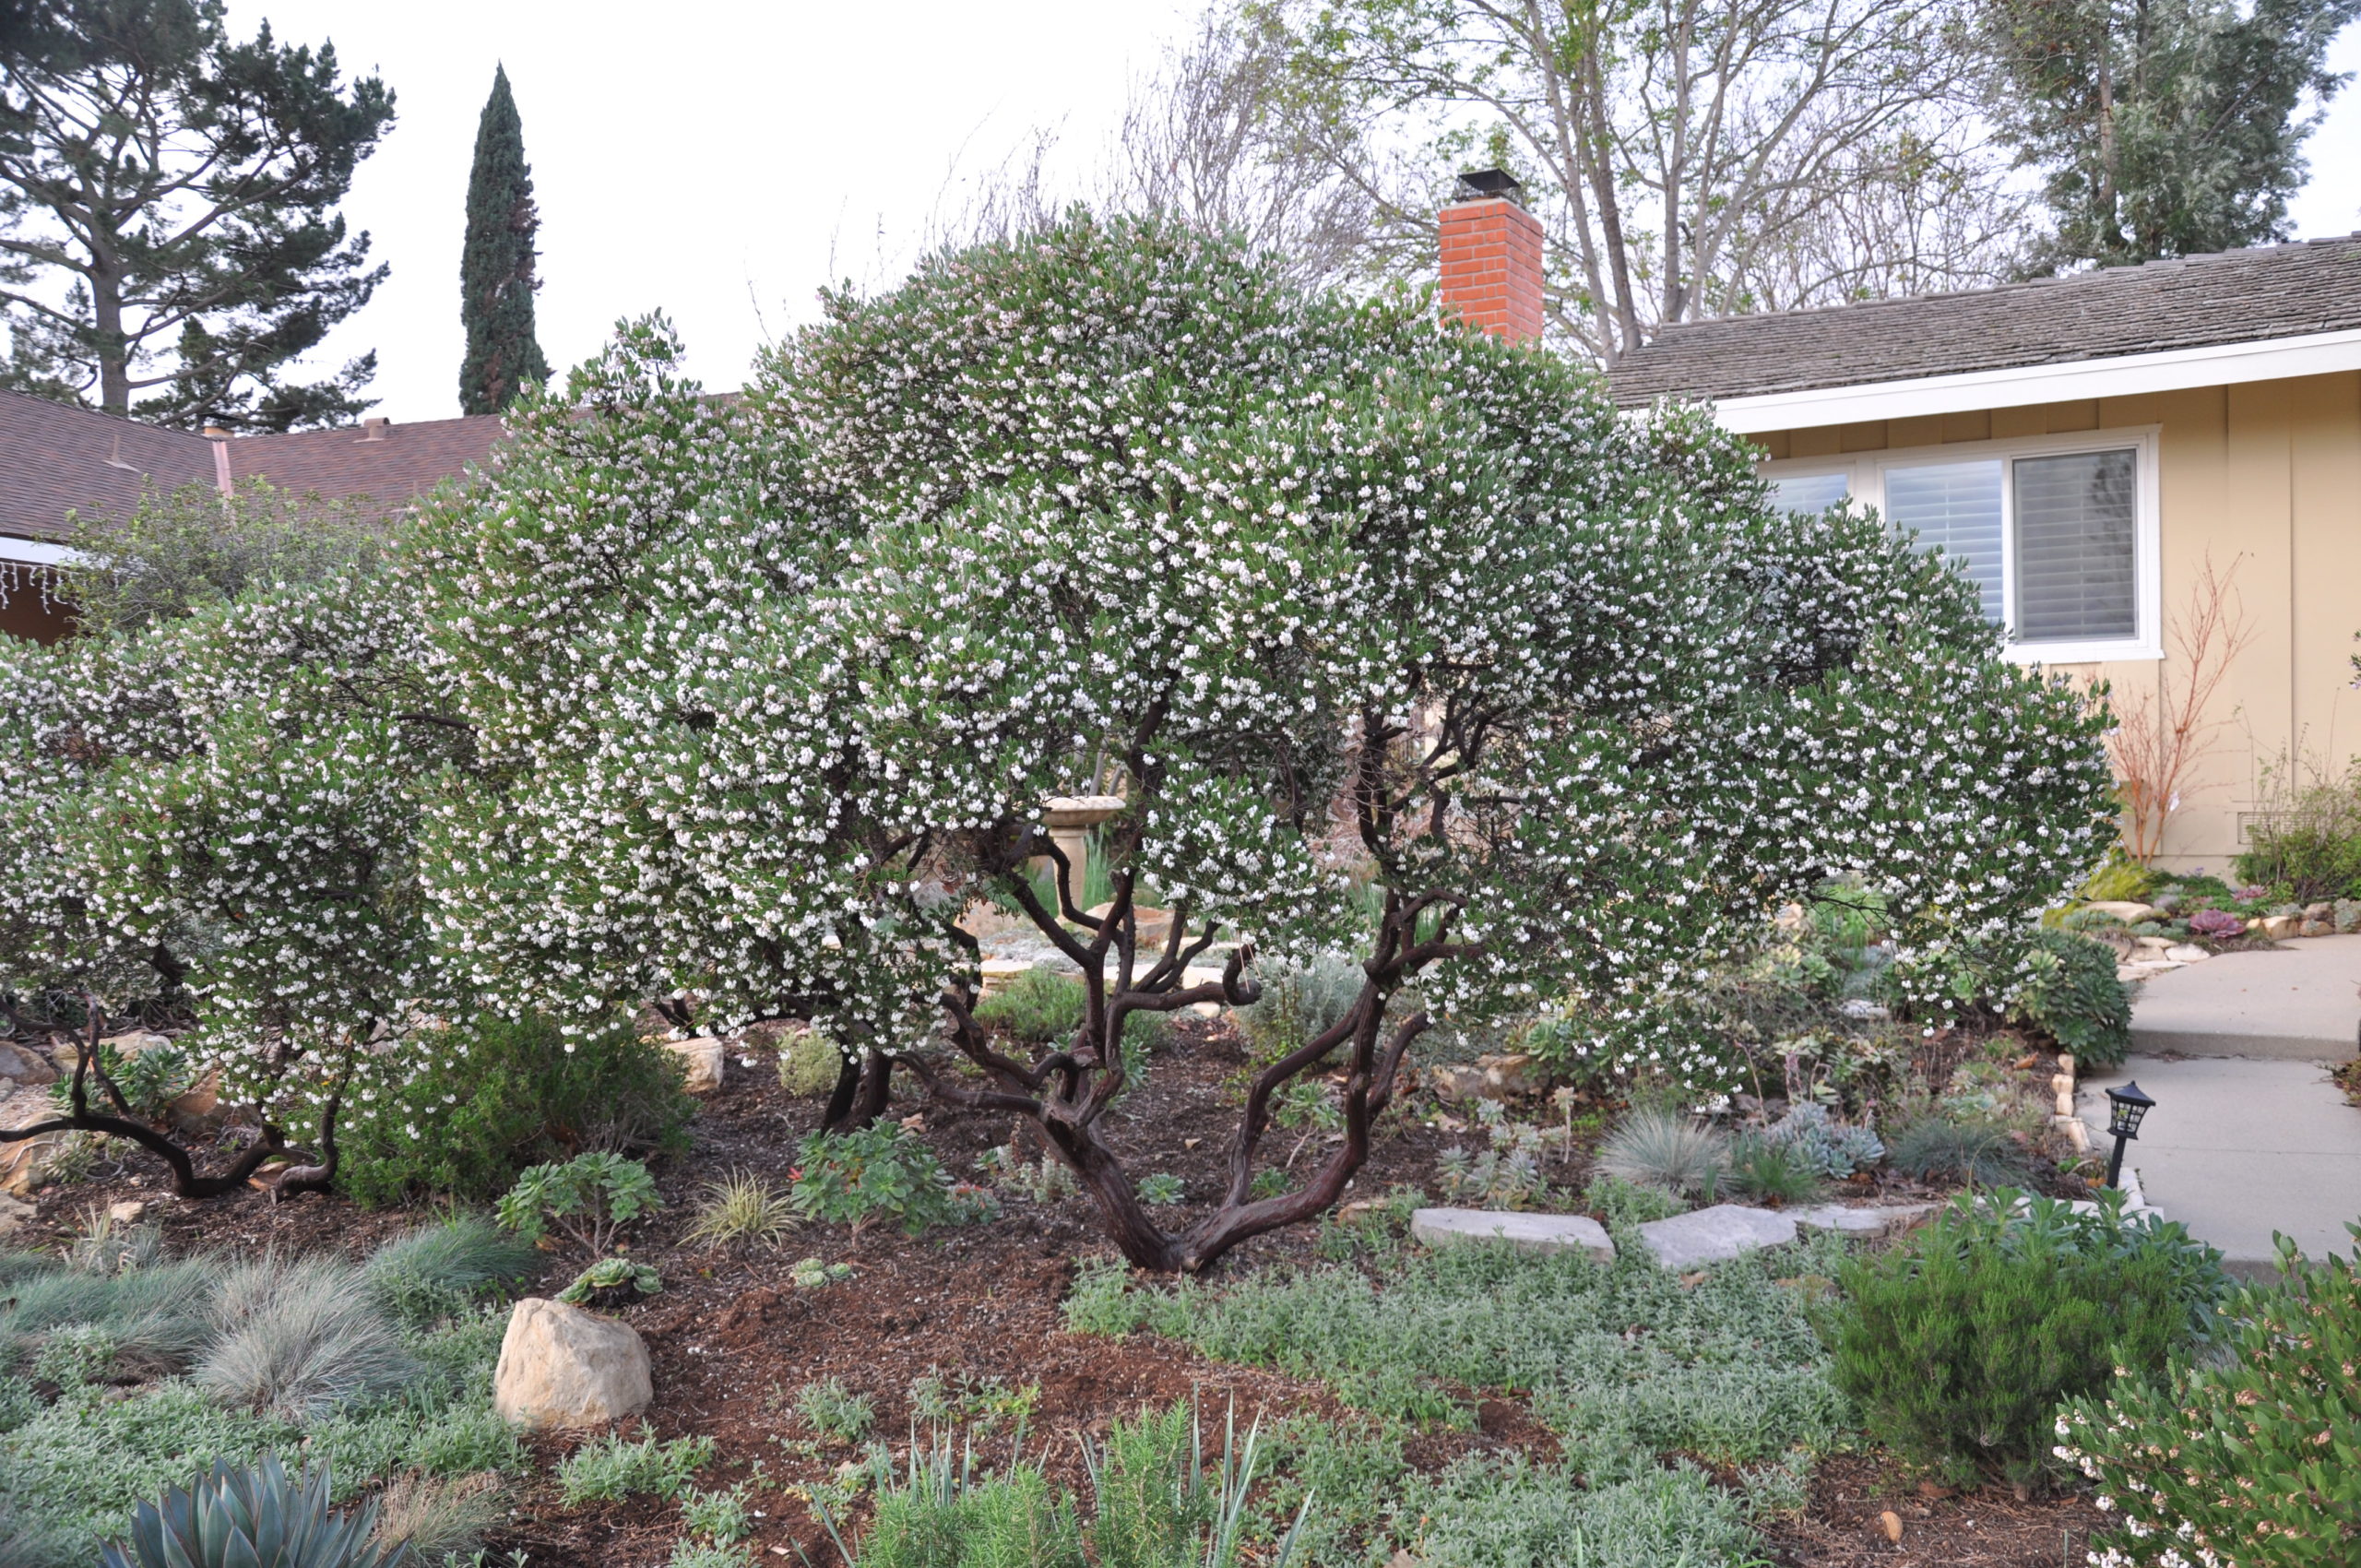
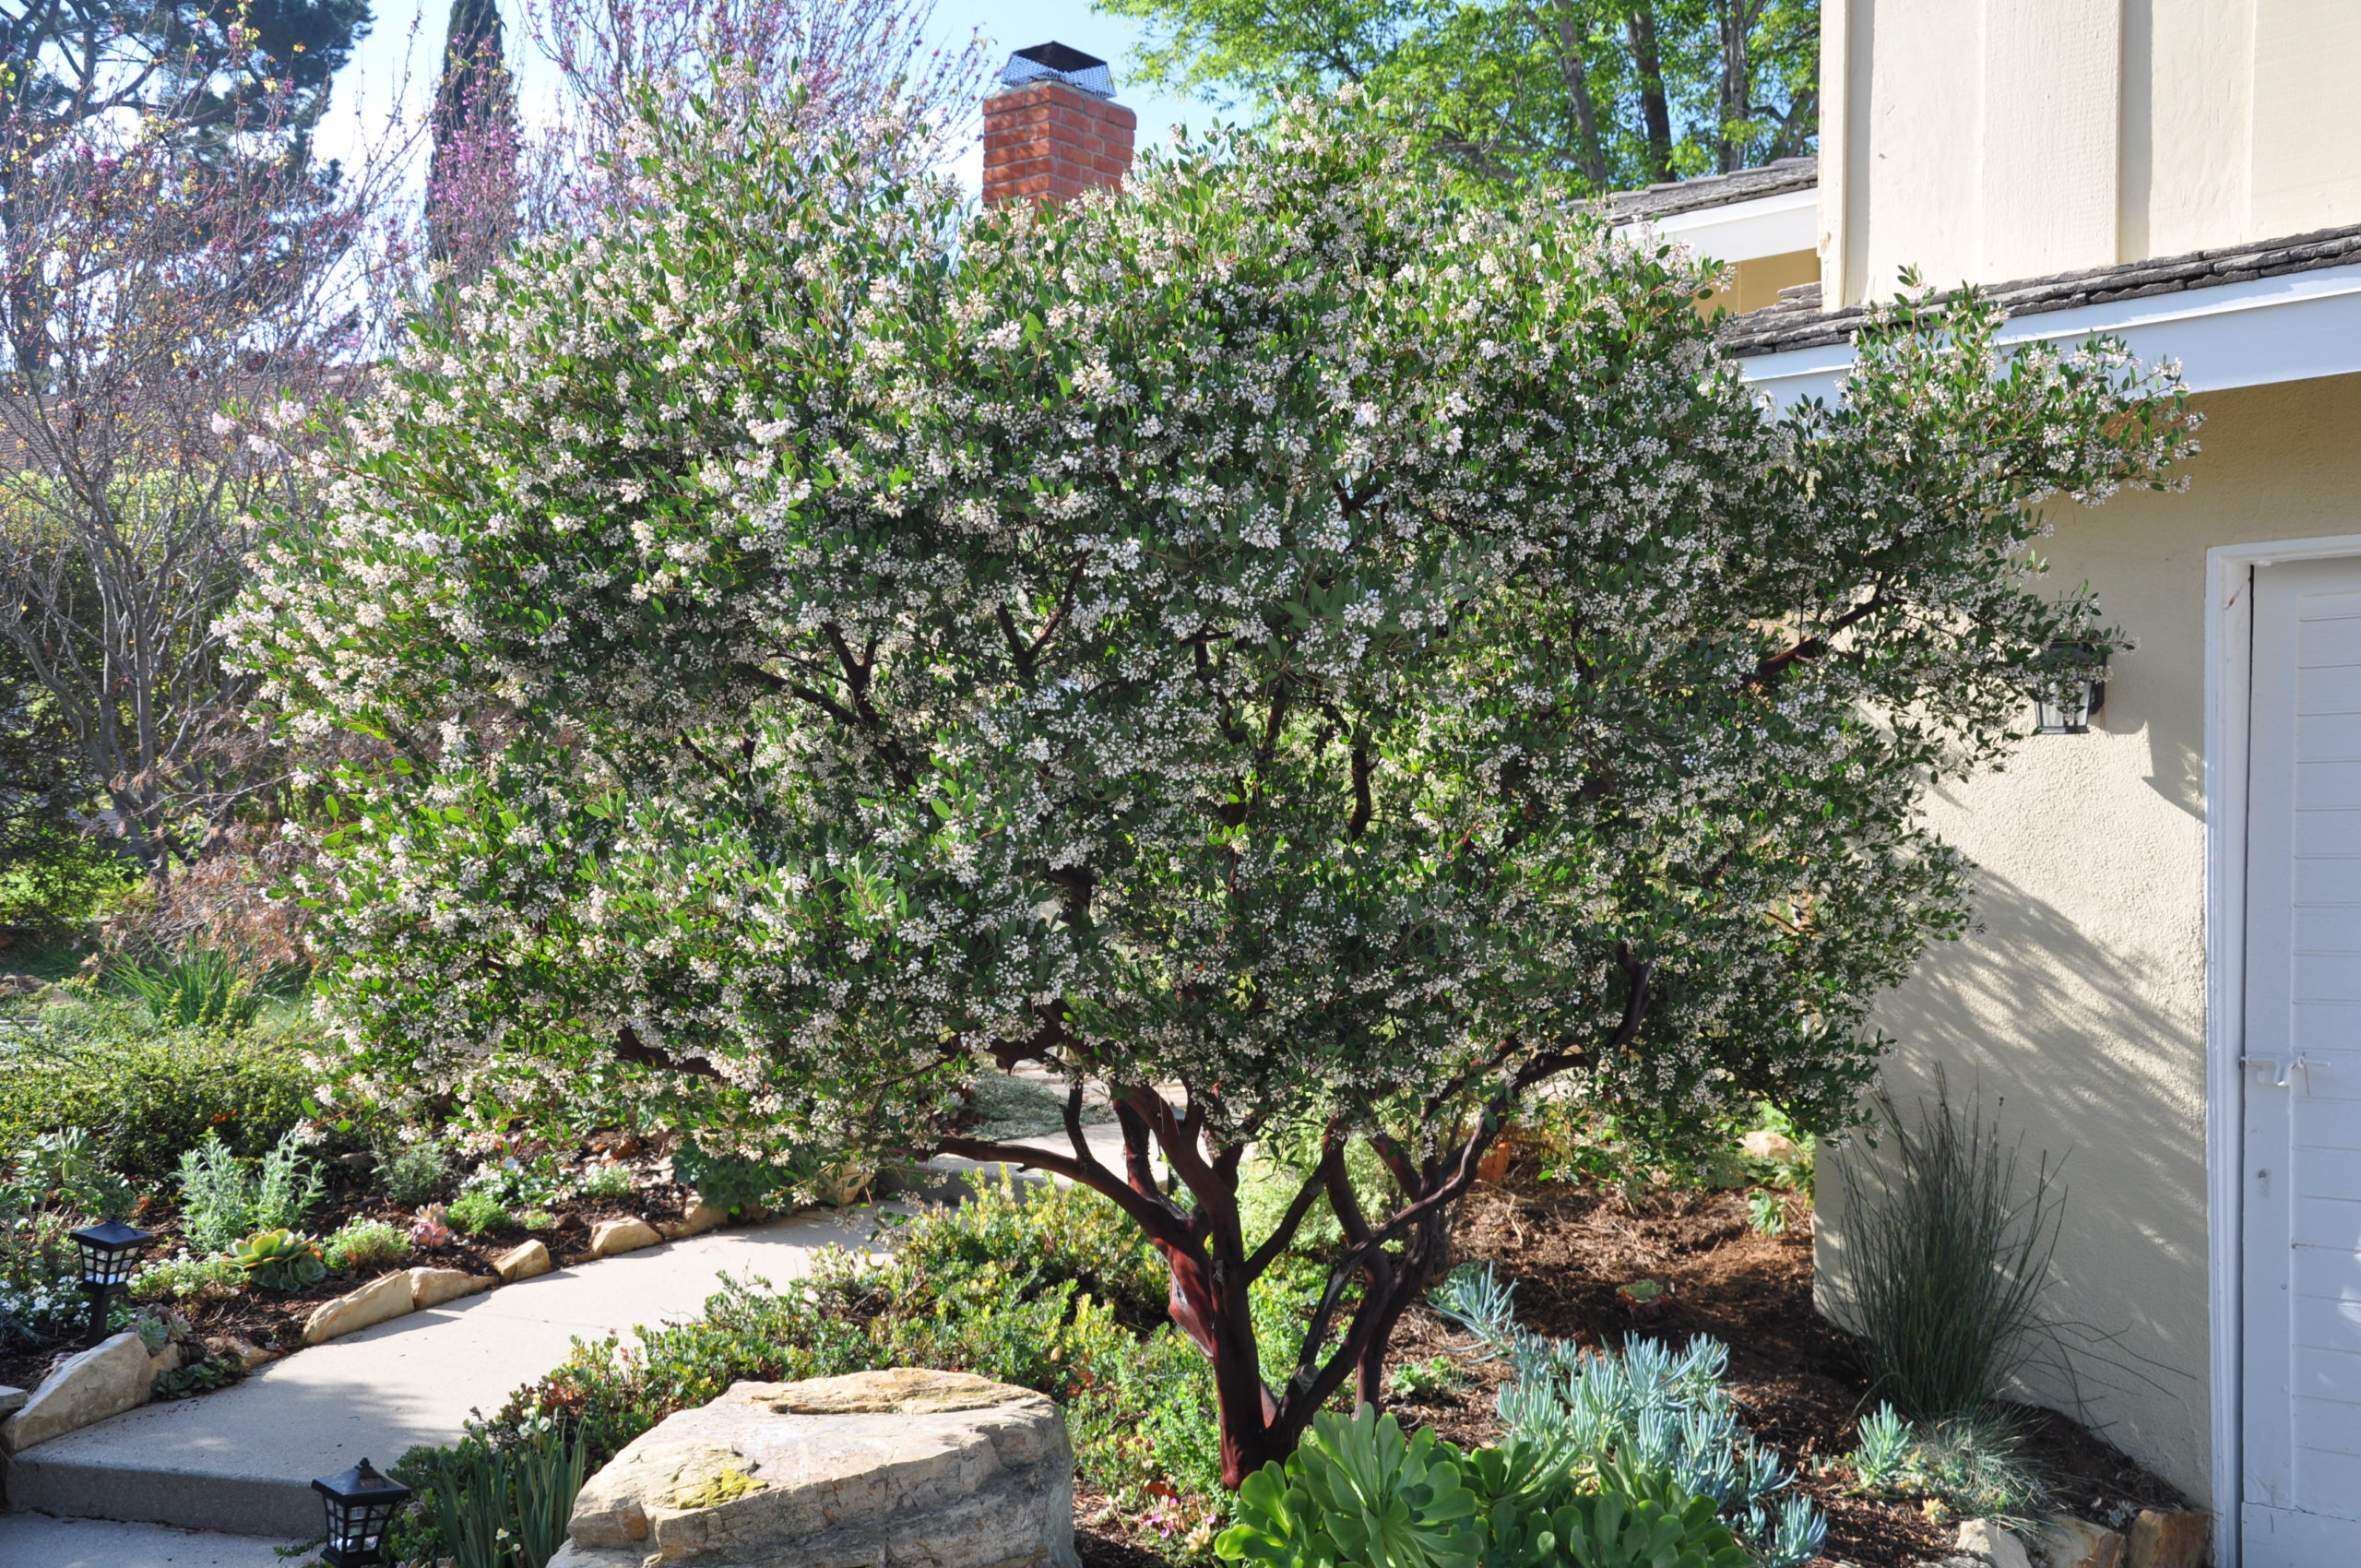
Madrone Operations Manager Erik Gorham has provided fertigation services for almost a decade. He uses the EZ-FLO products to treat a wide variety of landscape issues. The process is as simple as our trained Madrone team installing a dispensing system in the valve box connected to the main line of a preexisting sprinkler system. “You really can forget about it, because part of our landscape maintenance program includes filling the unit with fertilizer every four to six weeks,” Erik shares.
We use Red Frog Compost Teas as part of our organic fertilizer program. The compost tea improves soil and plant health by improving nutrient availability and retention in the soil. “Biology feeds the plant,” explains Erik. “Typically, what plants need is in the soil. But if your soil is depleted, the worm castings offer an excellent soil amendment that is safe around children and pets.”
Savings on labor and energy costs can quickly offset the initial investment in a fertigation system. A homeowner who lives in an area affected by drought or water restrictions may prefer fertigation because they can better manage the nutrients and water supply going to their landscape—as well as increase water efficiency. It also gives them the ability to add nutrients directly into the root zone that may be otherwise difficult to access.
Erik sees it as an affordable investment to every landscape. “You chose your plants carefully. Help them mature more quickly and stay healthy by using this easy fertilizer system all year round.”
Learn more about our maintenance services. For more details, contact us at [email protected] or (805) 466-6263.
Nov 6, 2023
Autumn Brilliance: Elevate Your Central Coast Landscape with Seasonal Color
Embrace the cooler season on the Central Coast with a vibrant autumn landscape. The shift to fall brings a flourish of foliage that turns your garden into a canvas of warm colors. Madrone Landscape specializes in plants that promise a vivid display as the temperatures drop. Let’s explore our top picks that guarantee a vibrant autumn landscape.
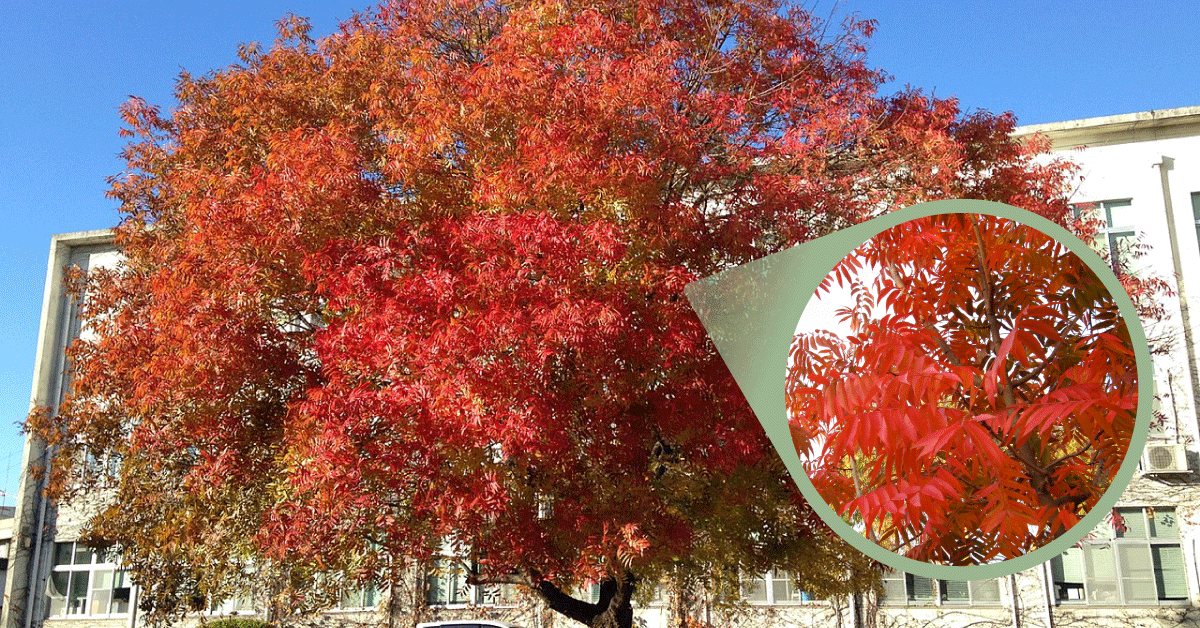
Chinese Pistache (Pistacia chinensis)
Thriving in sunny spots, the Chinese Pistache shines with drought-resistant qualities. As temperatures dip, its foliage erupts into a fiery blend of orange and red hues. The tree’s October berries are a gift to the local wildlife, while its balanced, symmetrical form makes for an exquisite focal point in any garden.

Maidenhair Tree (Ginkgo biloba “Autumn Gold”)
With fan-shaped leaves that turn a luminous yellow, the Ginkgo biloba “Autumn Gold” becomes the highlight of a vibrant autumn landscape. This tree’s golden foliage creates a stunning contrast, especially when paired with the fiery backdrop of other autumnal shades.
Bloody Geranium (Geranium sanguineum)
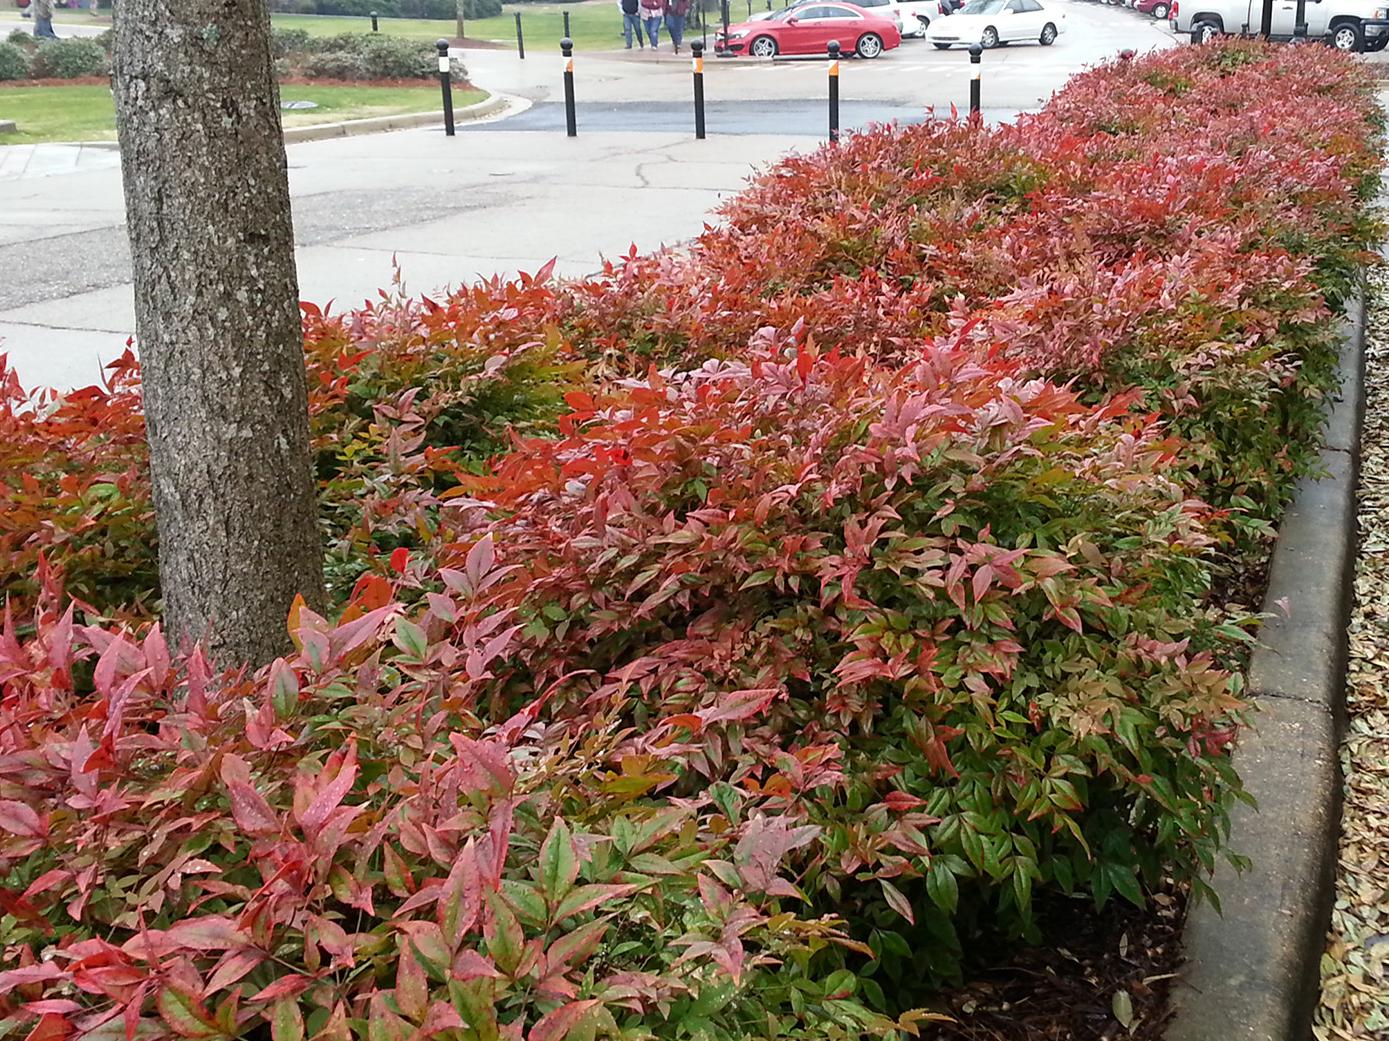
Beyond its vibrant magenta blooms in the warmer months, the Bloody Geranium’s foliage takes on a crimson coloration in fall, living up to its name. Its delightful leaf shape offers a bushy accent or a sprawling ground cover that keeps your garden lively through the seasons.
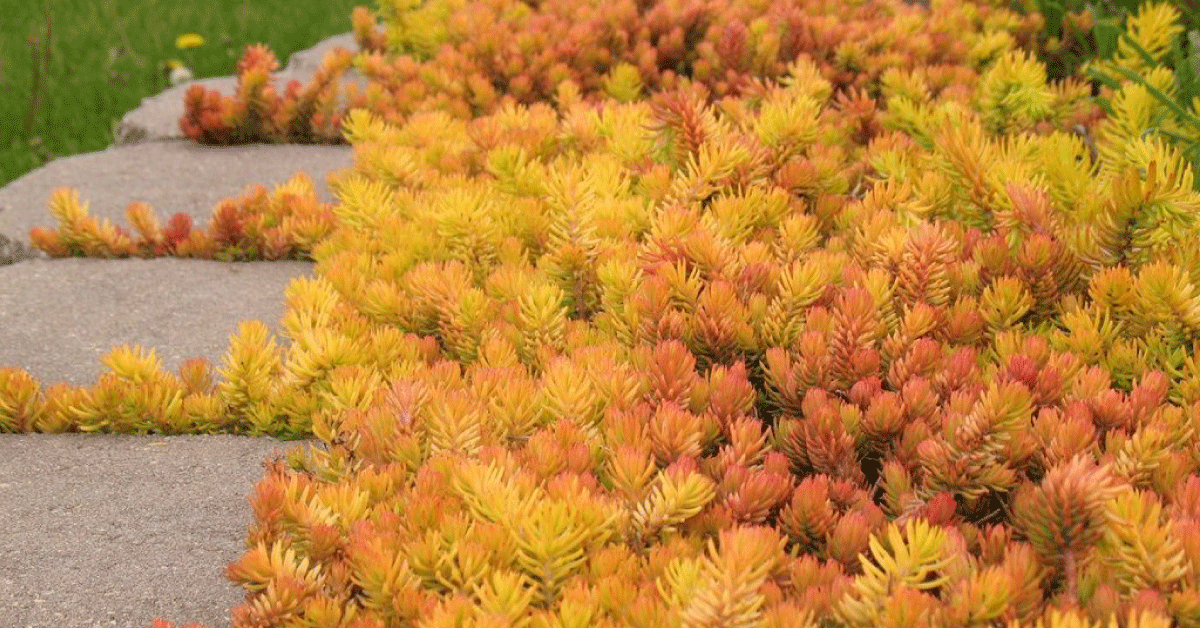
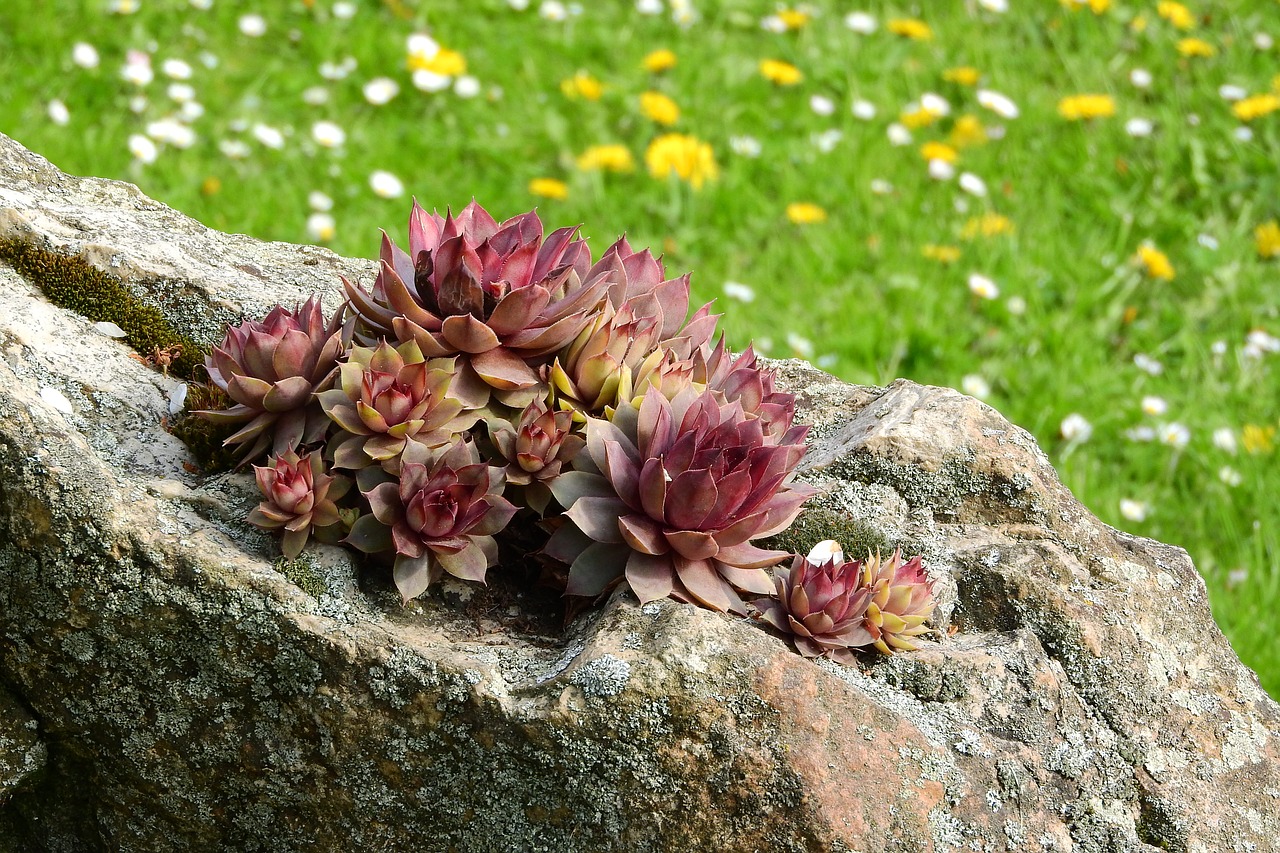
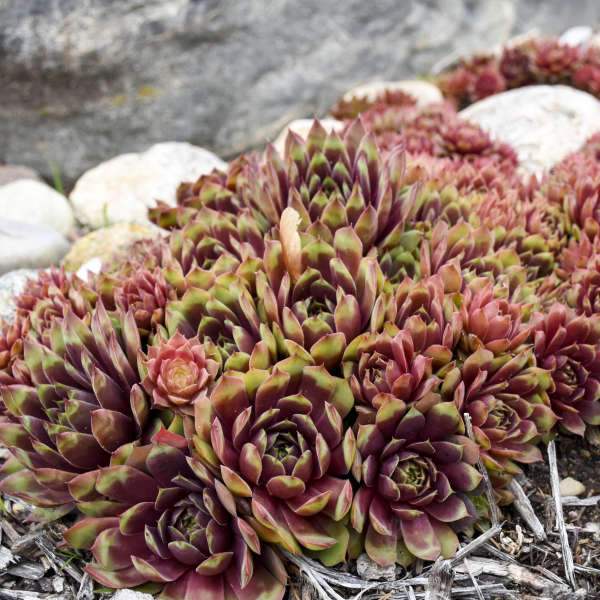
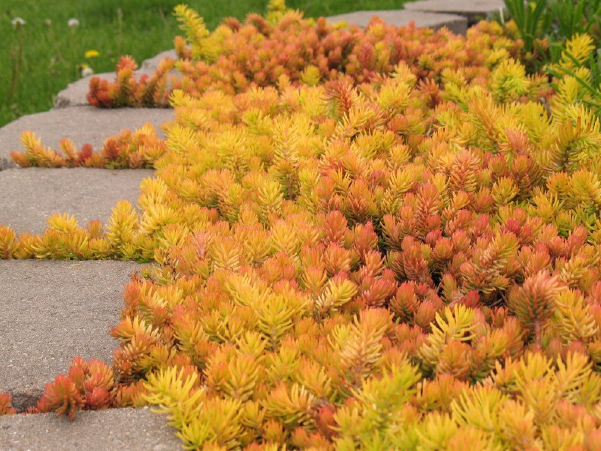
Golden Stonecrop (Sedum reflexum “Angelina”)
This resilient succulent maintains a sunny disposition year-round, which intensifies into a rich gold with the chill of fall. Ideal for rocky soils, Golden Stonecrop is a fuss-free choice that keeps gardens bright and weed-free.
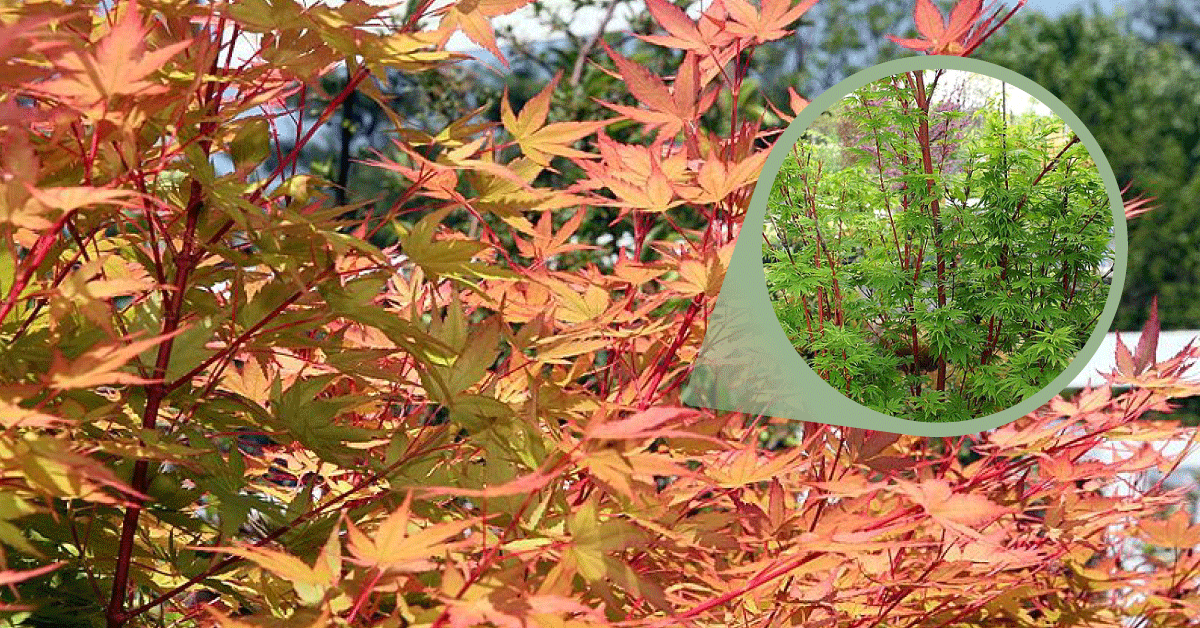
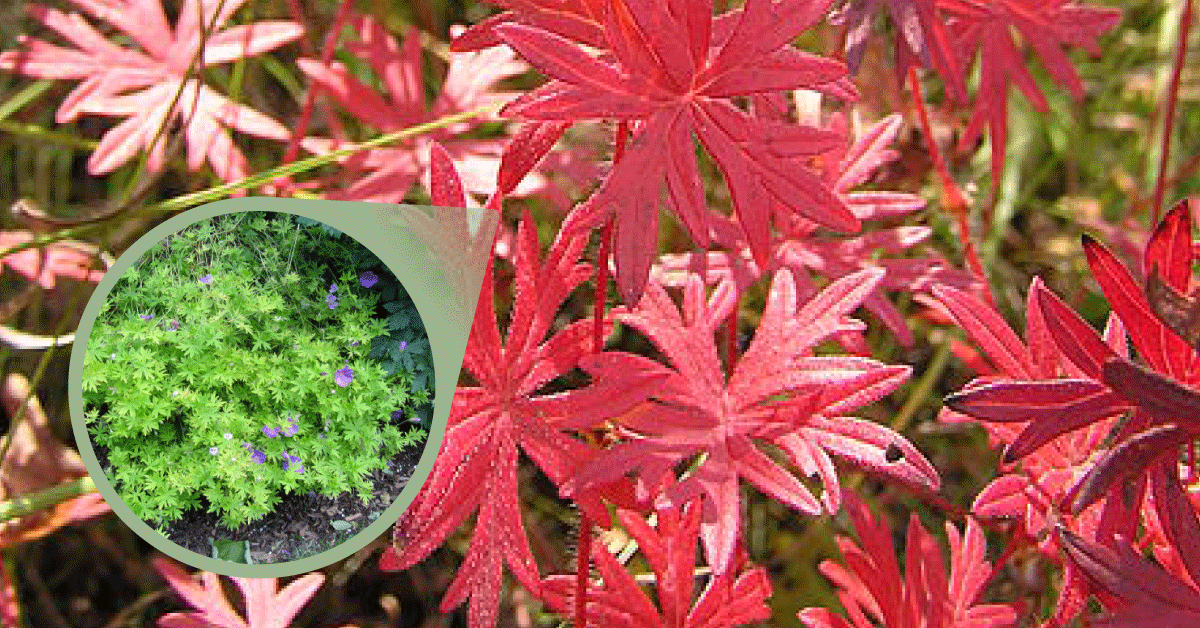
Coral Bark Japanese Maple (Acer palmatum “Sango Kaku”)
A twist on the beloved Japanese Maple, the ‘Sango Kaku’ variety captivates with its seasonal transformation. Lime-green leaves yield to golden tones and fall away to unveil a stunning red bark, providing a dramatic backdrop throughout the colder months.
Ready to elevate your landscape with these autumnal beauties? Reach out to our design team at Madrone Landscape at [email protected] or call us at (805) 466-6263 for a consultation. Transform your space into a seasonal spectacle.
Oct 3, 2023
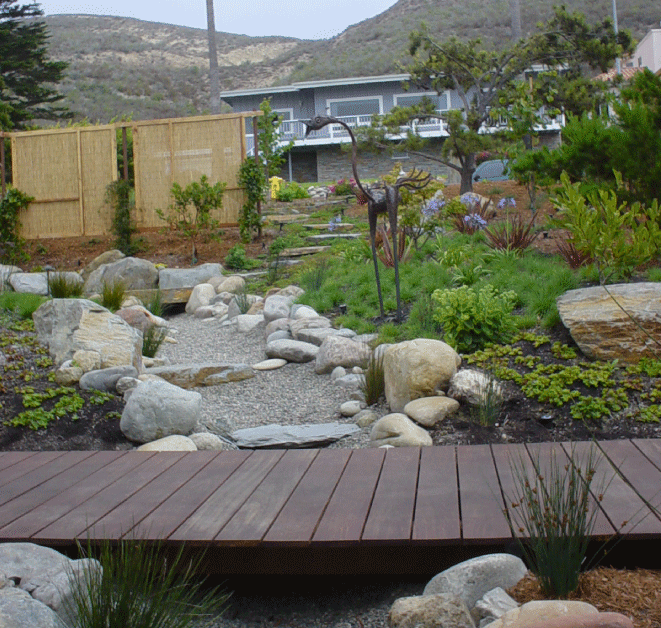
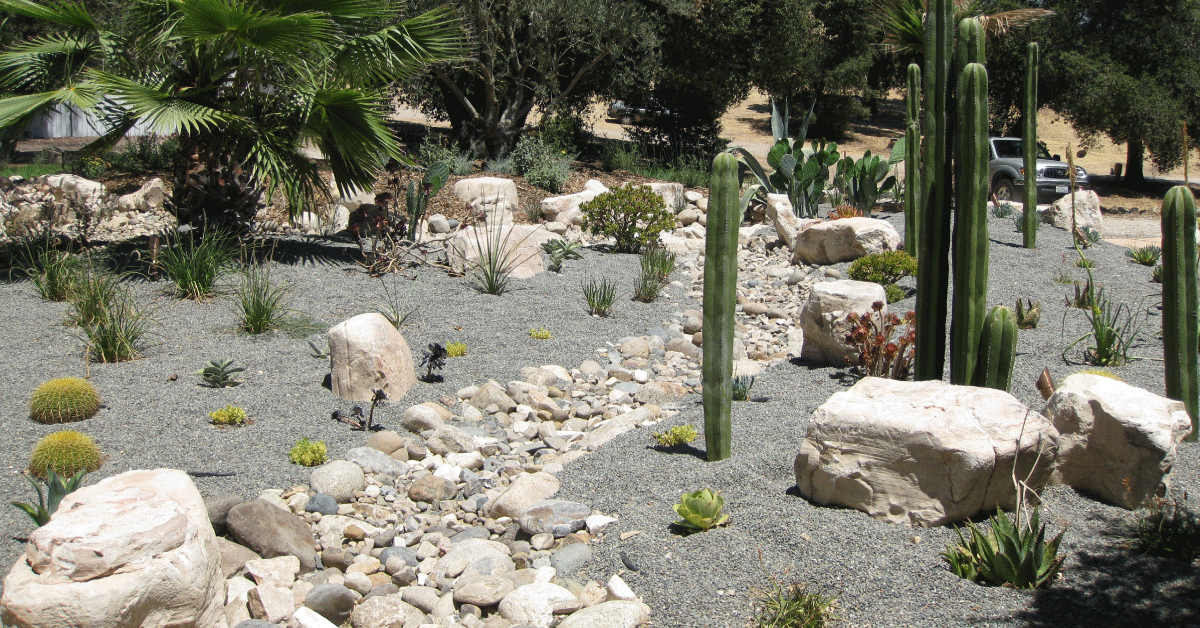
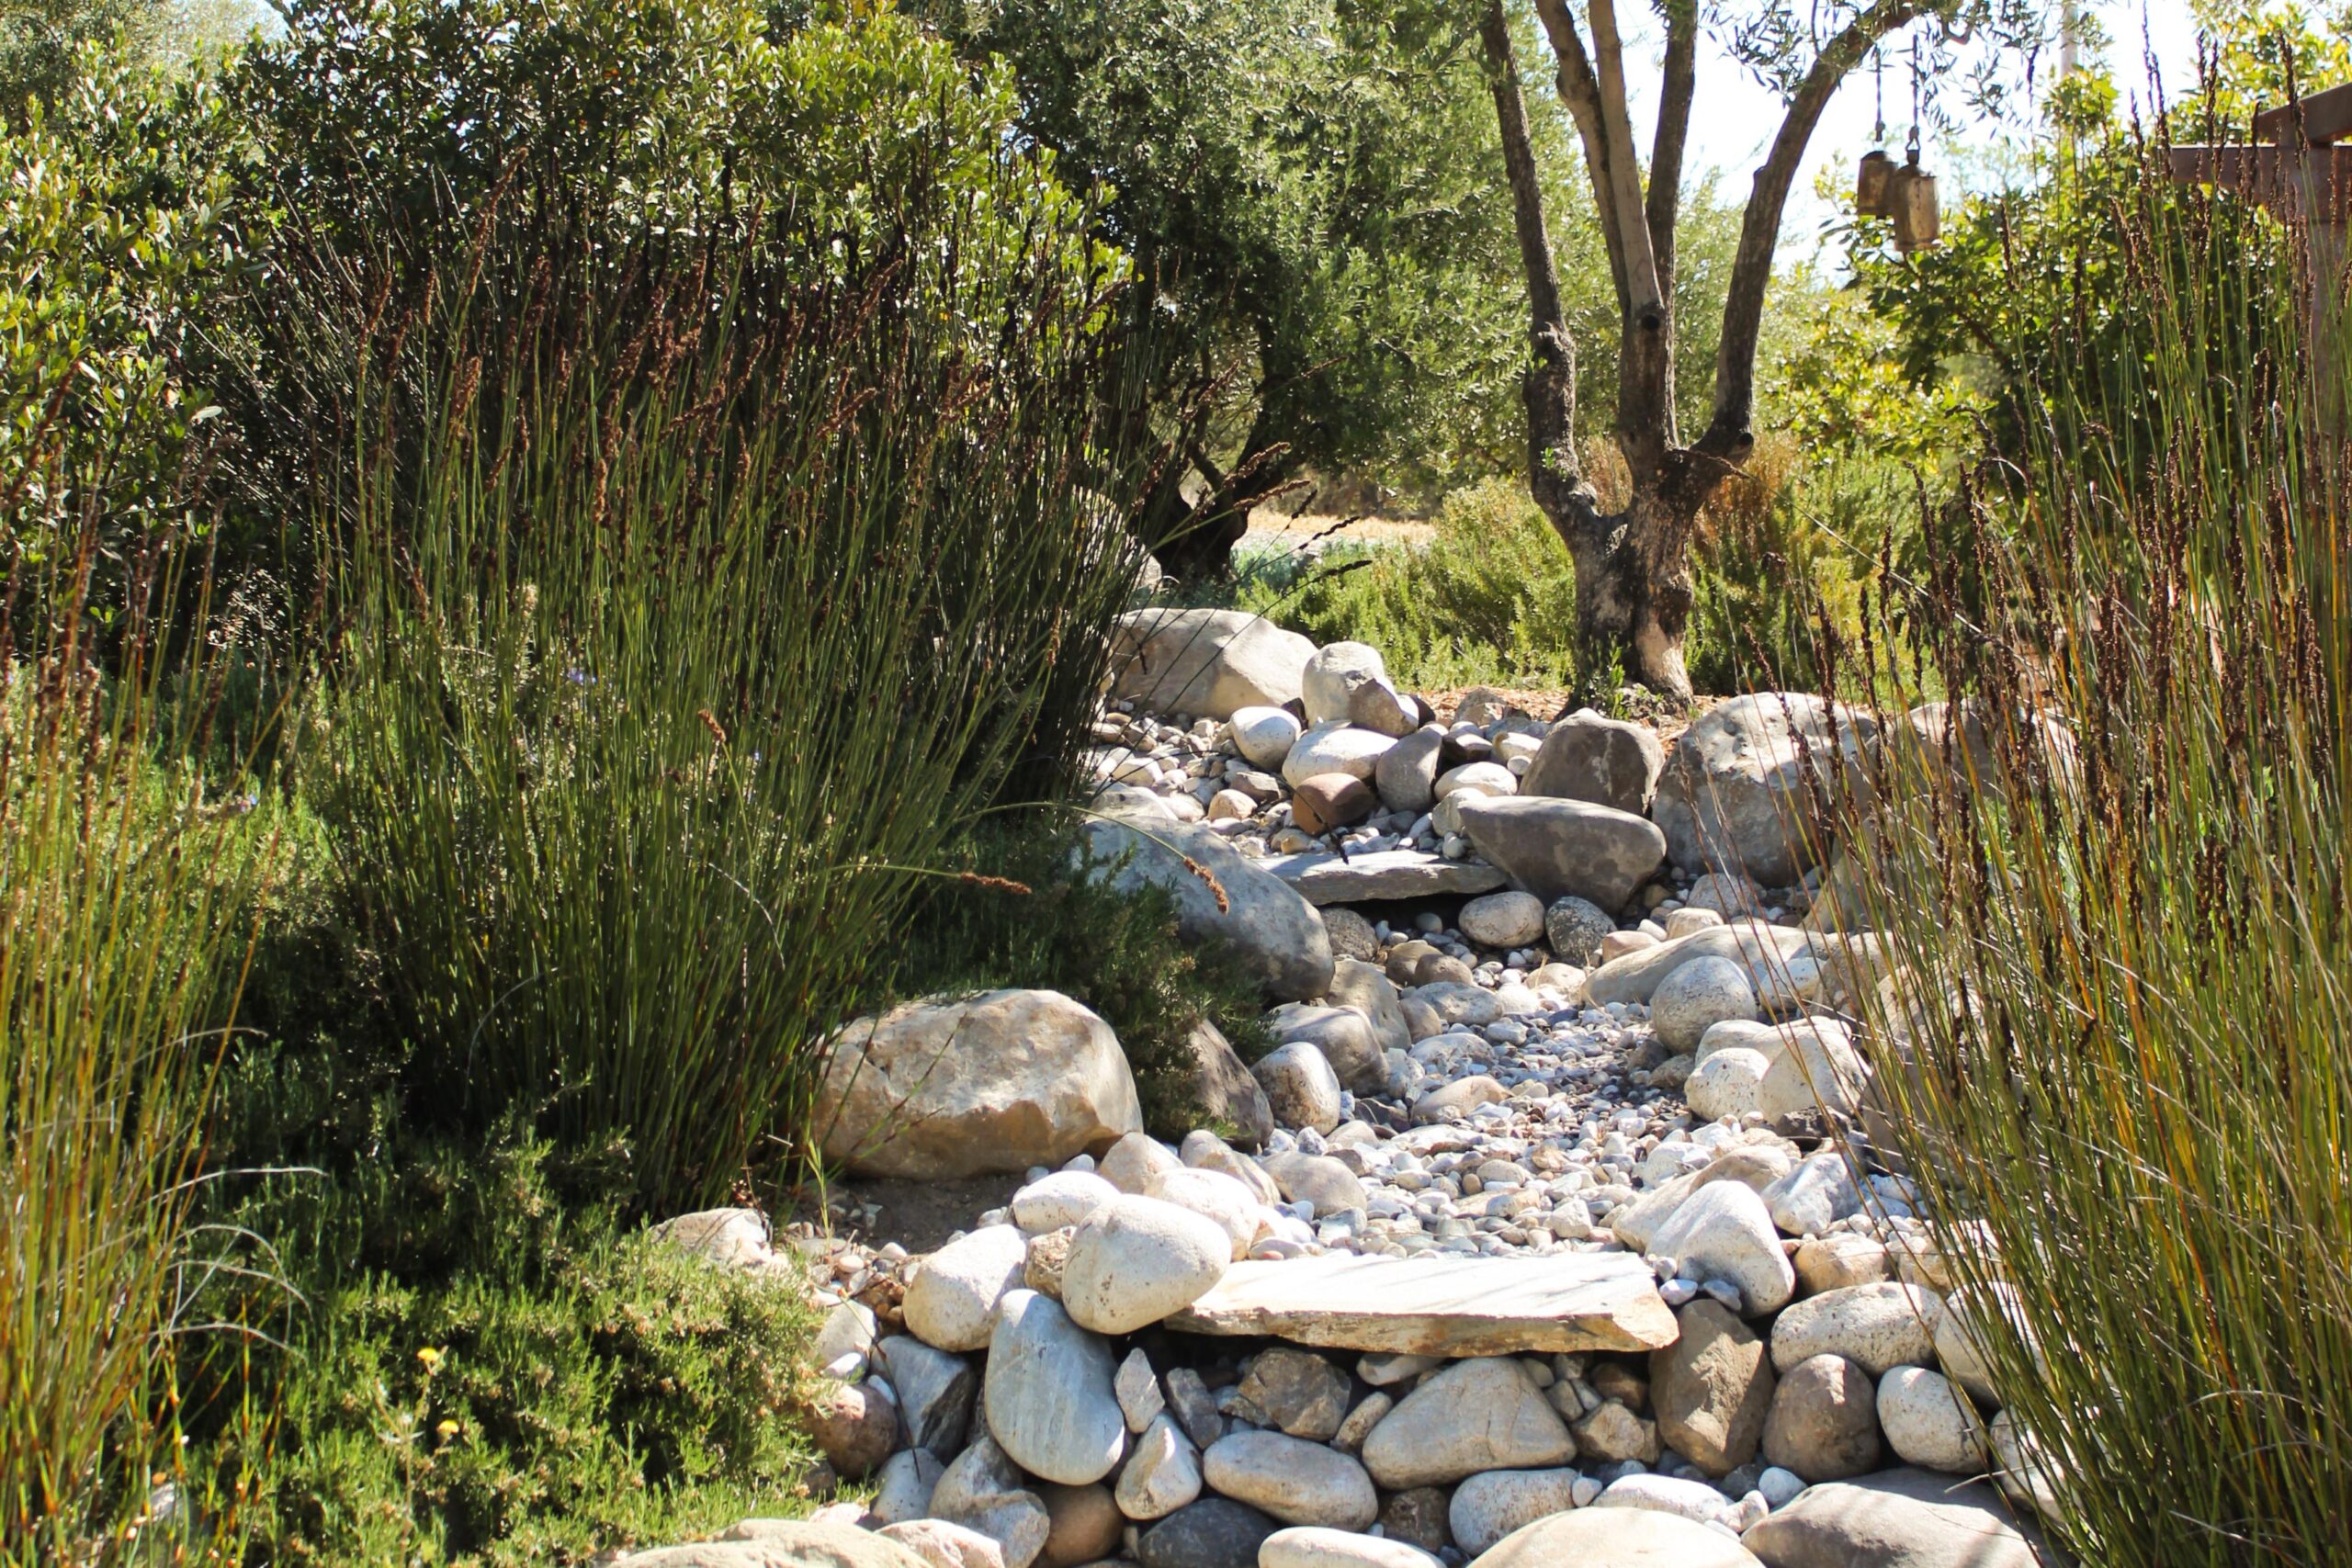
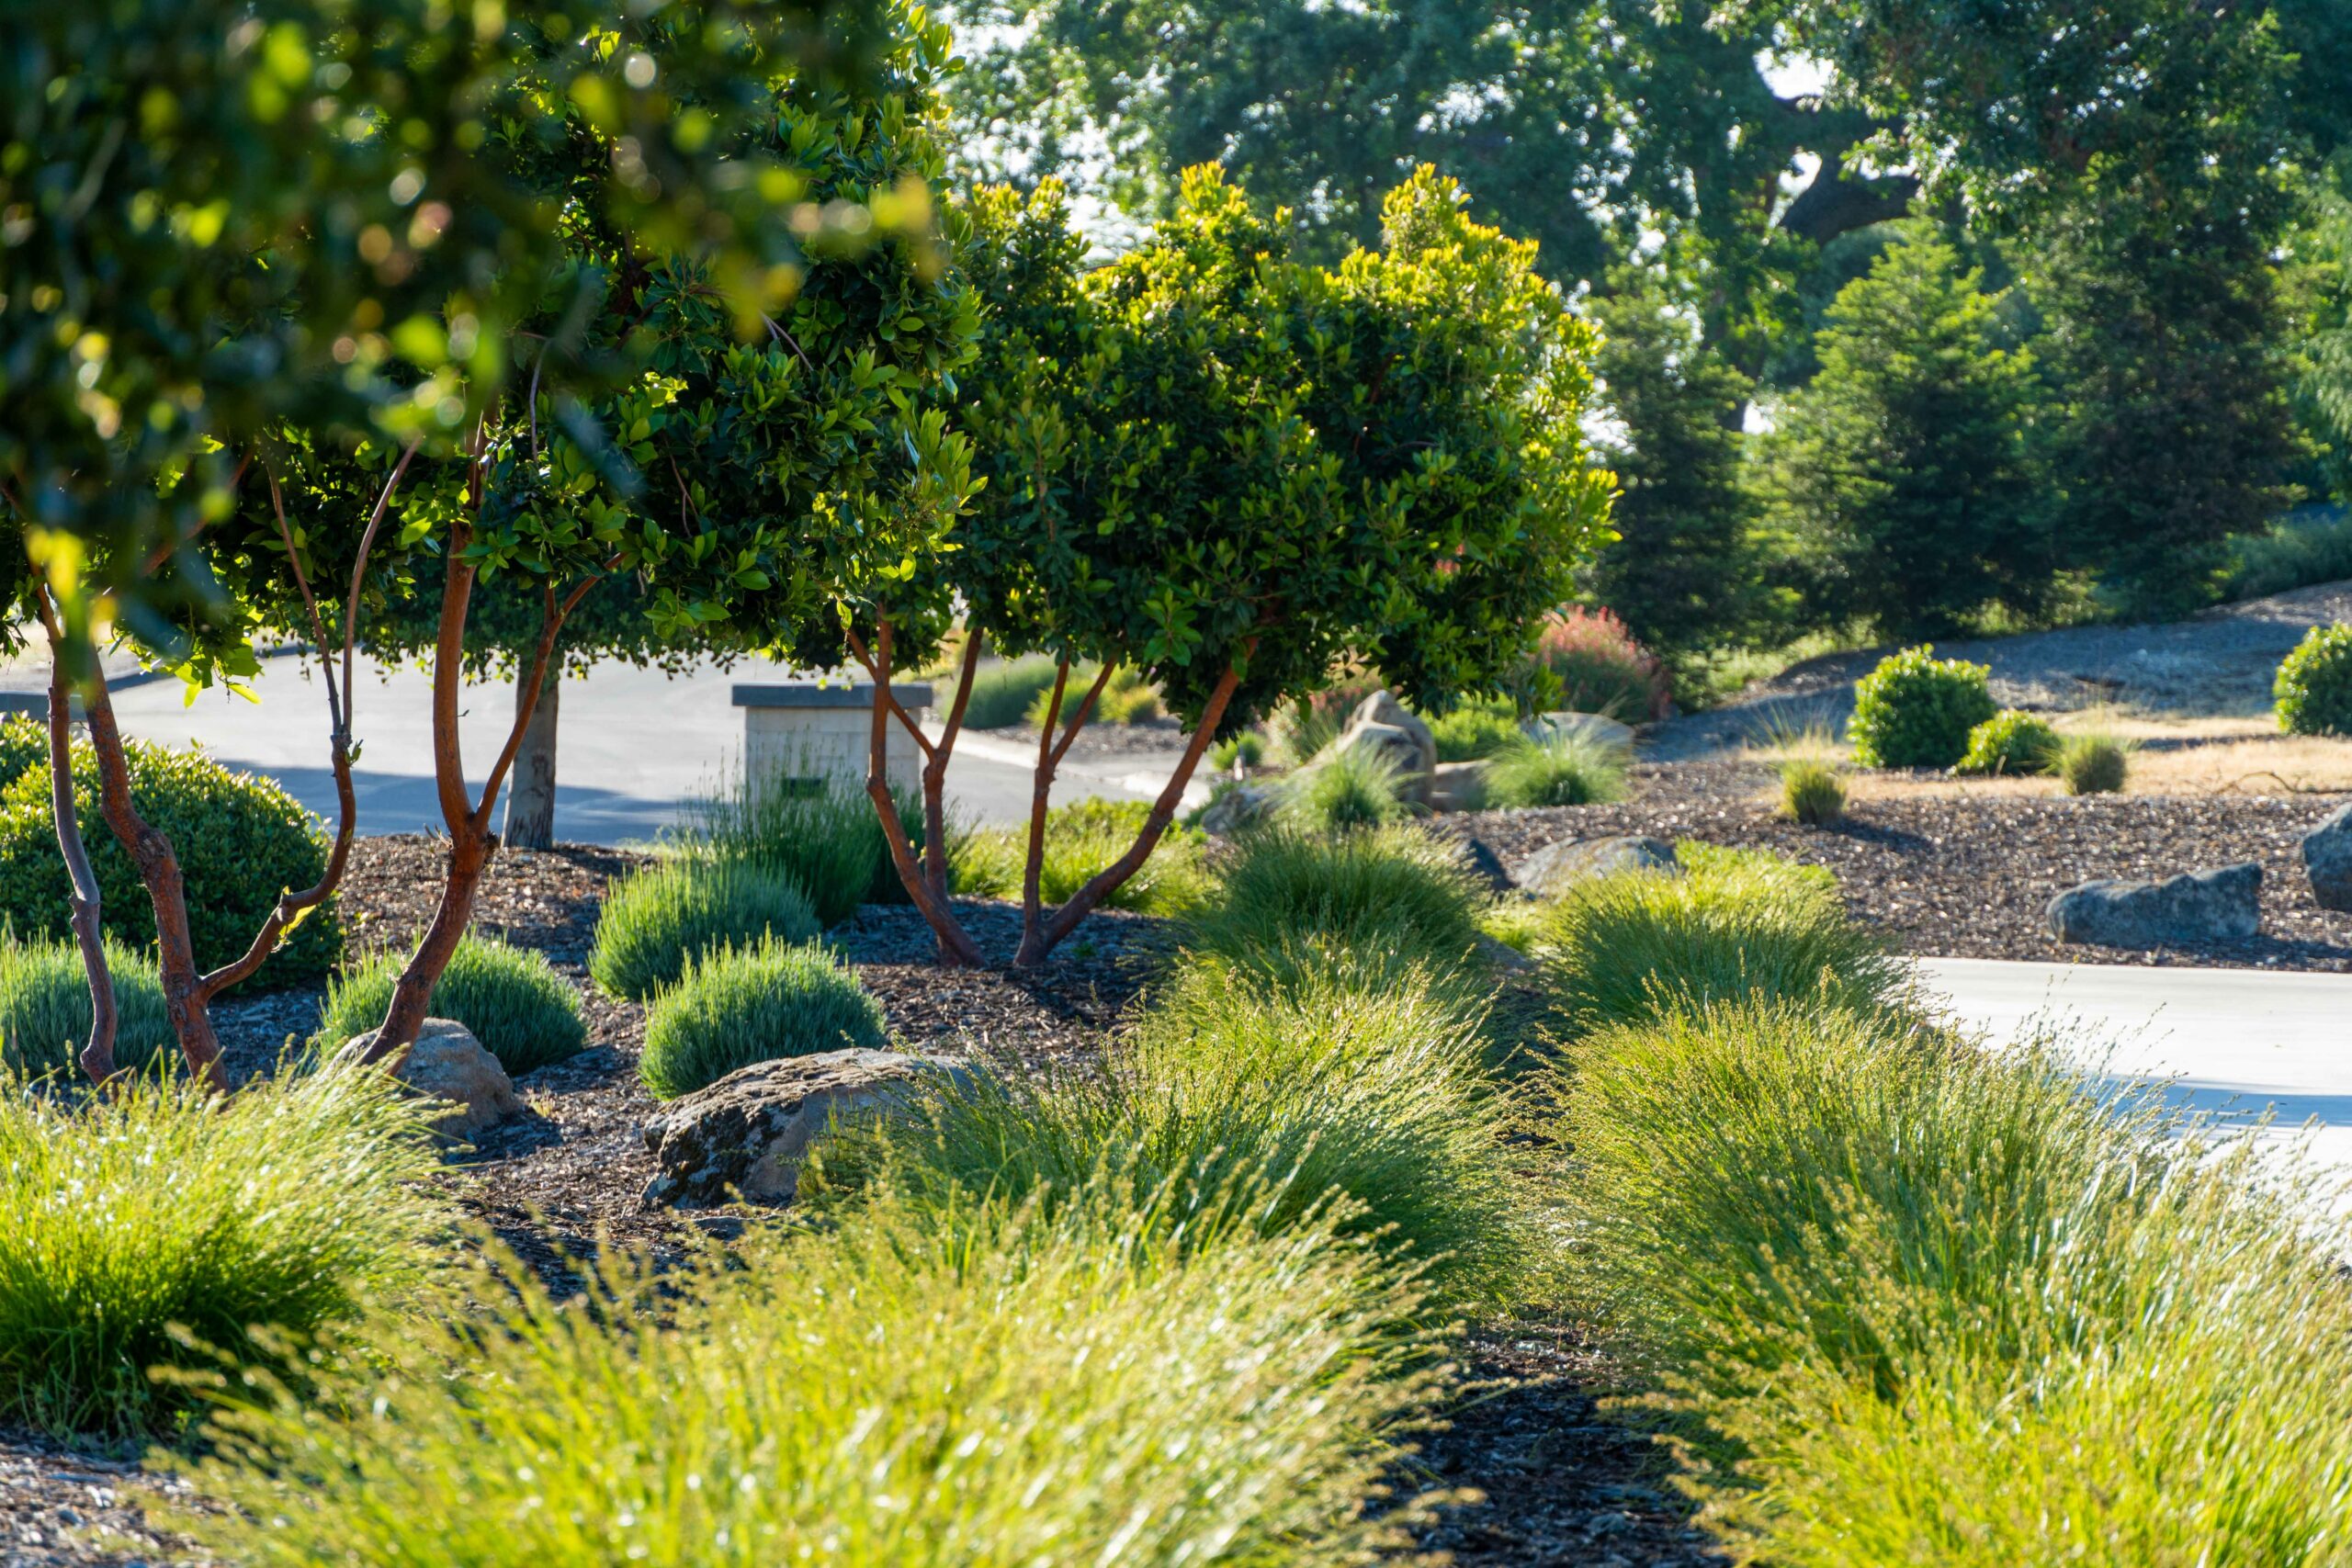
Maximize the Potential of California Landscapes with Mulch
Mulching is a game-changer for California central coast landscapes, offering a multitude of benefits that every gardener and landscaper should take advantage of. From controlling weeds to conserving moisture, mulch is a versatile tool that enhances the beauty and functionality of outdoor spaces. In this Guide to California Landscape Mulching, we’ll explore the key benefits, various types, and effective methods of using mulch in California landscapes.

Control Weeds and Conserving Moisture
Mulch is a gardener’s best friend when it comes to controlling weeds and retaining moisture. By applying a layer of mulch, you can reduce the growth of unwanted plants, particularly annuals, by up to 90%. This not only keeps your landscape looking pristine but also saves on landscaping labor costs and reduces the need for toxic herbicides.
Moreover, mulch plays a vital role in conserving soil moisture, helping you cut down on irrigation expenses. In regions like San Luis Obispo County, where water conservation is crucial, mulching can significantly reduce the amount of water needed to keep your plants healthy.
Promote Soil Health
Mulching is not just about aesthetics; it also promotes the overall health of your garden. As mulch decomposes, it enriches the soil with essential nutrients, improving its organic matter content and providing a source of sustenance for beneficial organisms. Additionally, mulch reduces soil compaction and insulates plants from extreme temperatures. This insulation effect can lower soil temperatures by up to 10 degrees, which is especially beneficial for young plants and trees.
Reduce Soil Erosion
Erosion is a significant concern, especially on slopes. Mulch acts as a protective barrier that keeps the soil in place during heavy rain and wind, reducing the risk of erosion. By deflecting the impact of raindrops, mulch minimizes stormwater runoff and helps maintain the integrity of nearby creeks and waterways.
 Enhance Aesthetics
Beyond its practical benefits, mulch adds a finishing touch to your landscape. A well-maintained mulch layer creates a clean, uniform appearance that ties your garden together. It provides a polished look that complements the natural beauty of your plants and hardscape features.
 Choose the Right Mulch Material
When selecting mulch for your California landscape, consider the style and design of your garden. While bark and wood products are common choices on the Central Coast, there are various other options to explore. These include stone, such as colorful rocks and gravel, as well as sheet mulching using materials like newspapers, cardboard, and plastic sheeting.
Recycled organic mulches, such as wood chips, compost, leaves, pine needles, and grass clippings, are eco-friendly choices that reduce the need for long-distance shipping. Using mulch from local tree trimming operations is not only sustainable but also contributes to maintaining the usefulness of these by-products.
Consider Fire Safety
In many coastal California communities, wildfire safety is a paramount concern. It’s essential to be mindful of the combustibility of organic mulch. Research conducted at the University of Nevada Cooperative Extension has shown variability in mulch type combustibility. To reduce wildfire danger, it’s recommended not to use any organic mulch within five feet of homes located in wildfire-prone areas.
 Determine the Right Amount of Mulch
To maintain the benefits of mulch, aim for a 2- to 4-inch layer in your planting areas. Regularly inspect and refresh mulched areas as needed. Keep mulch at least two to three inches away from plant stems and trunks to prevent moisture-related issues. For trees in lawns, create a mulch circle around the base, with a diameter of about 2 feet for each inch of trunk diameter.
 Embrace the Power of Mulch
Mulching is a versatile and cost-effective practice that enhances the beauty and health of California landscapes. It saves time and money, promotes soil health, prevents erosion, and adds a finishing touch to your outdoor spaces. Make the most of mulch to create thriving, sustainable gardens that are both visually appealing and environmentally responsible.
If you have any questions about our mulching services or want to learn more about our maintenance program, please don’t hesitate to contact us at [email protected] or (805) 466-6263.