Five Ways to Light Your Landscape

Five Ways to Light Your Landscape

Guidelines for Illuminating Your Outside Living Spaces

When choosing outdoor landscape lighting for any area, first think about how you will use the area. Do you want to see an ambient space out your window? Does it need to be easily walkable at night? Will you be holding al fresco dinner parties? Would you like an open-air dance floor? Do you want a cozy nook for a nightcap around a fire pit?

If you have one activity in mind, you can keep the lighting simple with a single switch for all lights. If you want to use your space for several activities, you may want options. To diversify your landscape lighting, you can arrange it into different switched zones, creating flexibility in how the space feels at night. Here are five different ways to customize the lighting for your outdoor spaces.
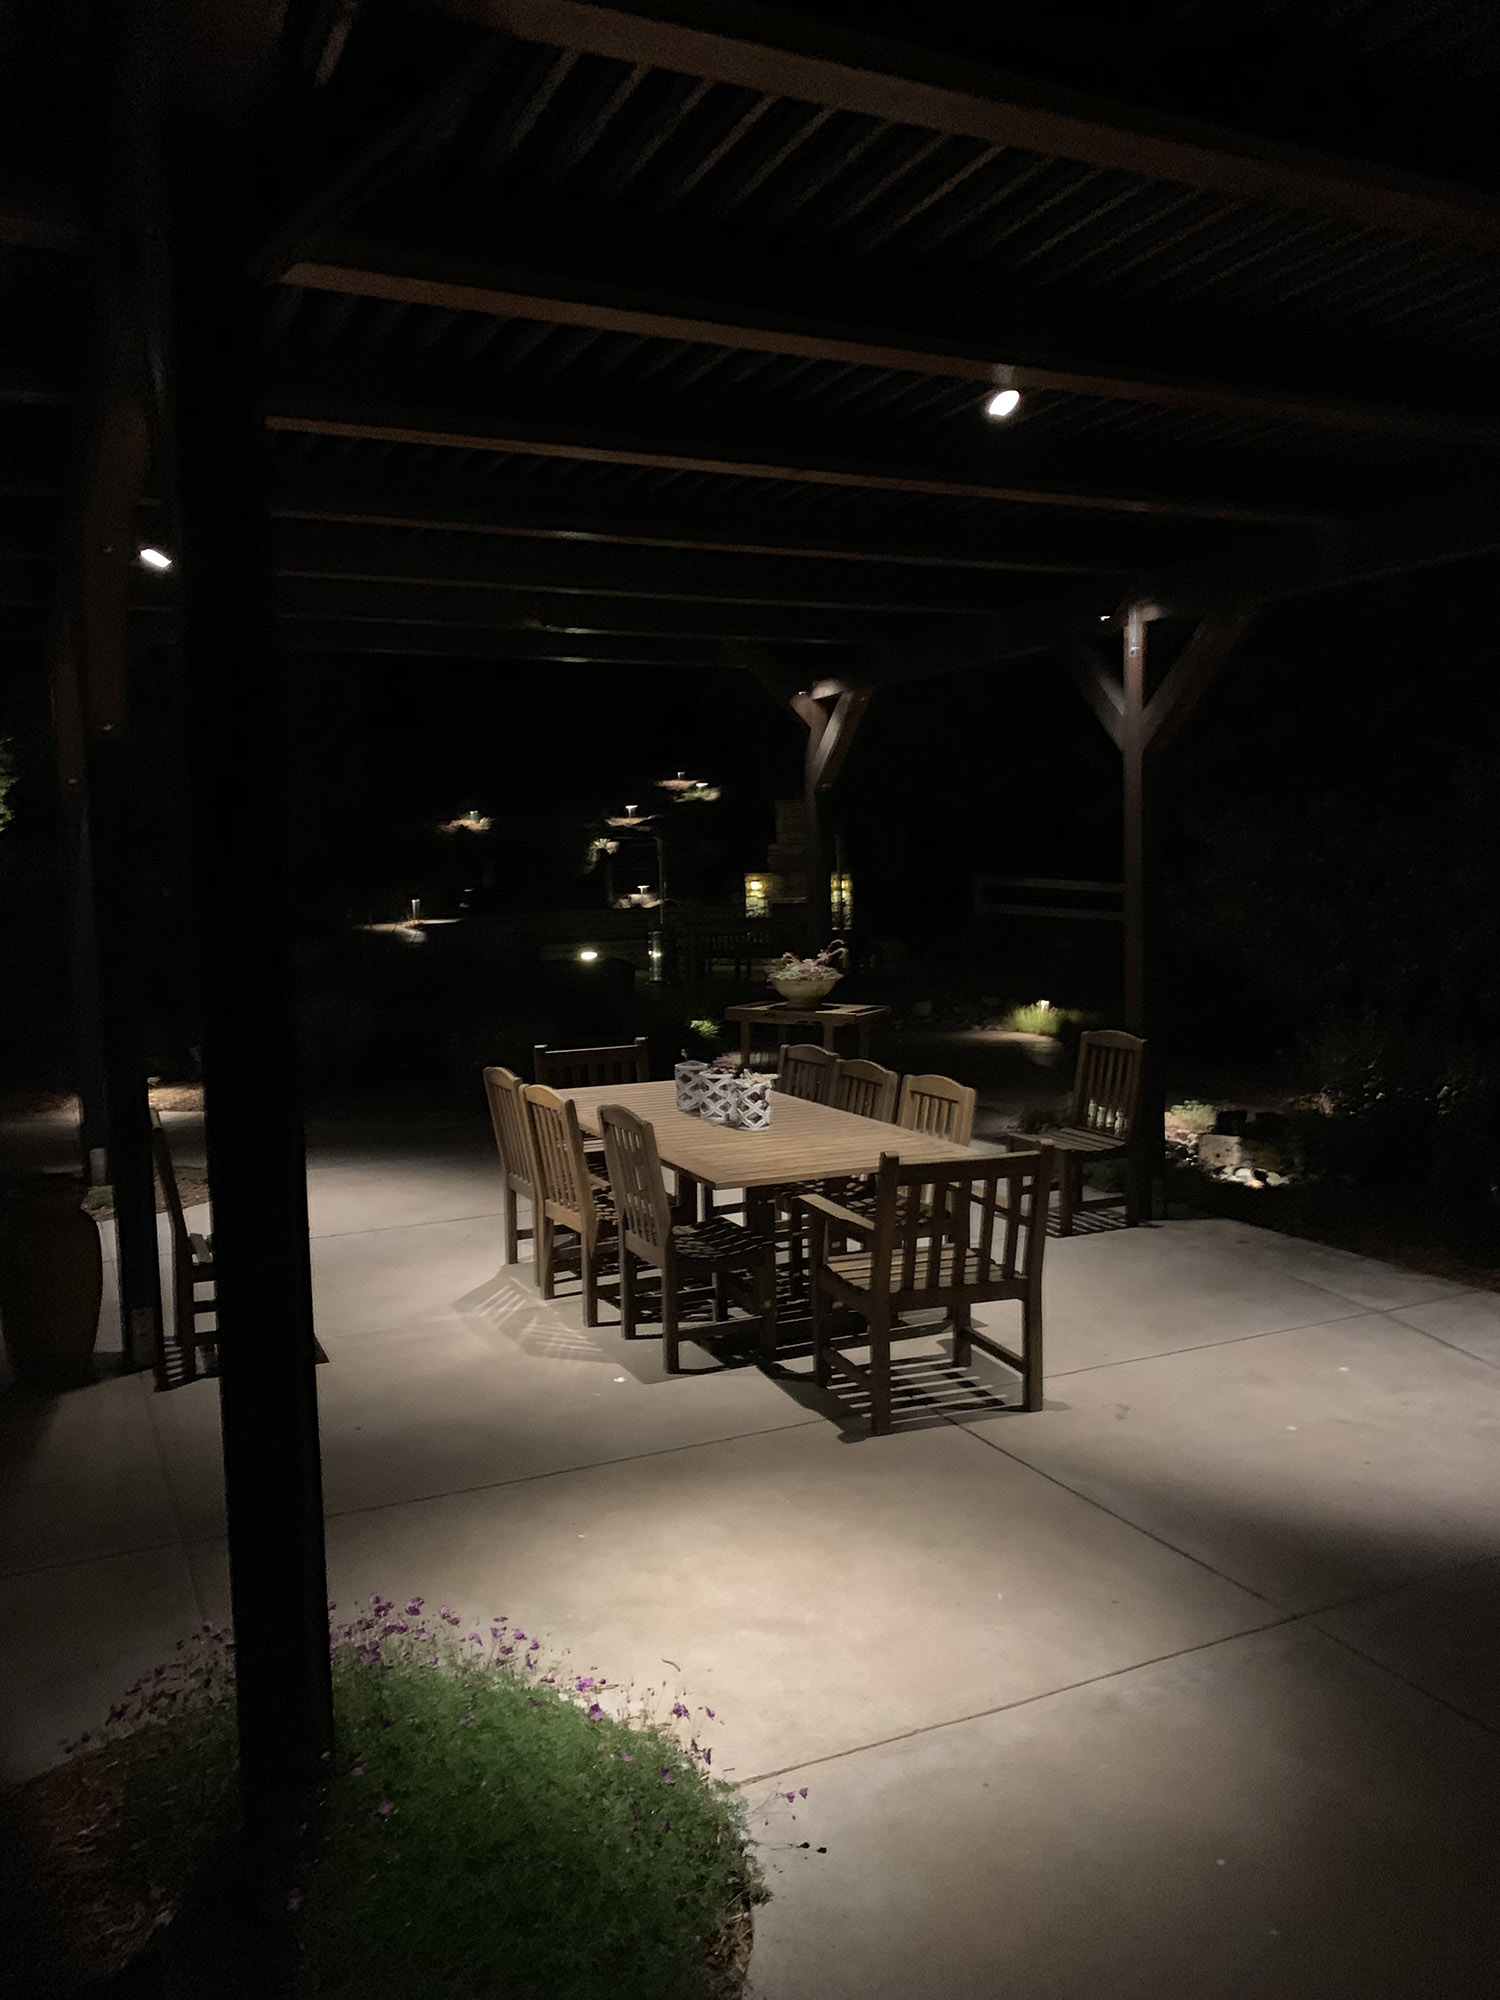
Pergola Lights

1. Provide Functional Light

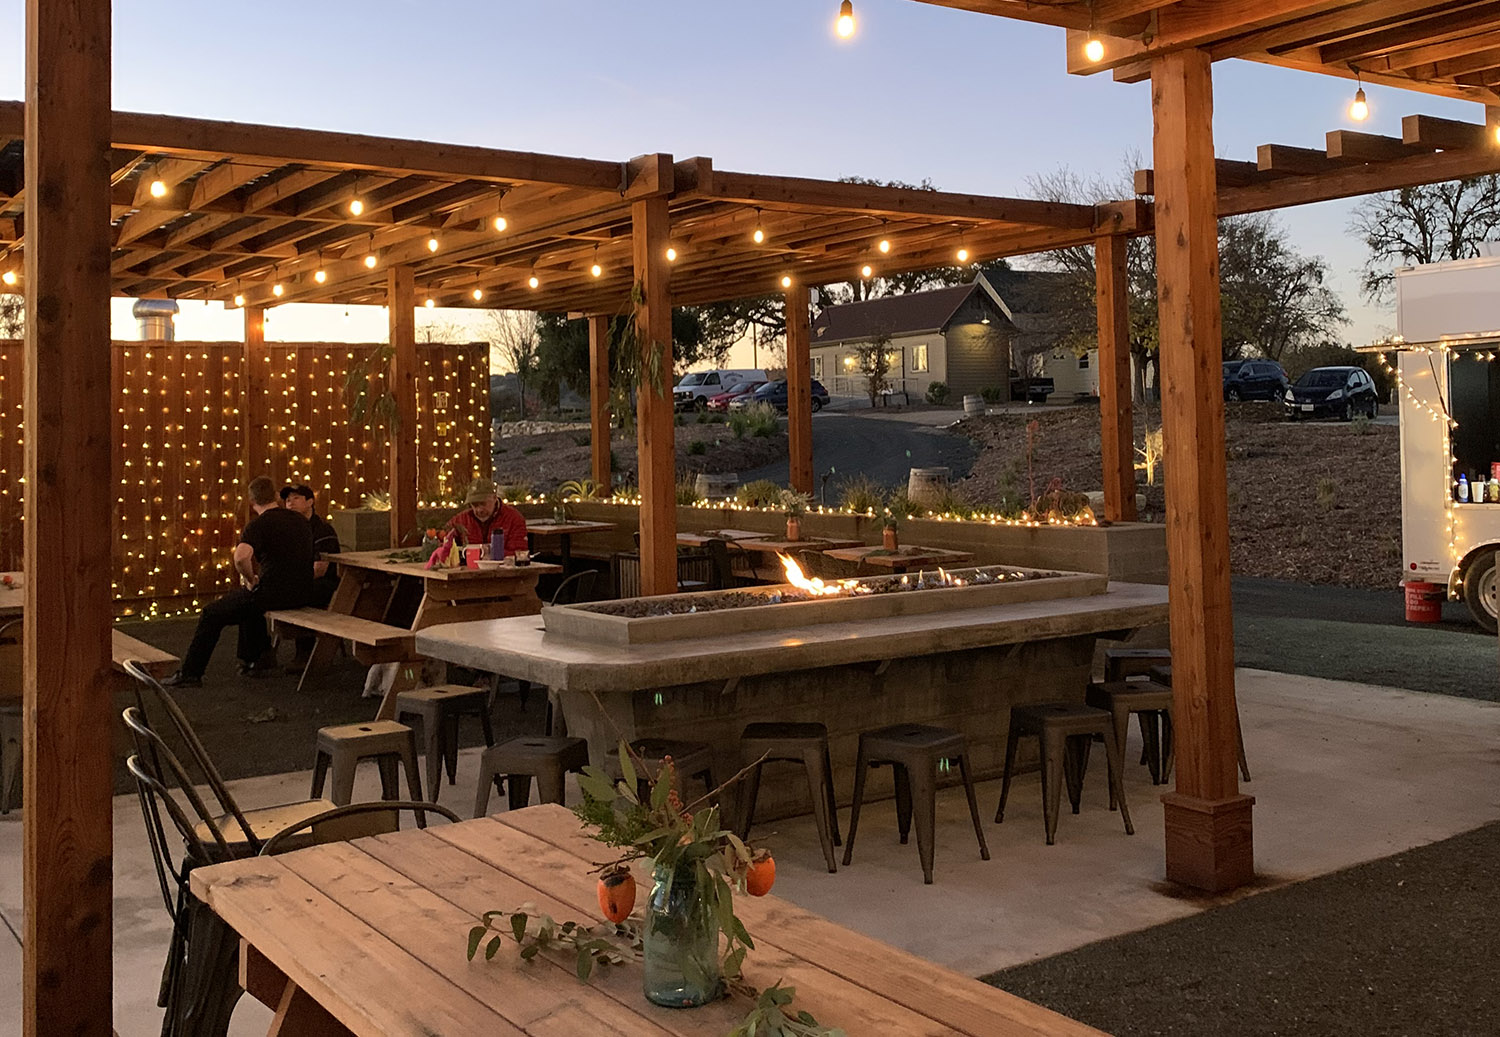
In ancient times, sailors preferred dim light to eat their hardtack in ship galleys to avoid seeing their not-so-enticing food. Nowadays, you will likely want to show off your entire spread, and see your guests. Downlights, or directional spotlights with bright light, can be mounted on pergolas, walls, or trees to provide light directly to a table. For these zones, it is essential to provide more lumens with higher wattage lamps.

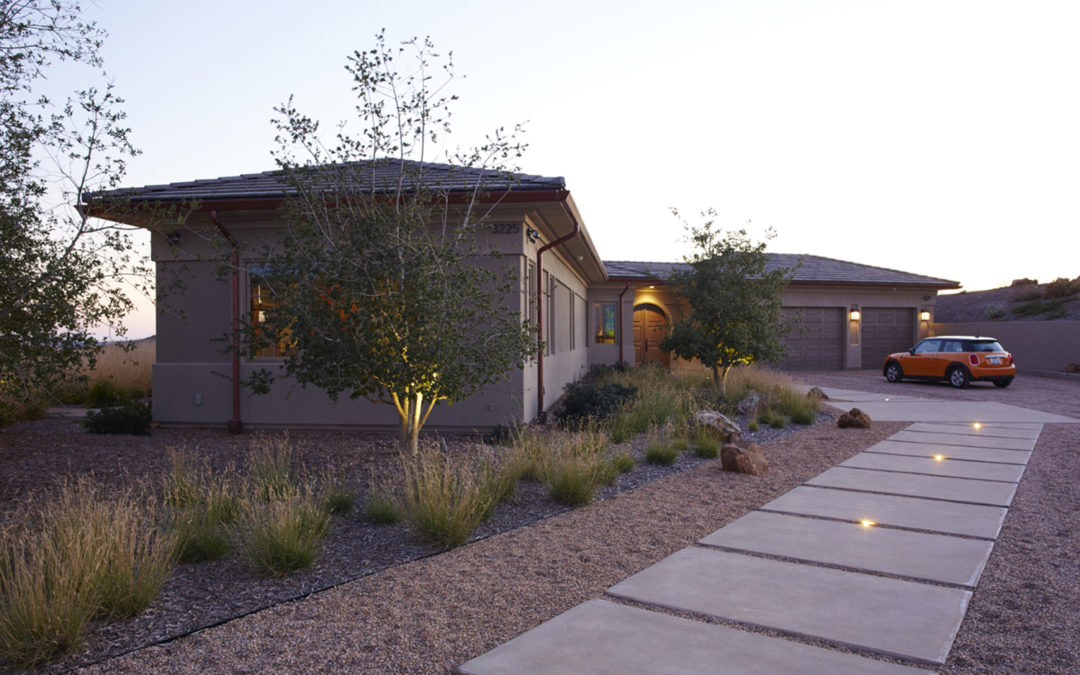
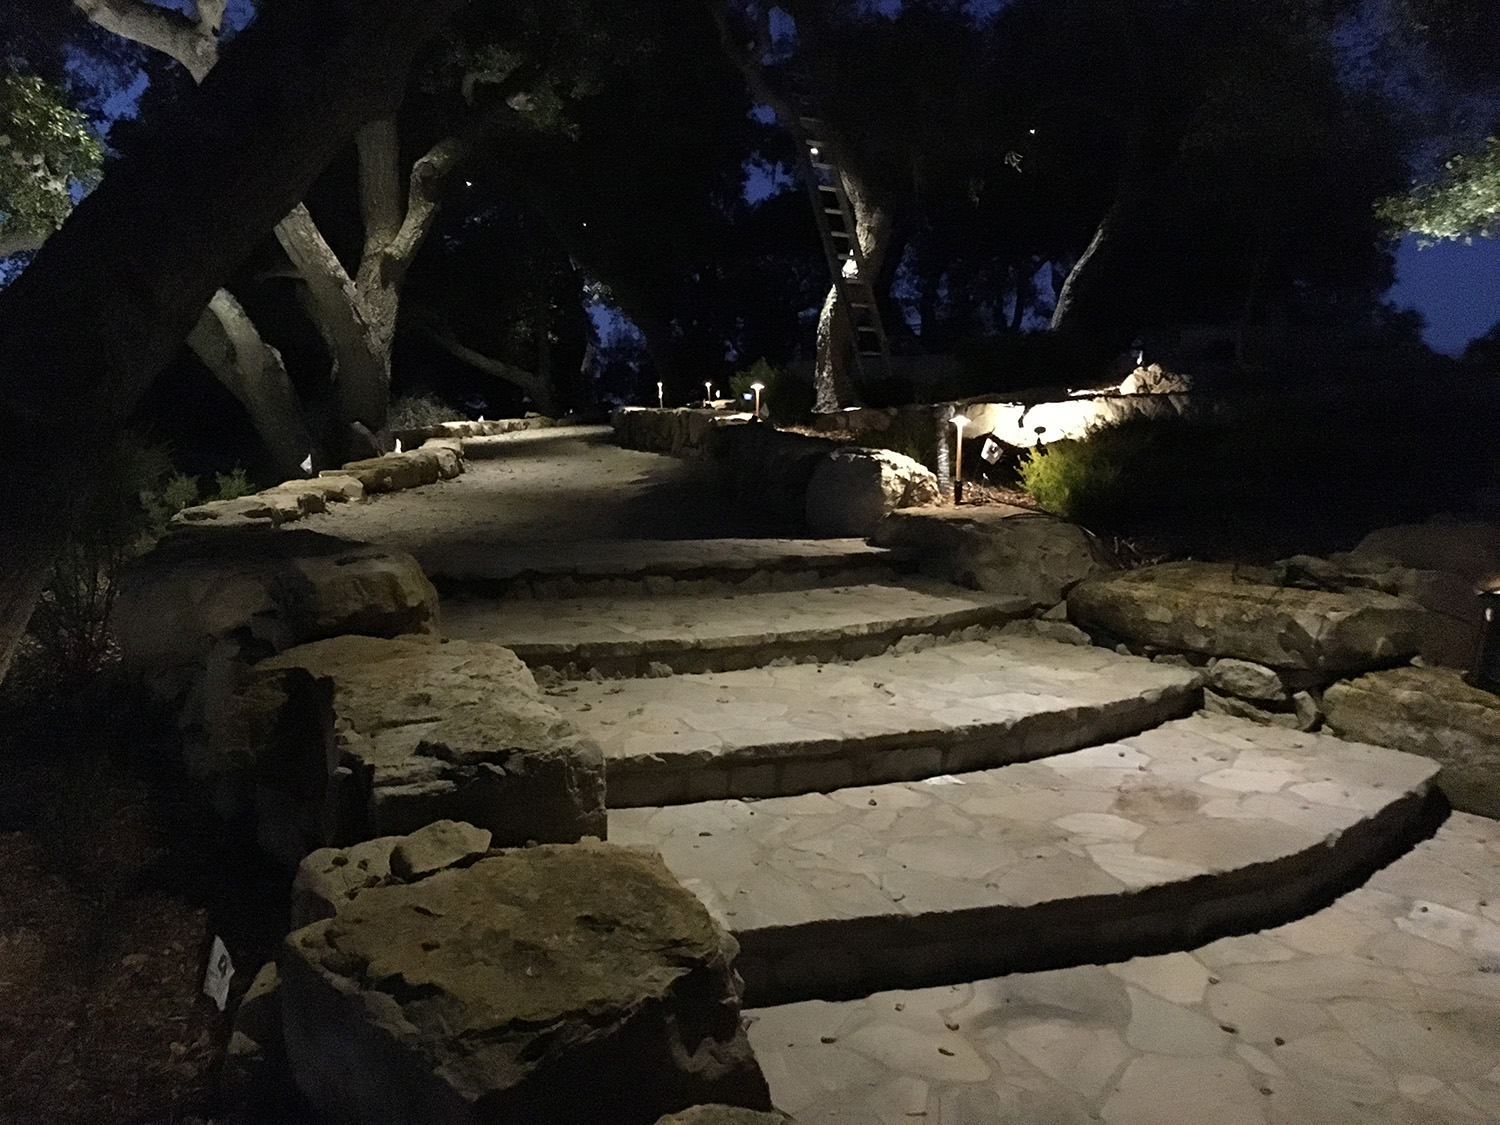
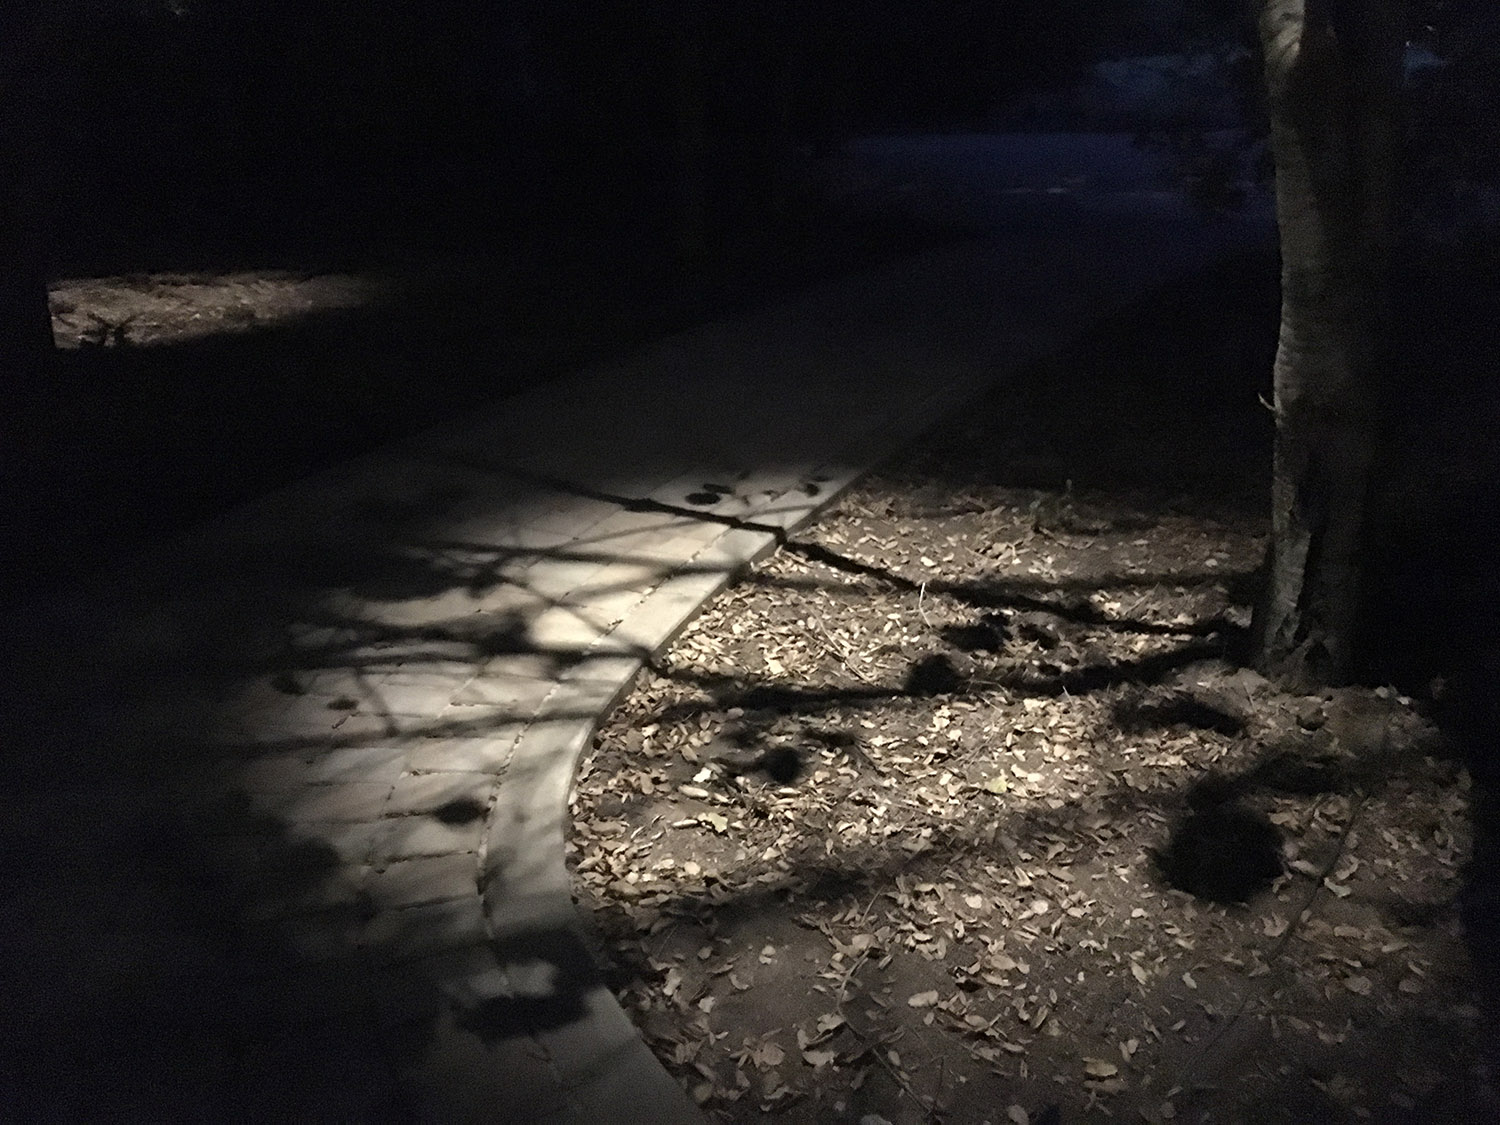
Suppose you want to provide illumination for safe walking. In that case, you can use path lights elevated on posts to cast broad light over walking surfaces. It is imperative to provide clear, direct lighting to stairs and precarious edges of patios. If you are building a new space, you can put recessed lights in the flatwork and riser lights in steps to provide illumination right where you need it.
2. Define the Edges

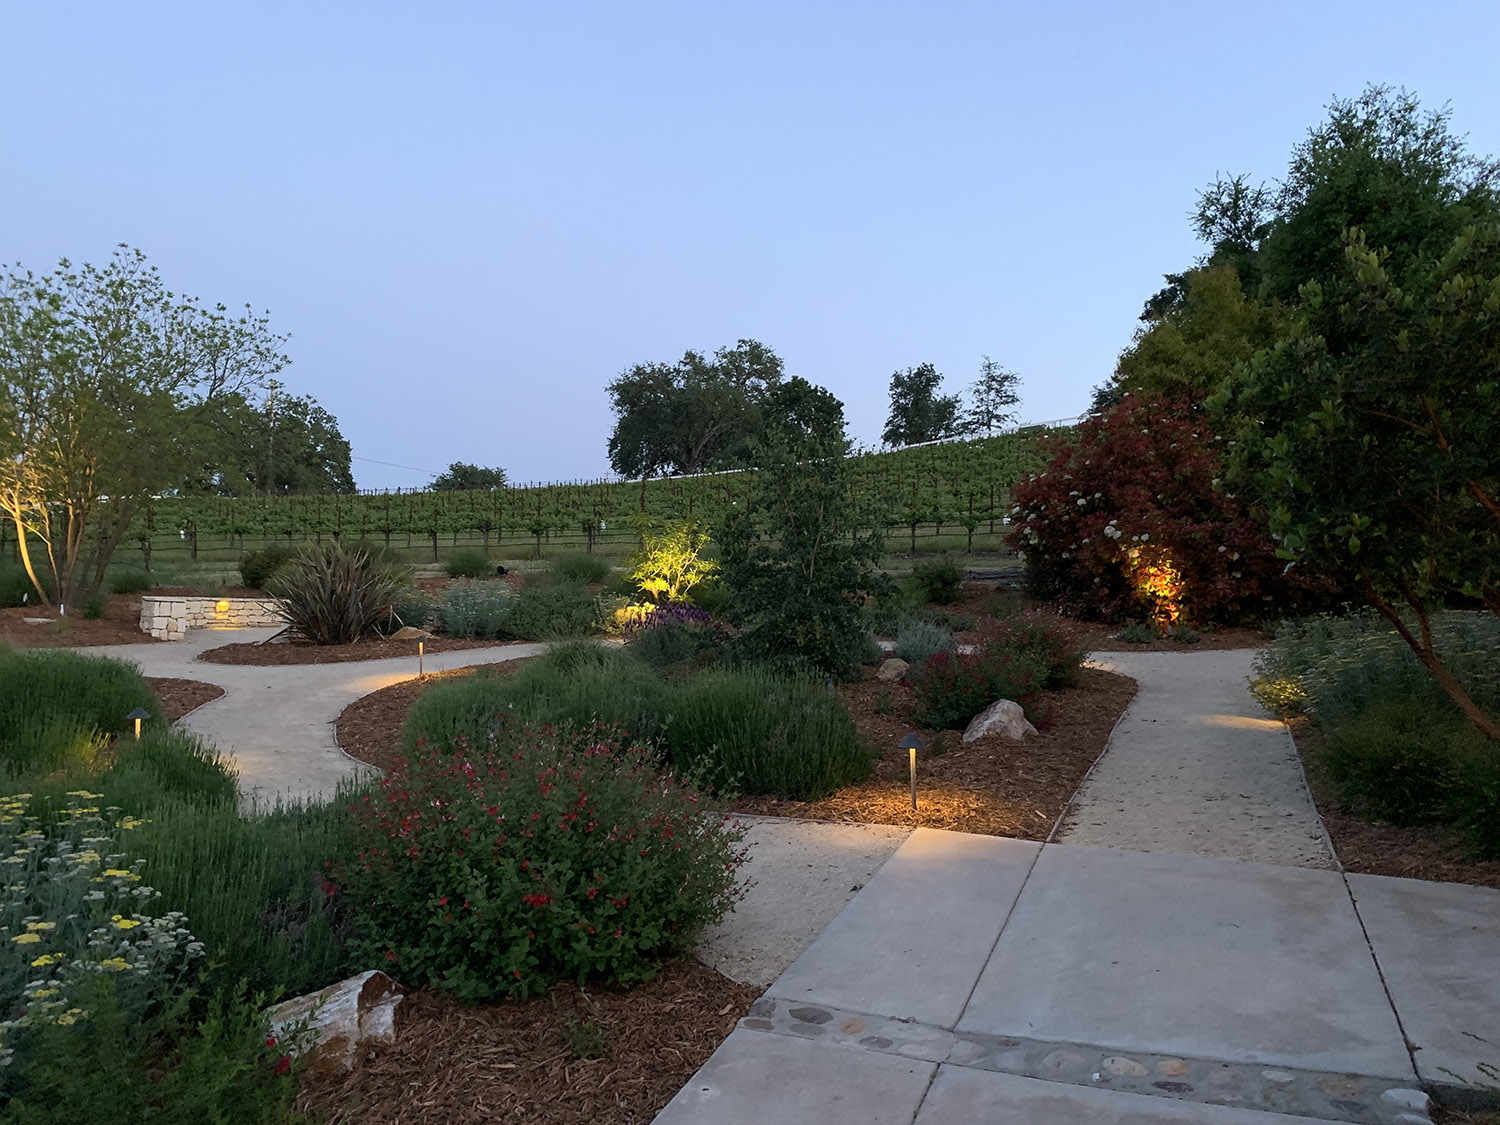
Lighting the edges of your patio or the adjacent landscape can be for function or ambiance. Sometimes it is nice to look out the window and see orderly lighting on the edge of a patio. It will make you feel comfortable by extending your visible perimeter when you hear a spooky sound outside. In addition, you can light objects in the landscape adjacent to the patio, such as boulders, art, tree trunks, or plants. This periphery lighting makes the space feel safe and defined even if you aren’t lighting the patio itself.

Here are three suggestions for using lights to define edges:

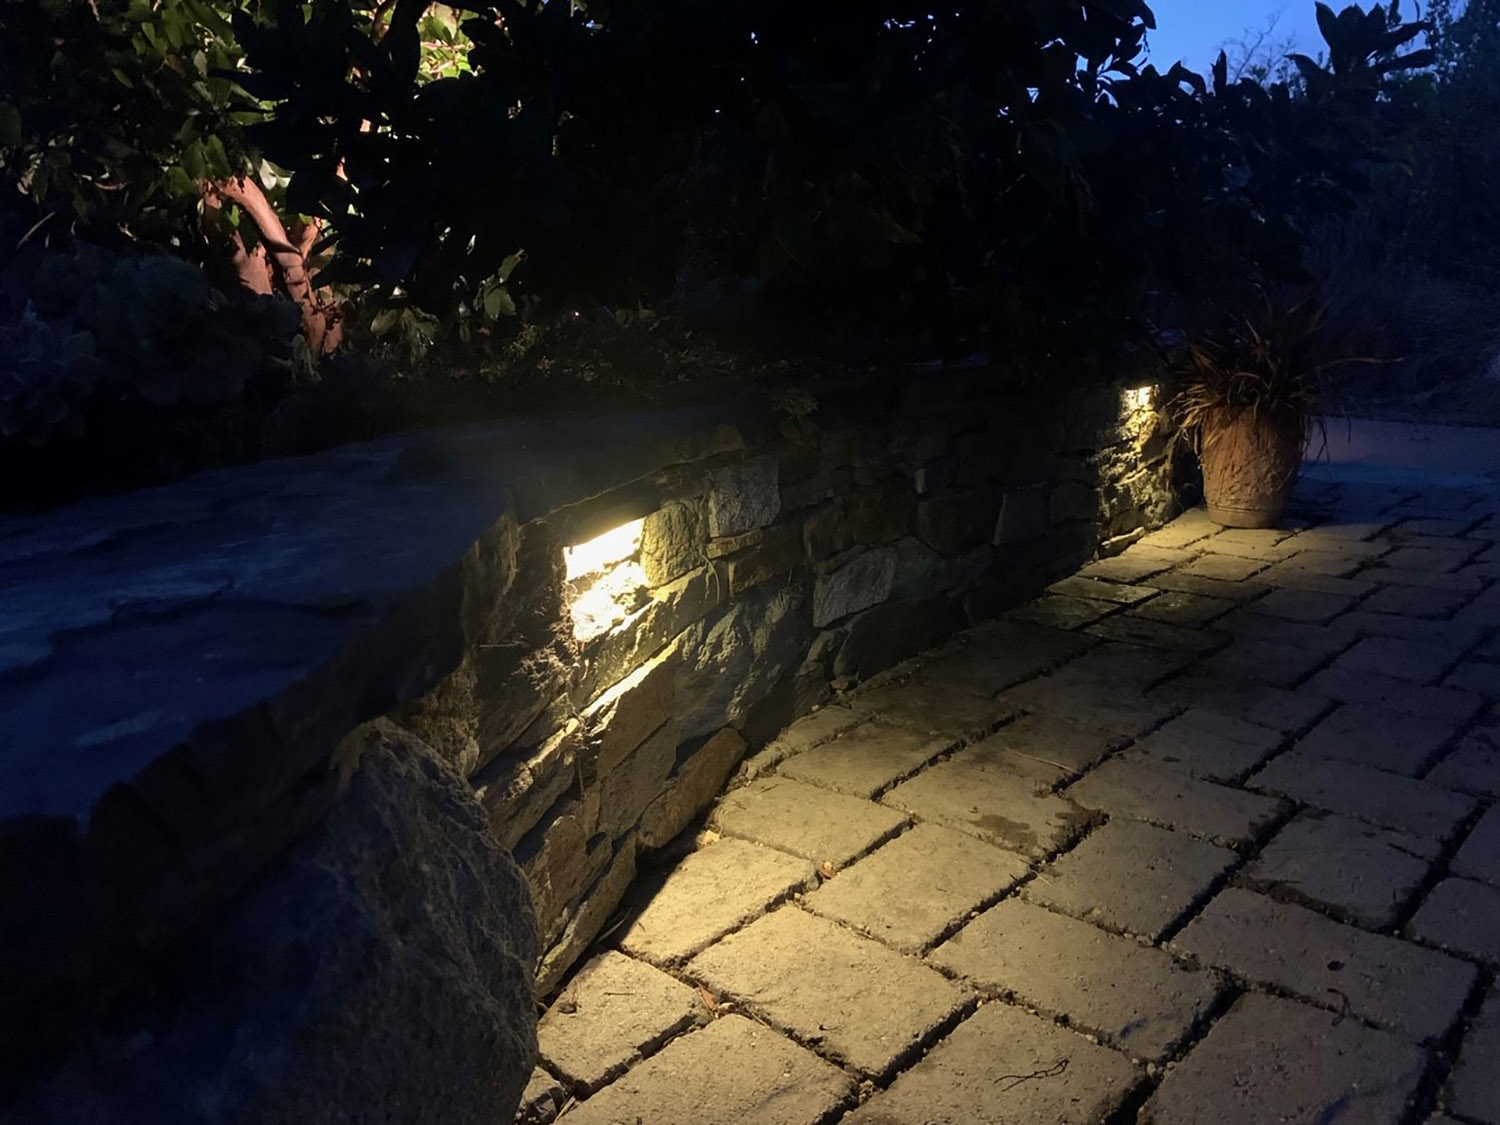
  • Place path lights or recessed lights on the edge of the paving.
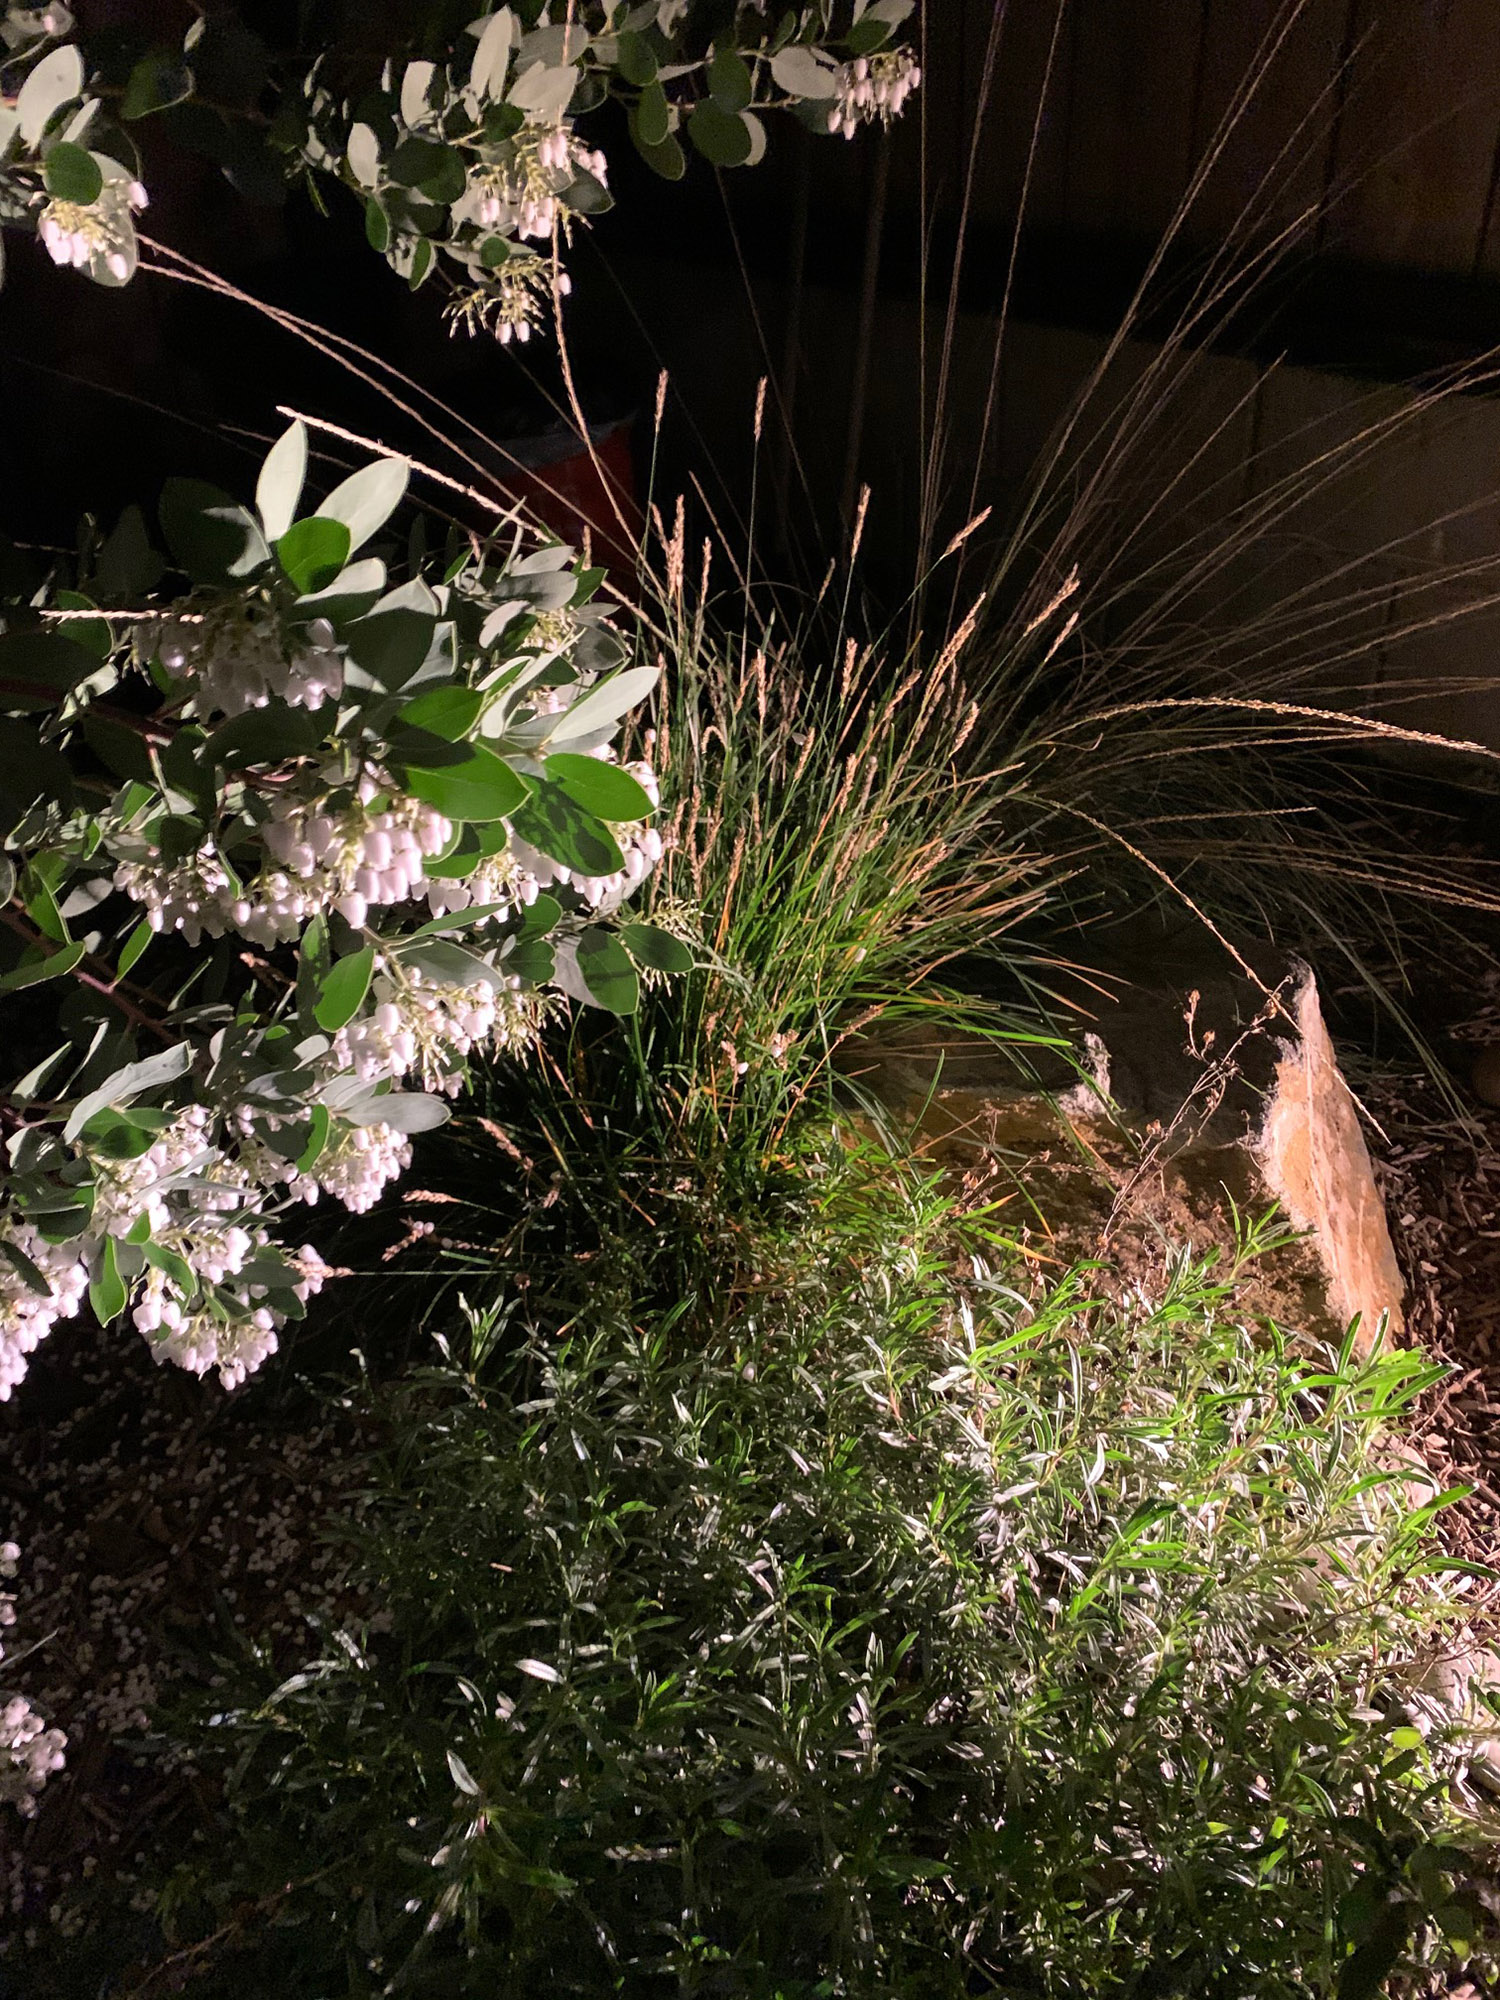
  • Use broad-beamed wash lights to illuminate boulders and low plants for low detail textures and colors.
  • Position narrow directional beam-up or spotlights to focus on art pieces, tree trunks, or specimen plants.
3. Create an Outdoor Room

It is remarkable how a patio can feel open and exposed in the day but warm and cozy at night with proper lighting. Walls and ceilings at proportionate heights create comfortable spaces. Ancient Greek architecture used the golden ratio of 1:1.61; create a restful and secure-feeling patio space with a width 1.61 times wider than the perceived ceiling height. As a rule of thumb, you can strategically light things to make the area feel a bit wider than it is tall. Use whatever is around – trees, bushes, walls, pergolas, fences – to emphasize this feel. Lighting a few select features will cause your mind to connect the dots and feel the geometry of a room you have created.

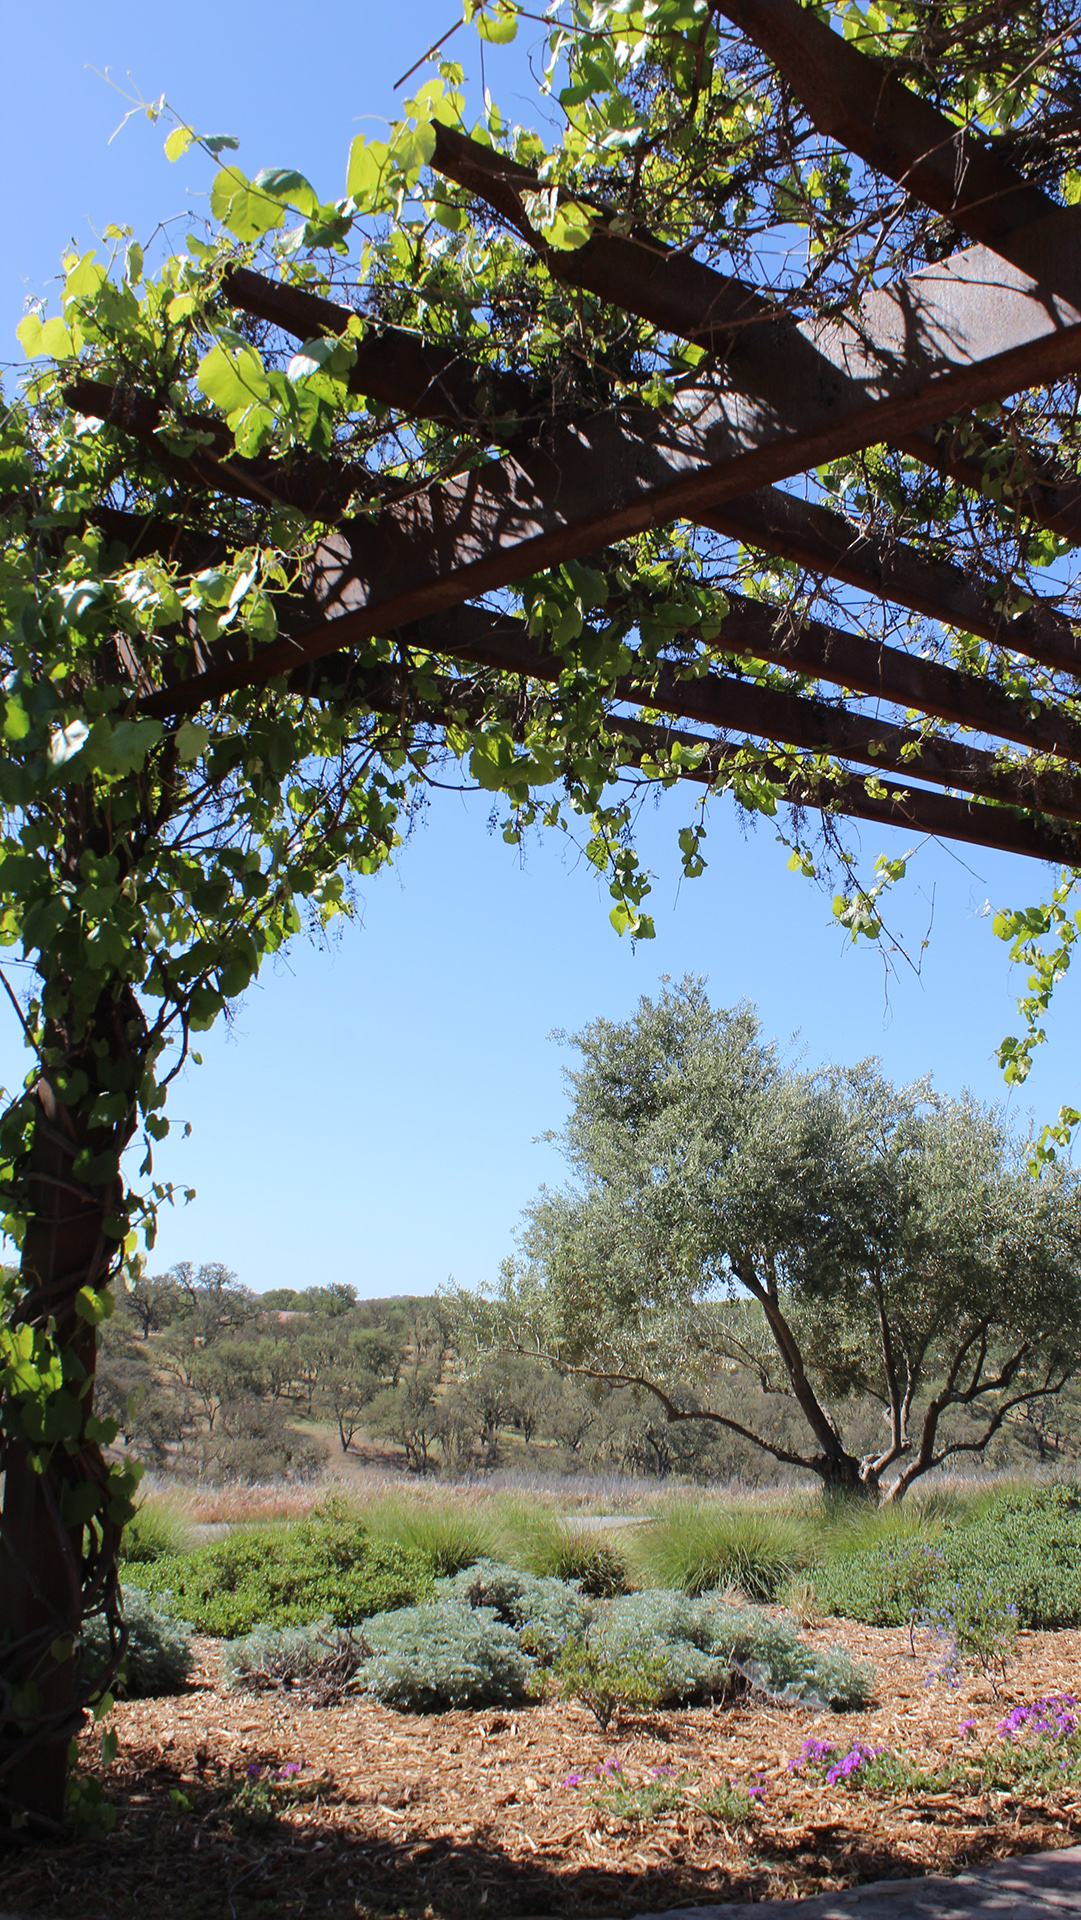
Trees are great for this use because you can uplight the trunk to create a wall and feather the light into the canopy to define the ceiling at the right height. Built structures like pergolas are beneficial because they can be customized and provide opportunities to uplight, downlight, or create wall or ceiling light patterns.
4. Create Ambiance

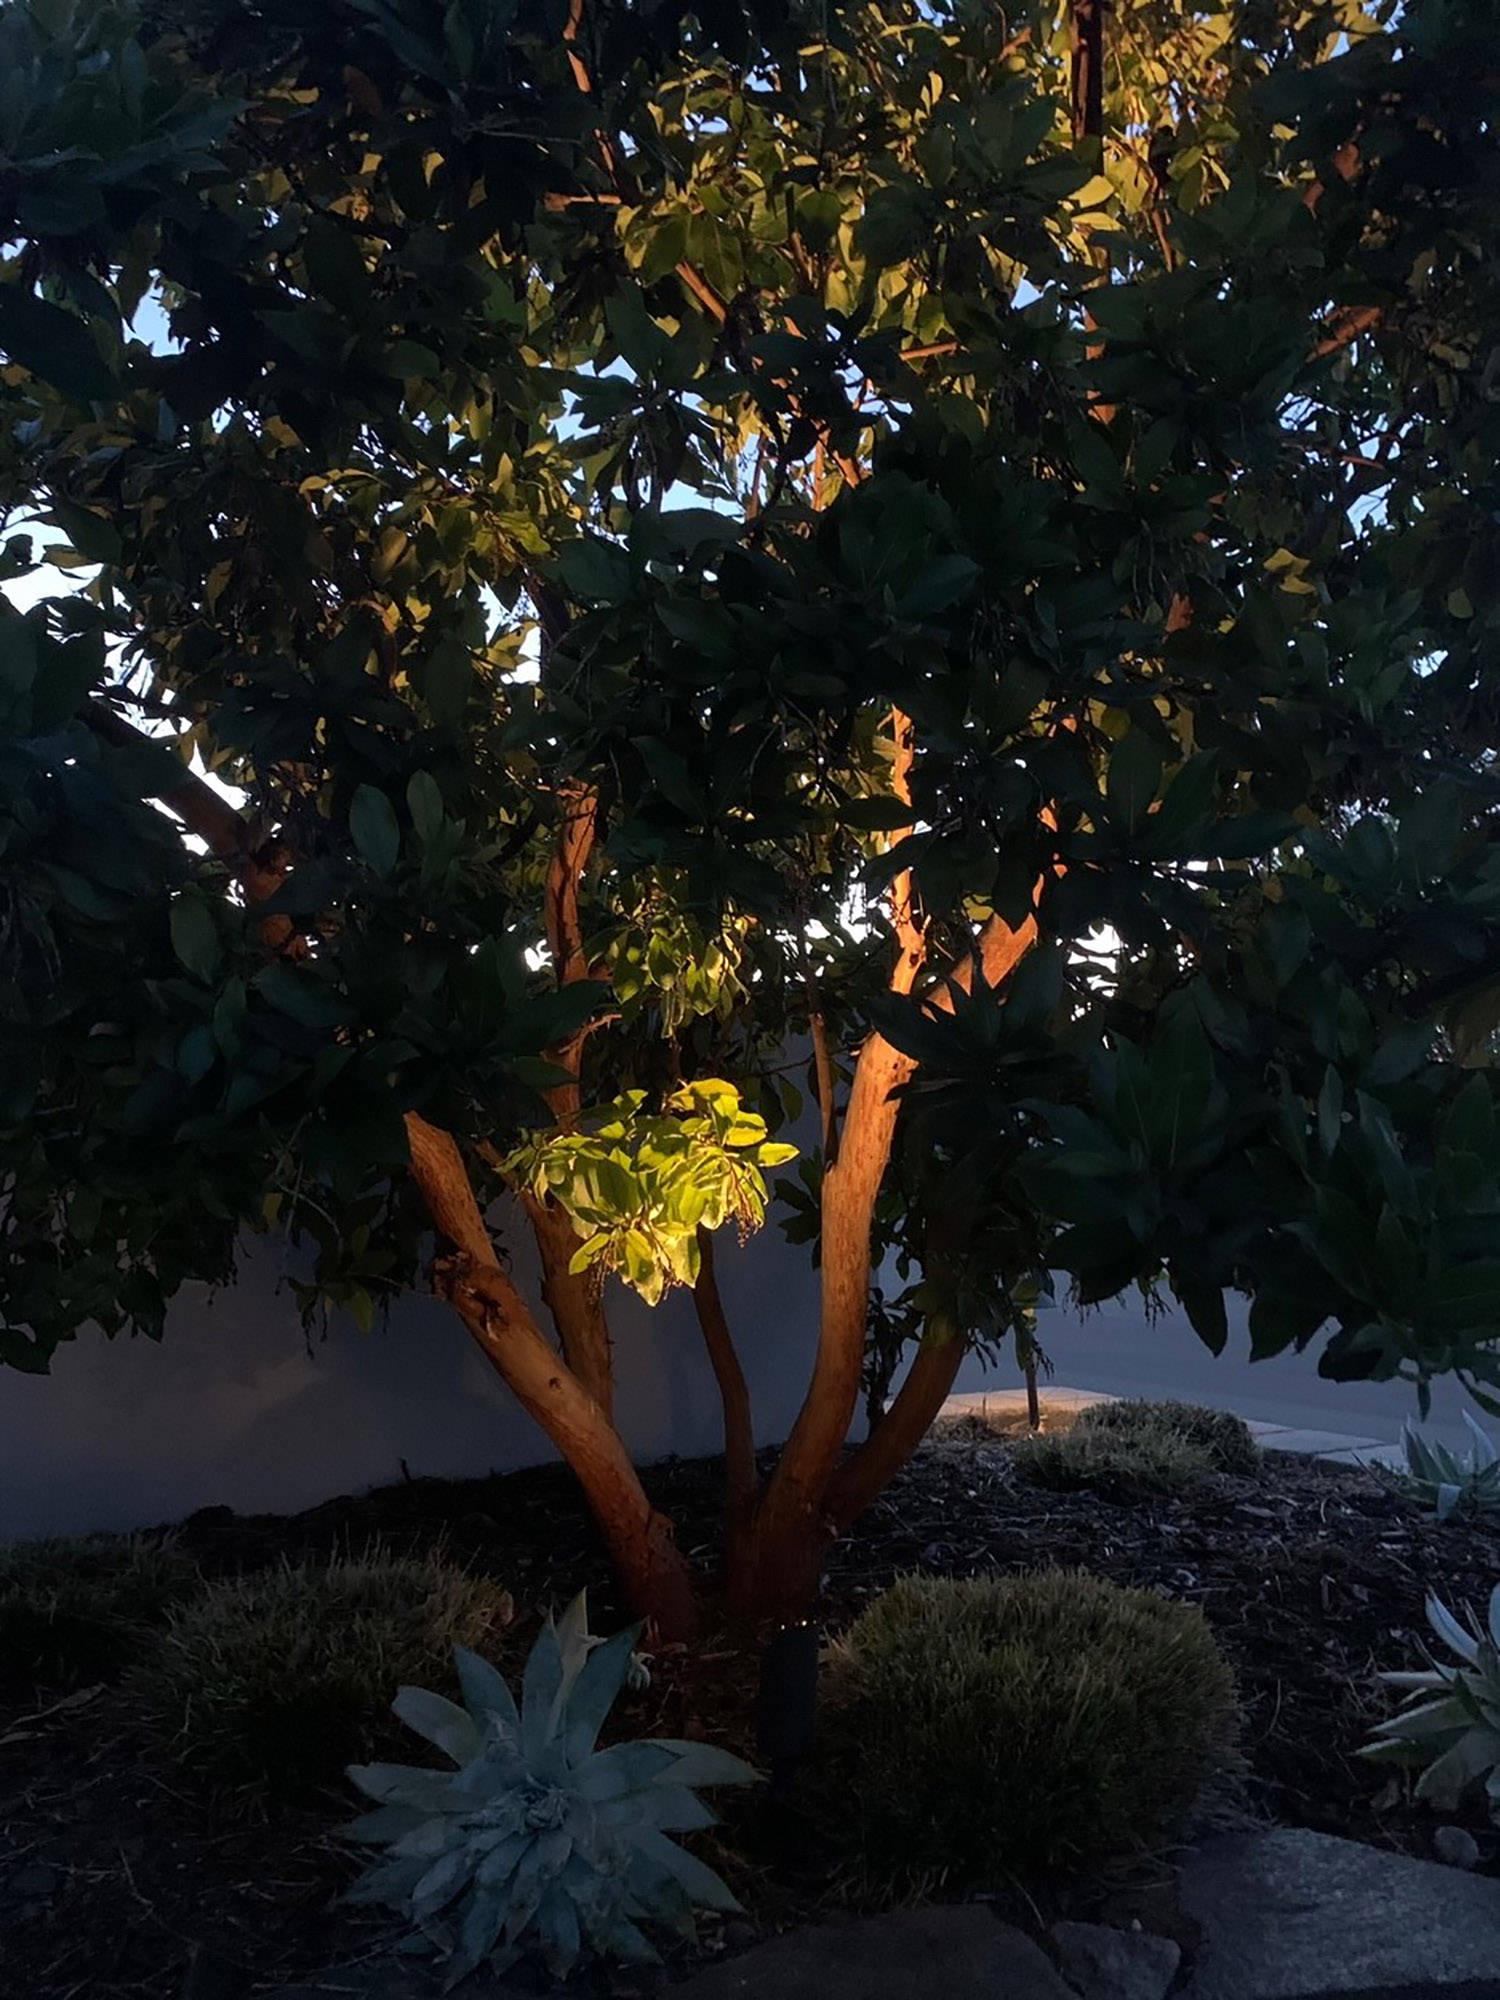
People often say they want low lighting to create an ambiance in their yard. This is not the light for eating your dinner, but it can be stunning in its simplicity. As mentioned before, lighting edges can really create a cozy feel. You can also extend your visible perimeter to more distant features such as trees, plants, art, or even barriers. Use wide angle wash lights to make secluded shrubs and boulders glow. Use directional narrow angle lights to illuminate focal points. For example, a red barked multi trunk tree can be up lit to create a mesmerizing floating warm glow in the distance. You can arrange a line of lights on an isolated or remote hedge or wall to define a wider perimeter of visual space to feel more secure in a brighter lit patio. Moonlights, or hanging pendant lights, can be set high in trees and create a whimsical moonlit forest feel. These are even more stunning if set over a branch to create a shadow pattern on the ground.

Keep in mind that the color of things you light will permeate into the ambient light in a space. You can focus on greens and cool tones to create a calm space. You can focus on reds and warm colors to create a warmer, cozier light. You can also choose warmer or cooler tone lamps/bulbs by using the kelvin rating (A low rating of 2700k is yellow and warm, and a high rating of 4100k is bright white).

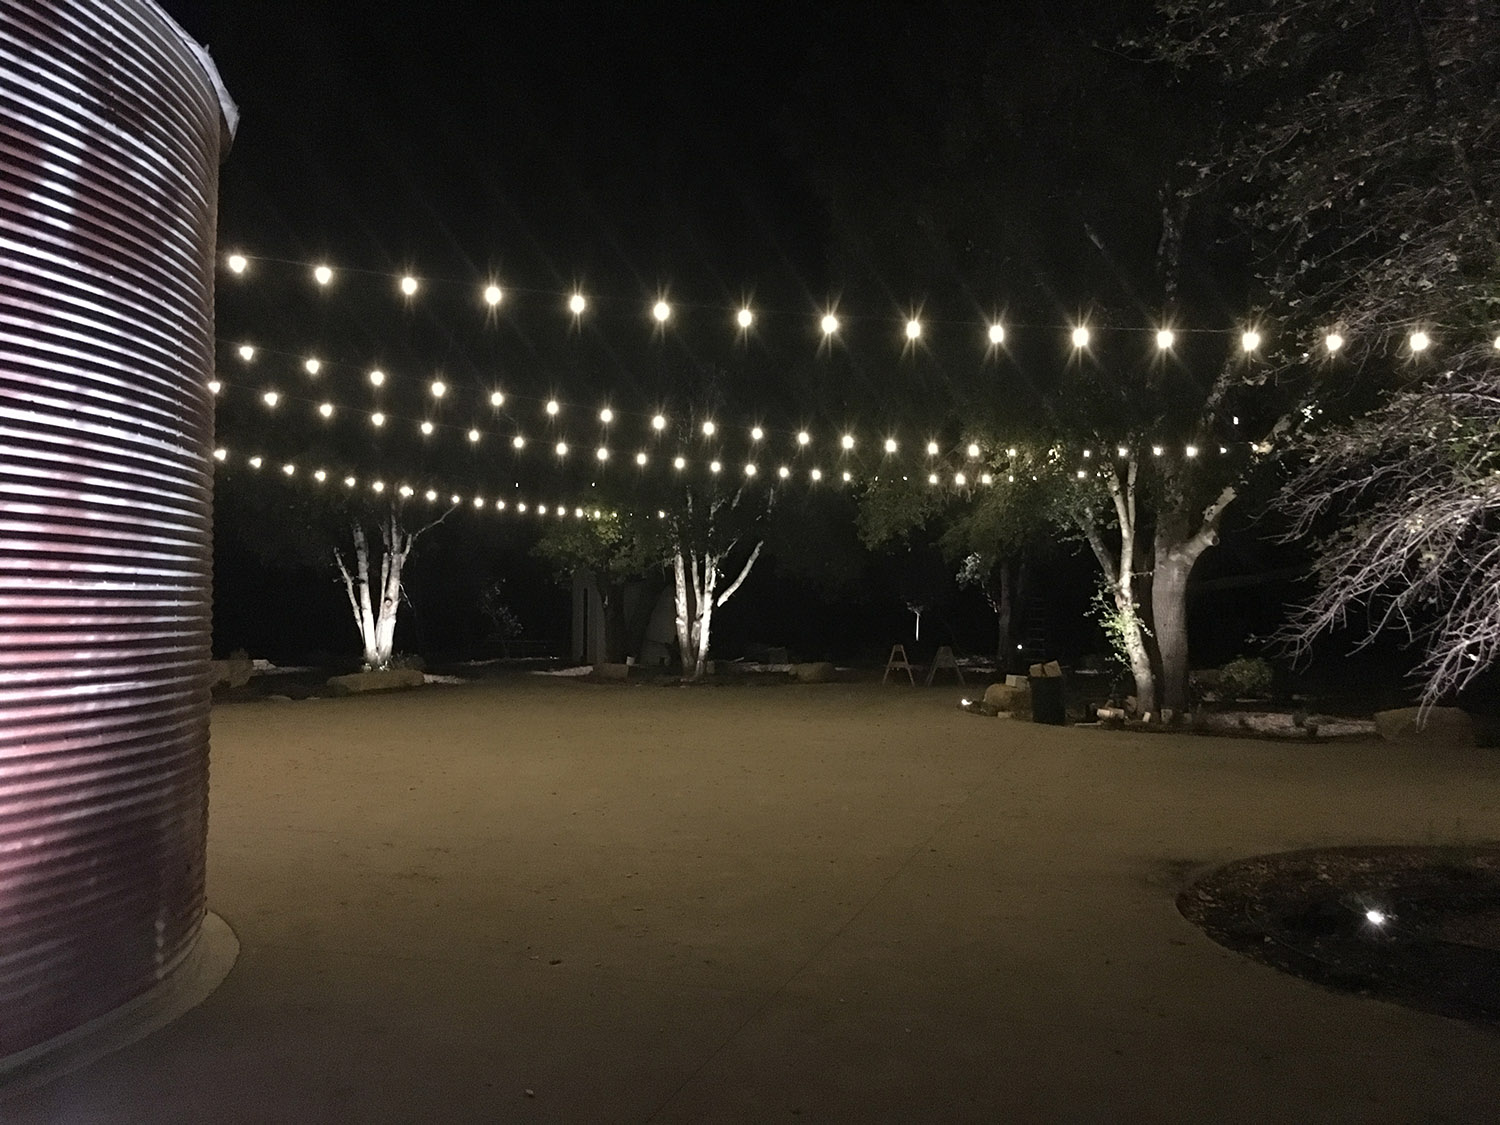
And don’t forget the ever-popular bistro lights. These typically low wattage bulbs dangle from strings stretched overhead to provide full area illumination. Bistro lights can be great for a party area because they light the entire zone with semi-dim light. Like a dim bar experience, you may not be able to see your food perfectly, but it is a very nice ambiance for a dance floor or casual hangout. When arranging string lights, consider the density of bulbs for even lighting. Also keep in mind that you would like these strings to look okay during the day, so create intentional patterns and avoid tangled webs. Use built structures, poles, or trees to secure them at a comfortable height.
5. Display Artistic Patterns

These days there are fixtures suitable for creating patterns on the ground, walls, and ceilings. When creating defined designs for a contemporary look, it is essential to map them out with a measuring tape. You are usually working with fans of light over a flat surface. In some cases, you are illuminating things that were already installed in an orderly fashion, like equally spaced trees or wooden posts.

You can use recessed lights in patio flatwork to shoot low fans of light from a central can fixture. Often these have 2, 3, or 4 radiating fans of light that can create a geometric pattern on a ground plane. You can use sconce lights on walls or wall columns to create equally spaced downward or upward fans of light. Some sconces have both up and down light to create an hourglass light pattern. When lighting existing trees or built structures that are already equally spaced, use directional spotlights to create a uniform rhythm. For example, fences usually have equal spaced posts and panels which can be lit by narrow or wide angle up lights, respectively.
Mix it Up

As you can see, these five techniques are not mutually exclusive. Choose what works best for you and your space, and light it up! By using one, two, or several, you can make your outdoor areas come alive at night.

Ready for a landscape lighting design and want to talk to a professional? Contact our landscape designers at [email protected] or (805) 466-6263.

All About Design-Build Landscape Construction

All About Design-Build Landscape Construction

Top tips for a better investment and landscape, from design through construction


What is Design-Build Landscaping?

Design-Build landscaping is exactly how it sounds: one team provides both the design and installation of the landscape, rather than splitting those services between companies. Design-build landscaping is quite common and provides multiple benefits. Unfortunately, a homeowner or building owner will often hire a landscape contractor to install plants and irrigation without design. This is not the ideal scenario. As with any type of building, it is always best to begin with a design.


Why Design-Build?

When the same company performs both design and installation, their professionals work together often and can provide a more seamless delivery. The teamwork involved in the design-build process for landscape construction can add a lot of value to your finished landscape. Often an integration of architects, designers, engineers, and builders, the design-build process takes advantage of professional, licensed experts working together from concept to finished construction. The goal of this integrated process is to fulfill your priorities of landscape design and budget. At Madrone Landscape we believe strongly in the design-build process because the benefits are twofold: it allows us to do incredible work with and build great relationships with both our peers and our clients.

Design-Bid-Build vs. Design-Build: What are the Differences?

Design-Bid-Build: The design-bid-build process is common in the construction industry for clients who want separate design and construction firms. A landscape designer will provide plans for you, and then you will ask contractors to bid the plans. The design can go quickly if there are no cost limitations discussed. Once the contractors provide their costs to install the project, you may be shocked to see how much it will cost to build. This is when you or the contractor decides how to change the design to fit within the construction budget (this process is called value engineering, where items are removed from a plan or less expensive options are chosen to reduce overall cost). You may also go back to the landscape designer to re-design (typically for an extra fee). In design-bid-build, you select a contractor based on the bid price. It then becomes your responsibility to orchestrate all of the design and construction activities – including introducing the contractor to the designer.

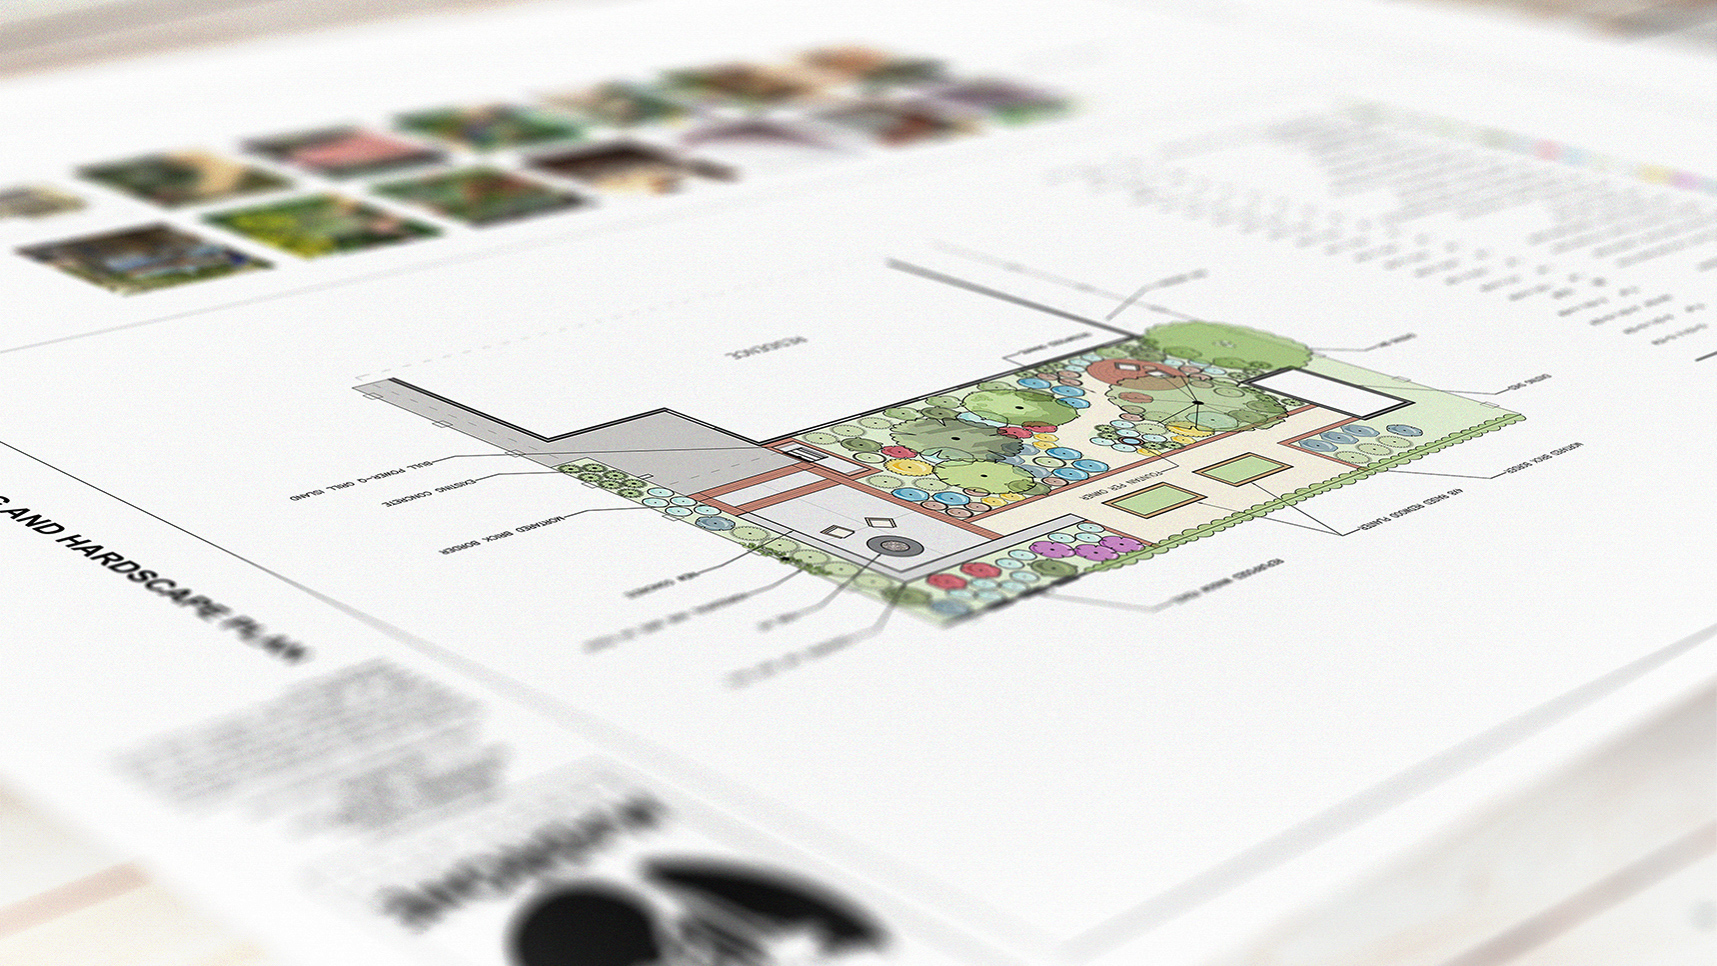
Design-Build: At Madrone Landscape, we specialize in the design-build process. Our landscape architect and designers not only help you with the initial design, they also help navigate any obstacles encountered during construction. We provide construction cost estimates during the design process (for more information, see our design page). This usually adds time to the overall design time, for good reason. Knowing construction costs during the design process allows you to make decisions on where to spend money and keeps the plan within the desired budget. A cost-informed design means the value engineering is done well before the project starts. The entire team will be working together with the landscape designer to make sure that there are few unforeseen lapses between designs or construction activities. For new construction, this will include your engineers, architects, and builders. For custom residential updates, your design-build team becomes your expert advocate through design and construction and we handle scheduling and coordination with all parties involved.

Five Tips When Choosing Design-Build Landscaping

1. Know what you need/want before you start.

Often, a client will come to us with a list of items they want designed into their landscape, such as a patio, wall, fountain, or pergola. What they may actually mean is that they need a shady place to entertain guests with pretty things to look at. While your spouse may want a fountain, he or she may appreciate boulders and flowers just as much. When you prioritize your goals before starting design, you can prevent being caught off guard during the design process. Design is almost always a team decision. If you and your family can align your wants and needs before the design starts, the design will turn out better and go more quickly.

2. Establish a construction budget.

Before starting the design process, establish a budget or range for what you intend to spend on construction, and share that information with your designer. This will help them design within range. Typically, the construction cost of landscapes is between 10 to 25 times the design fee, although this may vary.

3. Take your time with budget decisions.

During the beginning of the design process decisions are easy; we refer to this as the honeymoon period. You may find yourself saying, “I love that stone veneer, it looks just like the picture I saw on Houzz!” After construction costs are introduced, major design elements may be on the chopping block. Do you keep the outdoor kitchen, or the stone paving? Allow yourself time, so you don’t rush these decisions.

4. Trust your gut – and your landscape team.

Taking on a big project and the resulting investment of your funds will greatly affect your daily life. You need experts you can trust to help you achieve your goals. If you don’t have a level of trust with your landscape team, the relationship and project will not work. You need to feel comfortable giving them both positive and negative feedback, and they need to feel comfortable giving you good and bad news. Your designer will not only be helping you with the initial design, but also will be helping to navigate any obstacles encountered during construction.

5. Communicate often and clearly.

During design and construction, changes happen. To best facilitate these changes, we will ask a lot of questions to make sure we are designing efficiently. Whether you would like to give us artistic license on decisions, or you have particular opinions that need to be known, it is important you communicate your preferences clearly.


A Better Investment and Landscape

It’s our experience that the design-build process produces a better product with stronger teamwork and a healthy working relationship. The process takes time to do well. Expect two to six months of design before construction for custom residential updates, and often longer for new home or new commercial construction. Being well prepared can shorten this time frame. If you have new construction, you should consider hiring your landscape architect at the same time that you hire an architect. We strongly believe that the design-build relationship you foster with us will make you feel good about the investment and the landscape you create.

Do you have additional questions about the design-build process and its benefits? Email us at [email protected] or give us a call at 805-466-6263.


5 Trees and Shrubs to Avoid in Central Coast Landscape Planting

5 Trees and Shrubs to Avoid in Central Coast Landscape Planting

As a landscaping company that bases our work and design on the native flora palette, we typically make recommendations for plants rather than censures. There are, however, many plants that should be outright avoided in our Central Coast landscapes, or at the very least, used sparingly.

There are “invasive” and “introduced” plants. The latter category acknowledges flora introduced to a region that complements or makes room for native, local plant life without detrimental competition. Invasive plants, on the other hand, choke out native plant life and, subsequently, lead to breakdown of native fauna as well. Overall, invasive plants upset the balance of local ecosystems, reducing local biodiversity and often eventually leading to native endangerment and unhealthy, uncontrollable landscapes.

Conscientious planting has a greater impact than we can express, so we’ve made a small list of plants to avoid in landscape planting overall, but especially in commercial properties and HOA communities.

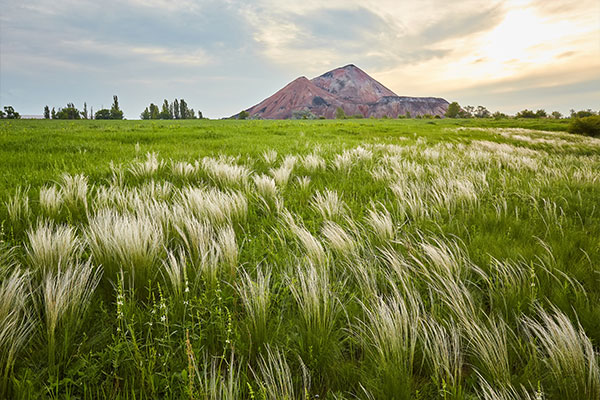
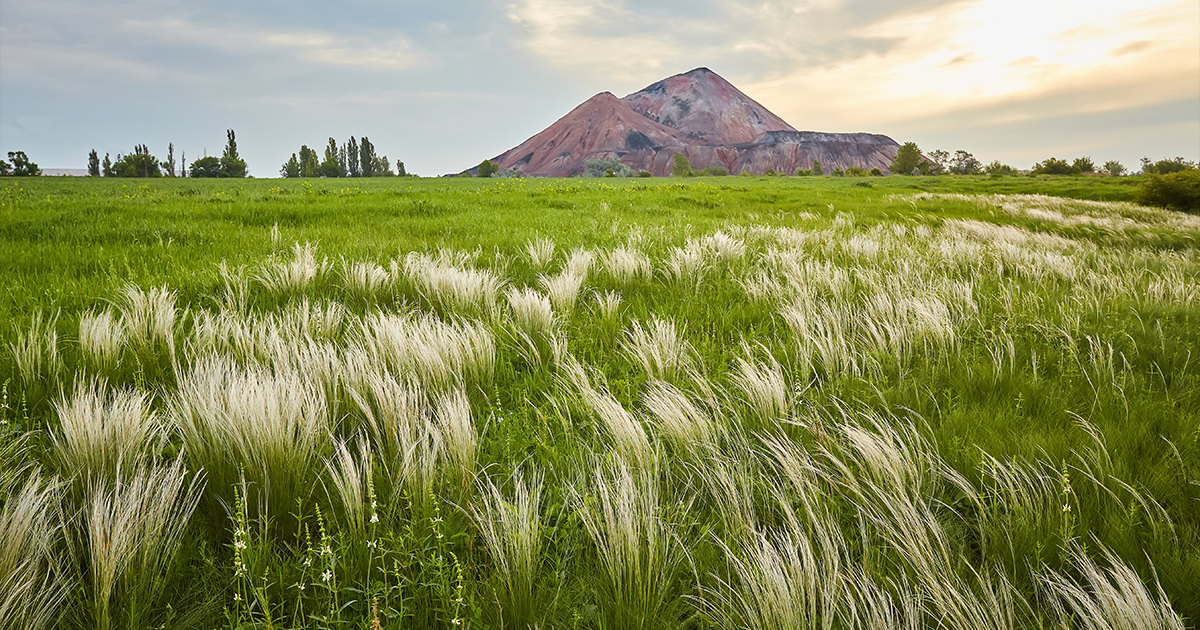
Nasella tenuisima (Mexican Feather Grass)

While it is known for its delicacy and graceful fronds, Mexican Feather Grass is a highly invasive grass species for the California region. It produces tens of thousands of seeds and can continue to be invasive even five years after removal due to contaminated soils. In windy environments, it seeds readily and therefore “self-sows,” making it very difficult to prevent its spread as it crowds out other native grasses and invades neighboring landscapes. This plant cannot be contained and should not be planted regardless of aesthetic appeal; we highly recommend exploring Central California’s native grasses and the gracefulness that can be found there.

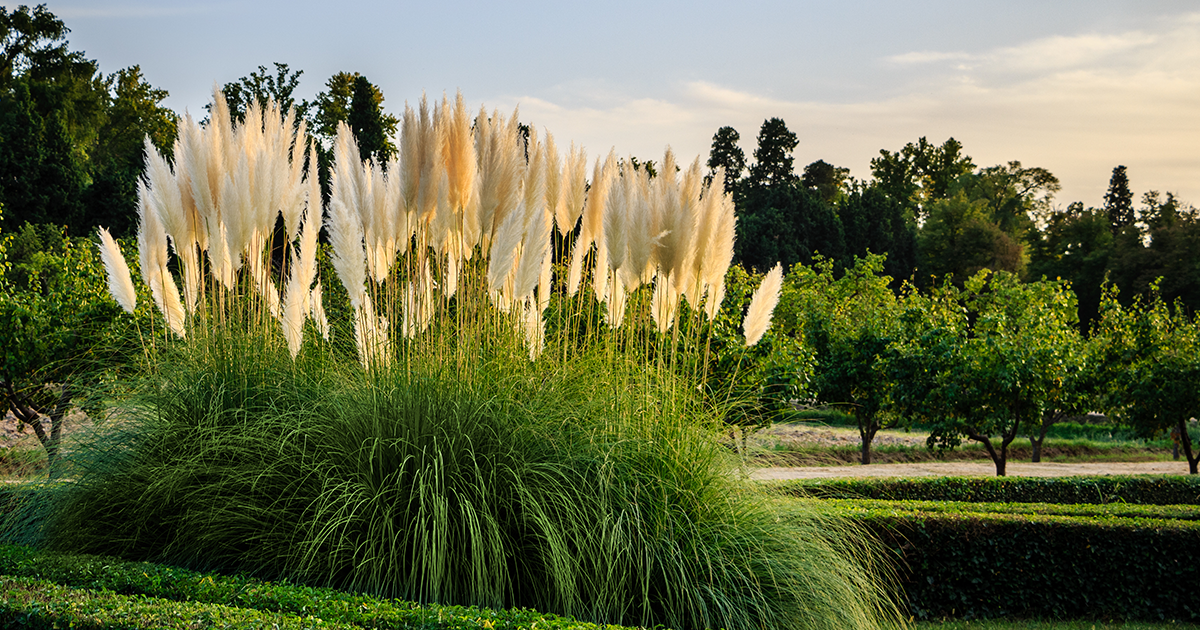
Cortaderia selloana (Pampas Grass)

With its silvery plumes and commanding height, Pampas Grass is lovely but another highly invasive grass species. Quick to grow and dominate, the Pampas Grass is insidiously ubiquitous in Big Sur landscapes and has transformed beautiful coastal areas to drab and ill-fitting prairies. Similar to Mexican Feather Grass, Pampas Grass is nearly impossible to contain and should be discouraged in all landscapes.

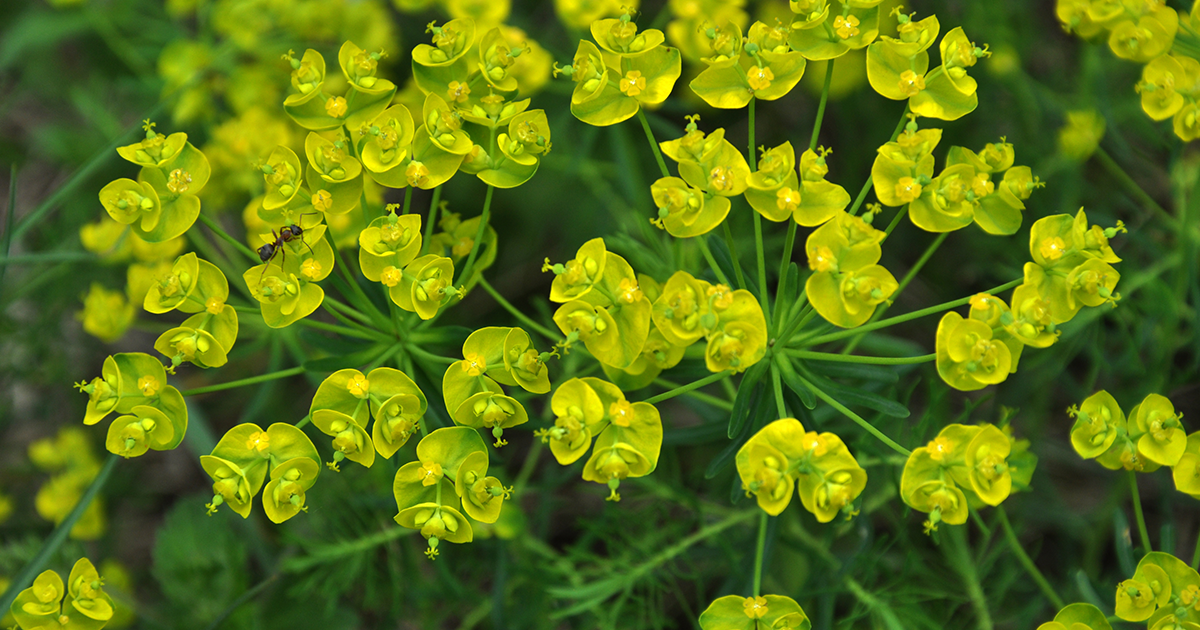
Euphorbia (Spurge)

A diverse genus of flowering plants, Euphorbia contains several species that are known to be invasive. Confirm before planting to avoid spreading harmful non-natives. Euphorbia terracina, Euphorbia virgata, Euphorbia obloganta, and Euphorbia lathyris are all examples of invasive spurges, but are not an exhaustive list.

Rhomneya coulteri (Matilja Poppy)

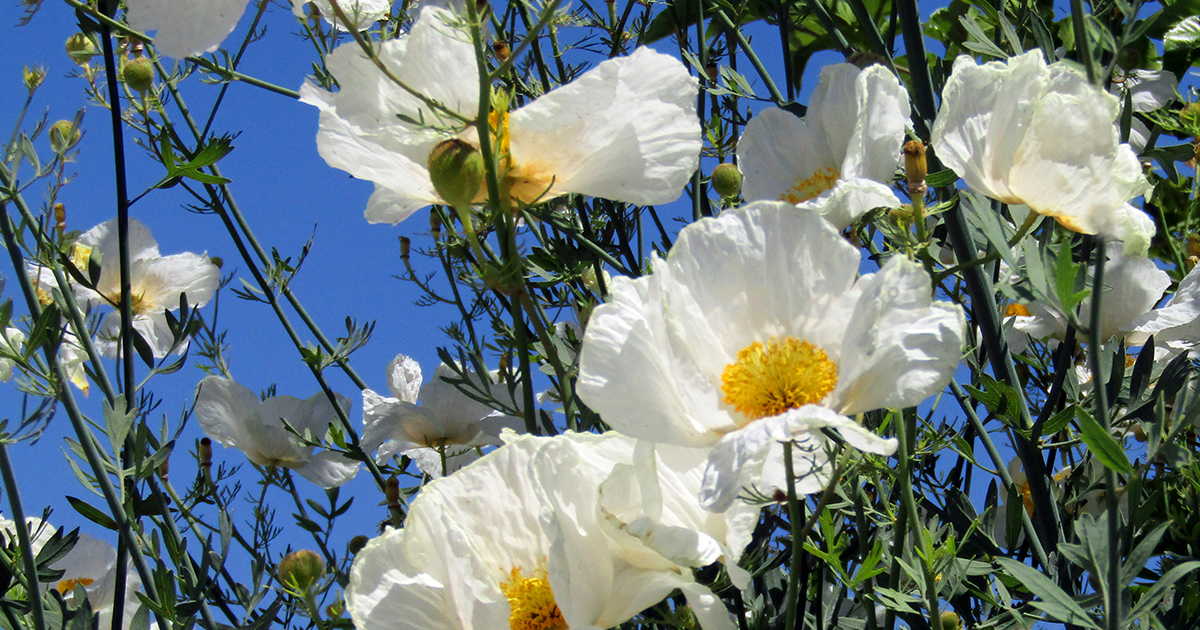
Some natives are more dominating than others, and the Matilja Poppy qualifies. With fluffy, white-and-yellow flowers on bushes that can grow to tower, the Matilja Poppy should be planted with awareness and caution. Though it cannot be counted as invasive, this showy California native has a tendency to run in the garden setting, spreading in ways that are difficult to control and choking out other less assertive plants. Provide root containment or make sure it has adequate space within the garden in order to prevent its domineering personality from becoming an issue.

Ailanthus altissima (Tree of Heaven)

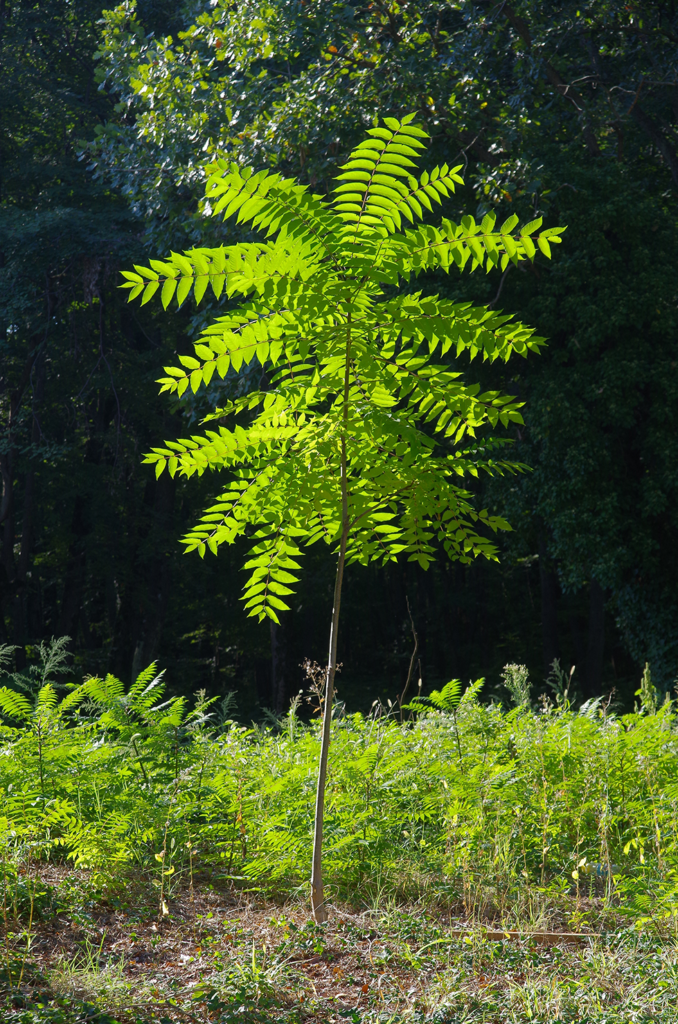
Contrary to its angelic name, the Tree of Heaven is a highly aggressive non-native tree. Luckily, it is not quite so popular in planting palettes due to its offensive smell; however, its hardiness and lack of insect or disease problems still makes it a dangerous contender for many properties. A quick reproducer, it is known to stifle or even kill native species, secreting chemicals into the soil that are toxic to surrounding plants. Largely uncontrollable, we urge anyone to consider better-smelling, native trees that are just as hardy.

Landscape Architectural Services FAQ

Landscape Architectural Services FAQ

Navigating a multidisciplinary project or need plans for submittal?  Our landscape architectural services may be what you need, here are some FAQ’s about our services:

Committing to a new landscape or landscape overhaul for your home can be daunting. Especially if you haven’t done a remodel project before, there can be a lot of unknowns when taking on this type of home improvement project.

Our landscape architects and designers do their best to guide clients through every step – making it as seamless, painless, and stress-free as possible. Every project is different and has its own unique variables, but the basic questions we are asked most at the beginning of the landscape process are often the same.

Have more questions? Review our design services or contact our landscape architecture office, [email protected] or (805) 466-6263.

What types of plans does Madrone provide?

Madrone provides demolition, planting, hardscape, irrigation, lighting, utility, grading and drainage plans.  We also provide construction details for all of the aforementioned plans and specifications depending on the project needs.

We are building a new home and new landscape. When should we bring in the landscape architect?

For new construction projects, you can count on landscaping as the final step. Planned correctly, landscape installation can begin during the final construction stages. Talk to landscape architects and builders from the get-go so that they can get you on their schedule.

Sometimes landscape architects and designers work concurrently with architects and civil engineers on landscape plans, but your designer will need a finalized site plan with building footprint and finished grading to work from.

TIP: Be sure that your general contractor helps plan for landscaping by adding sleeving underneath any concrete or asphalt for future irrigation pipe.

We are thinking of updating our landscape. How far ahead should we plan?

Landscape construction crews can book out anywhere from 2-6 months in advance, so make sure to get on your builder’s radar early. This is one major benefit of working with design/build companies like Madrone.

TIP: The best time to plant in our California Central Coast region is the fall so that root systems can develop over the winter months.

Will we need permits for our landscape construction?

Check with your local municipality to find out if you need any permits for your landscape. Shade structures that are attached to your home or are built within a certain proximity to your home may need to be permitted. There may be water usage allowances for irrigation, and permits are often required for graywater irrigation systems. Permit filings can take 6+ weeks to be processed once received.

Does Madrone create master plans for estates?

One of our strengths is estate landscape architecture.  We have a long history with winery tasting room design, commercial design, residential estate design, and complex hardscape design.  Every property owner has different goals and lifestyles and we have seen it all.  We focus on circulation, usage, and function to design vehicular access, walkways, outbuildings, event areas, patios, kitchens, pergolas, fireplaces, fountains, walls, fountains, and more.  In addition, we have decades of construction experience in concert with most construction trades.  This allows us to make master plans that involve intelligent phasing, budget analysis, and permit strategizing.  We have a network of architects and engineers to fulfill additional design needs for estate-level planning and development.

What is the design process and how long does it typically take?

The design process is the time that you, the client, spend with a landscape architect or designer on the conceptual vision of your outdoor space.  Most landscape designs can be completed from start to finish within 3-6 months, while others can take up to a full calendar year.

Every designer or firm has a unique process, but generally will start with visiting your site and asking questions about your needs. The length of time spent on design will vary based on size of project, number of built elements, complexity of site constraints, and the number of changes made during the process. If a design isn’t agreed on at the first or second draft, more revisions may be necessary. 

Once the designer has developed an understanding of your project, they will create an overall layout on paper, then gradually start to specify treatments, finishes and building techniques as ideas are approved.

At the end of the process, the owner will receive a complete set of construction documents which will serve as a tool for estimating construction cost and to ultimately guide the landscape installation.


How much does a landscape cost? What are the variables?

The cost of a new installed landscape can vary widely. Just like designing a house, with all things being equal, it will cost more to design a large area than a small one. The price then increases depending on how many built elements you want to include and the types of materials you choose.

Click here for a basic outline of some of defining elements that will ultimately determine the cost of your landscape design and installation.

What is the turnaround time for Madrone for landscape plans for a simple commercial submittal?

In addition to custom hardscape plans, we also often provide simple planting and irrigation plans for architects around the state. These tend to be simpler plantings with more complicated irrigation systems and calculations.  Our team can typically turn these around in a couple weeks from being provided a civil AutoCAD file and we pride ourselves on making deadlines early.

What is the difference between landscape architects and landscape designers?

Landscape designers require no certifications and generally focus on small scale residential planting plans.  Landscape architects are licensed by the state (of California) and undergo rigorous testing for certification.  In addition to basic residential design, landscape architects handle commercial and public projects generally interfacing with other design professionals such as architects and engineers (civil, structural and soils).  Landscape architects specialize in complex structural changes to properties and provide plans for demolition, hardscape, irrigation, lighting, utilities, grading, drainage, construction details, and specification.  Landscape architects can stamp and take lead for plan submittals.  At Madrone, we have both landscape designers and landscape architects on staff and can handle a wide range of projects in a collaborative environment ensuring high standards on each project.

How much information/direction does a designer need from the client?

The more information you can share up front with your designer, the more likely they will be able to design an incredible landscape that reflects your personal flair while including your desired or required elements. We love hearing about what styles and elements you do and don’t like so we know what direction to start with on your design. Browsing Pinterest and Houzz boards can be super helpful for this.

On the flipside, there’s also no shame in not knowing what you want—that’s what we’re here for!

Whether you know exactly what you’re looking for or not, the most helpful thing you can do throughout the design process is provide your feedback. We try very hard to customize each design project to the personality and needs of each client, so when we go through our concept and revision meetings, we want to hear what you really think. Honest feedback during our meetings is the best way to help us give you the design you’ve been dreaming of!

How do we decide what to include in our landscape design?

There are two interconnecting pieces to consider: landscape design area and desired landscape features or amenities. For instance, if you are looking to include a veggie garden, new patio, pergola, hot tub, flower garden, and meandering paths, you’re going to need a relatively extensive landscape design area.

Often in design, we encourage creating a landscape master plan. If it makes most sense financially to proceed with construction in steps, a sitewide design will ensure a functional and cohesive final design and finished project. Even if you envision installing the veggie beds at a later phase, it makes sense to design their location, orientation, and aesthetic or “design language” from the start.

As far as design features go, it may help to draw up a list of your desired elements before an initial consultation. You can discuss these items with the designer and see if any other ideas arise out of the design process. Browsing inspiration online on places such as Houzz or Pinterest, flipping through design books and magazines, or taking a walk around your neighborhood are also great ways to pinpoint your list of features and amenities.

At what point will we know how much our desired landscape costs?

Our design process includes using cost information as a tool to help guide design decisions. Once we’ve established our initial concept plan, our next step is to revise and refine the landscape plan and provide the client with budgetary installation prices. This estimate includes individual line item descriptions, quantities, and costs for every element of the project. This means you can see clearly where every dollar is being spent, and where there are opportunities to substitute materials or methods with less expensive alternatives without sacrificing functionality.

How do we determine what plants to include in our landscape?

To determine the plants for your landscape, also known as the plant palette, your designer will ask questions of style—Mediterranean, modern, xeric, Spanish, something else. During our design process, you will have opportunity to discuss planting selections, ask questions, and provide feedback.

Our designers are familiar with plant species that work well in the Central Coast, from Arroyo Grande through Paso Robles to Grover Beach through Cayucos and beyond. Each area has its own set of microclimates—unique characteristics including sun patterns, wind, humidity, shade, and more, that determine a plant’s suitability. Regardless of where the project is within our region, we strive to propose appropriate plantings that will use minimal water throughout the year, thereby promoting water conservation.

Don’t have a green thumb? That’s not a problem! Let our designers know, and they will be sure to propose the most low-maintenance options.

Tips for Creating a Lush, Sustainable Landscape

Tips for Creating a Lush, Sustainable Landscape

A Guide for Central Coast Homeowners

“Imagine a garden that rarely needs pruning, watering or fertilizing. One where natural controls usually take care of pest problems before the gardener even becomes aware of them. A peaceful garden where the sound of blowers, power mowers, or chain saws never intrudes. Imagine a garden that also serves as a climate control for the house, keeping it cool in summer and warm in winter; a garden that traps rainwater in an attractive streambed to deeply irrigate the trees and recharge the groundwater; one that provides habitat for wildlife and food for people. Imagine a garden that truly works. This is the sustainable garden—not barren or sacrificial, but as lush and beautiful as any other without all the struggle and waste.” – Author and landscape architect Owen Dell

If Dell’s description fills your heart with delight and your mind’s eye with images of your ideal oasis, a sustainable landscape is probably for you. Here are three vital components in creating a lush, sustainable landscape:

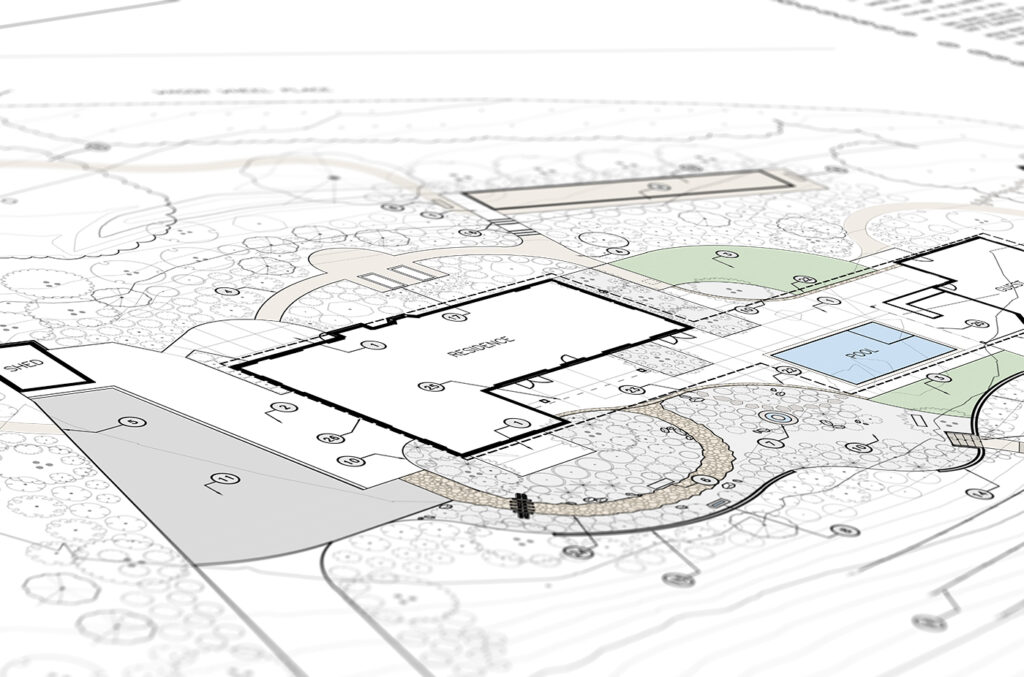
Central Coast ranch site plan

Good Planning

In considering your sustainable landscape, good planning is vital. Creating a design can save you time and money by sourcing an expert to help make the most of your space, time, and budget.

Your designer will ask, “What are the uses you’d like to incorporate?” Hardscape areas like patios, play areas and structures, or water features can all make your property work for you. When contemplating how you’ll be using the areas, think about the materials. Are they sustainably produced and sourced? Consider the Embodied Energy impacts, which include everything it takes to have a material available for your use.

Irrigation Systems

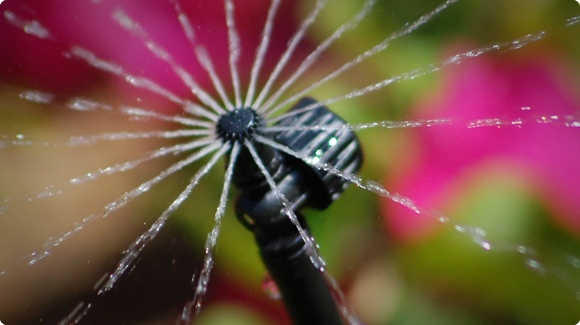
Any discussion of California landscaping will include irrigation. Irrigation systems need to be accurate, low-flow and timed appropriately to keep plants healthy and thriving. A well-designed system ensures your plants receive an appropriate amount of water.

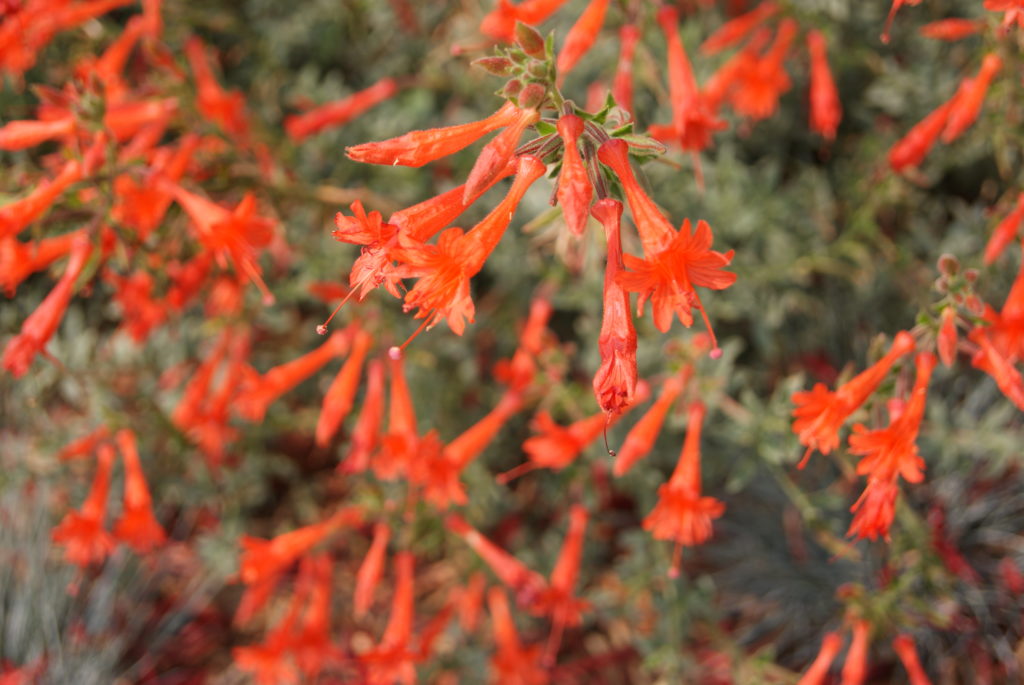
California fuchsia

Plants

When thinking about the plants—whether shrubs, trees, veggies or turf—think about conserving resources, especially over time. California Native Plants is an excellent resource for finding plants that will fit your goals and your design. Local native plants are often the most climate compatible and lowest maintenance choices.

These are just a few of the sustainable principles you can use as guidelines to maximize your landscape efforts. And in doing so, take advantage of living in the incredible region of California’s Central Coast. Make time to get out and enjoy yourselves in your gardens. They offer unique opportunities to unwind and relieve stress. Reconnect with things natural, beautiful and up close. Even in our own gardens we are connected in a very real way to the larger landscape, and how we have a responsibility to sustain the health and beauty of our beloved Central Coast. Let’s make it work for the long run.

Want more information on Central Coast resource-friendly landscapes? Here’s a short video hosted by our own Rick Mathews. Contact our landscape designers at [email protected] or (805) 466-6263.
 

The Secret to Creating a Beautiful Outdoor Space

The Secret to Creating a Beautiful Outdoor Space

By Jill Bleher, Landscape Designer. Originally published in Living Lavishly VOLUME 14 Spring/Summer 2022.

As humans we seek habitats in which to dwell. This can be seen inside our homes as well as in our gardens. There are probably special things in your house that you cherish and enjoy. Maybe it is the family heirloom china displayed in a cabinet or the flat-screen TV that you use daily. These features help create an inviting space with their beauty, placement, and functionality. The approach is similar for designing an outdoor dwelling space. Have you ever visited a beautiful garden and wondered why it is so inviting? The answer is good design involving landscape features.

Landscape features are generally items that draw the eye, such as colorful pottery, a striking sculpture, or a beautiful tree. Features can also engage other senses, such as the sound of a fountain or the warmth of a firepit. Whether you have a small or a large yard, there are plenty of options for features to enhance your landscape experience. Here is an exploration of how to integrate features into your landscape retreat for the greatest effect.

Art as a Focal Point

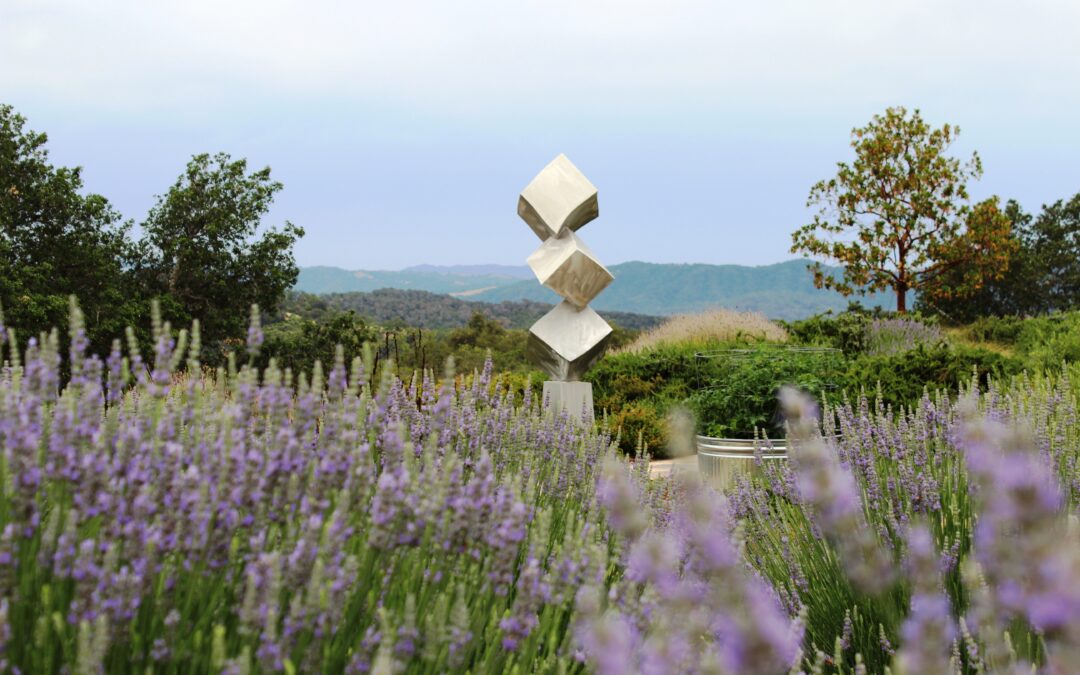
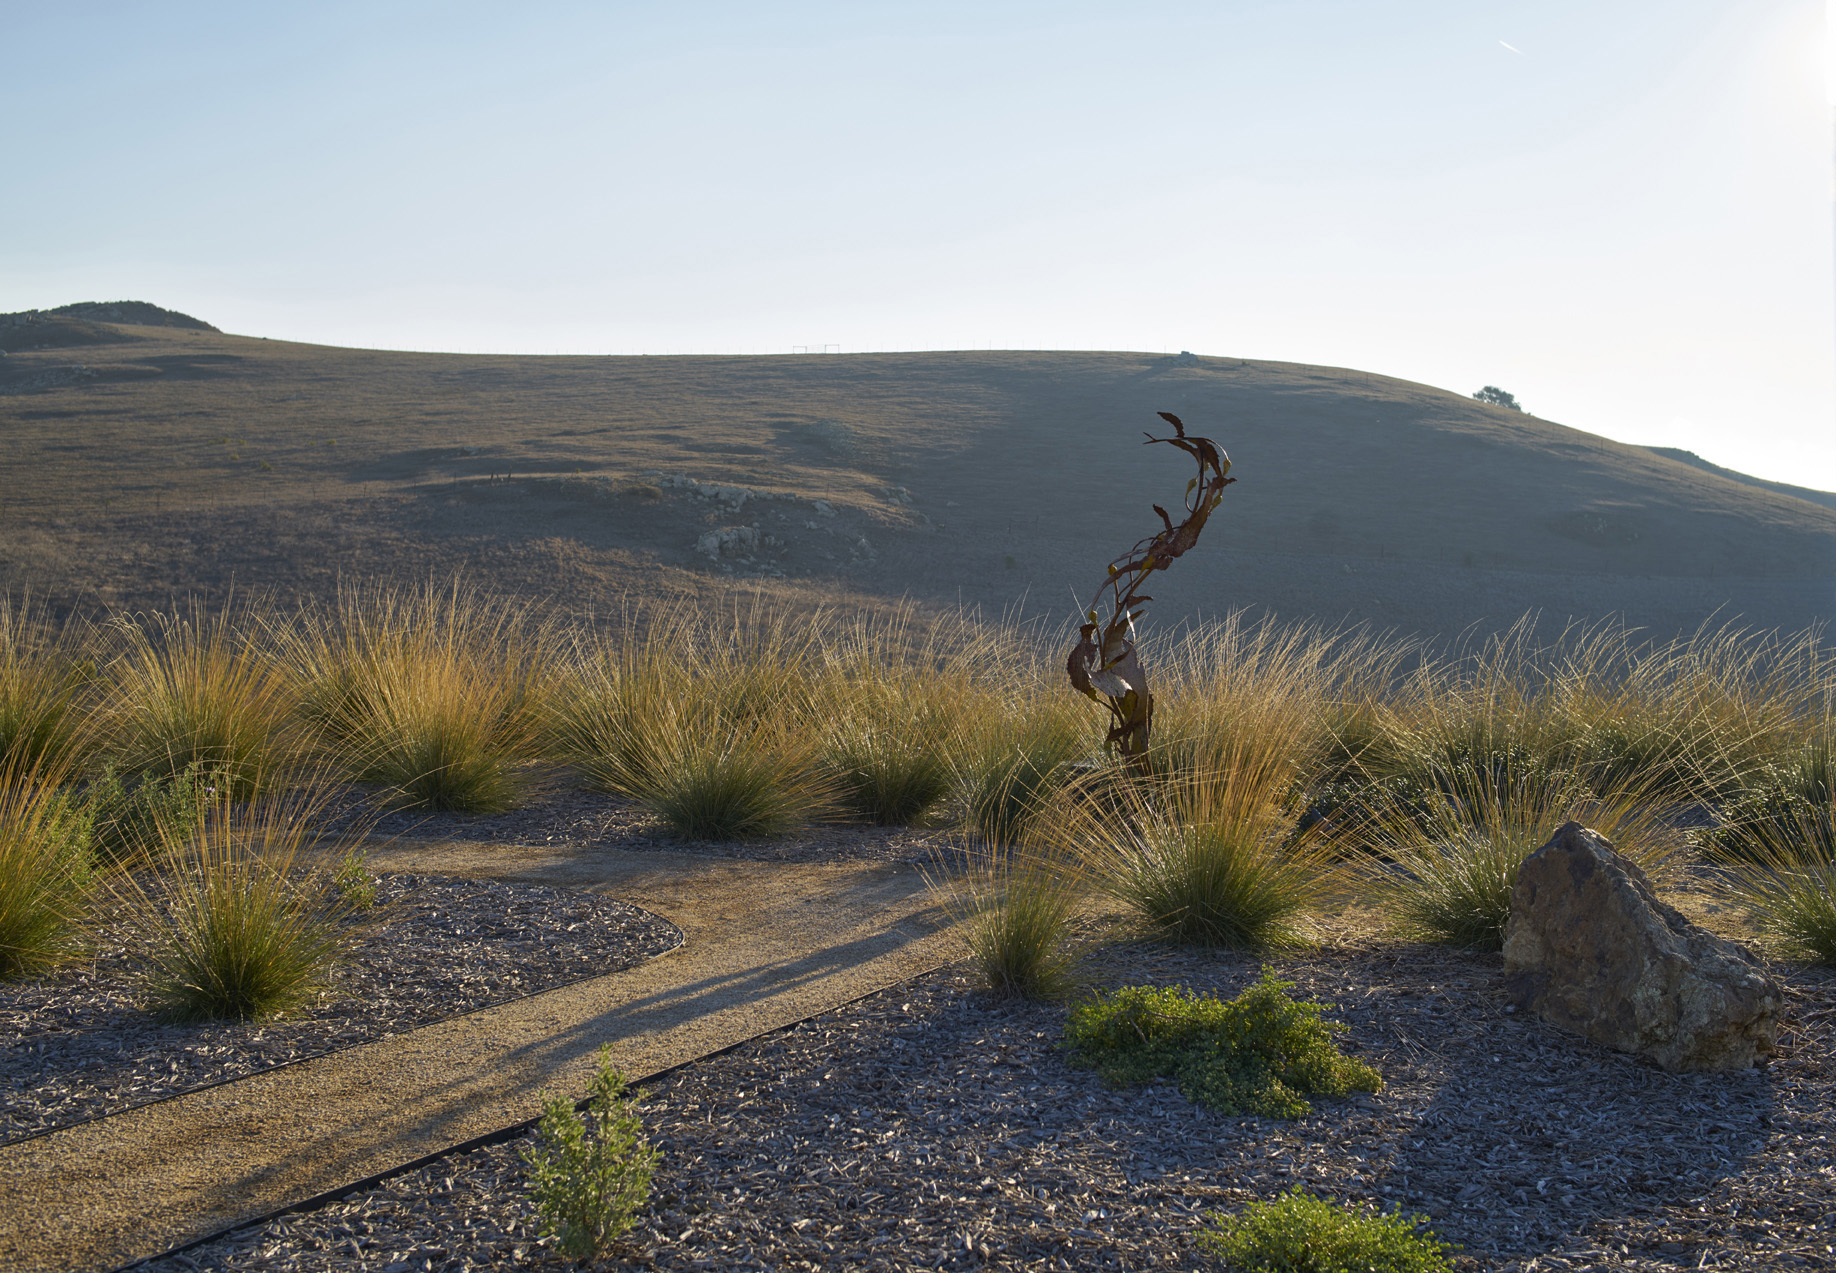
One way to personalize and add dimension to a garden is to add artistic features. Artful focal points can be as simple as a beautiful ceramic pot or as complex as a large-scale wind sculpture. Good placement for an art feature is at the divergence of pathways, in a nook to the side of a patio, or in a space viewed from above. Uplight your art feature so you can appreciate it after dark.

When selecting art features, consider the theme of the setting. Pick a modern art piece for a contemporary landscape, place vibrant Talavera pottery in a cactus garden, or choose a stone lantern for your traditional Japanese garden. Additionally, art focal points may have sentimental value, such as a souvenir plaque from a trip or a garden statue that belonged to a family member. Ultimately, the purpose of garden art is to add meaning and beauty to the landscape.

Water and Fire Elements

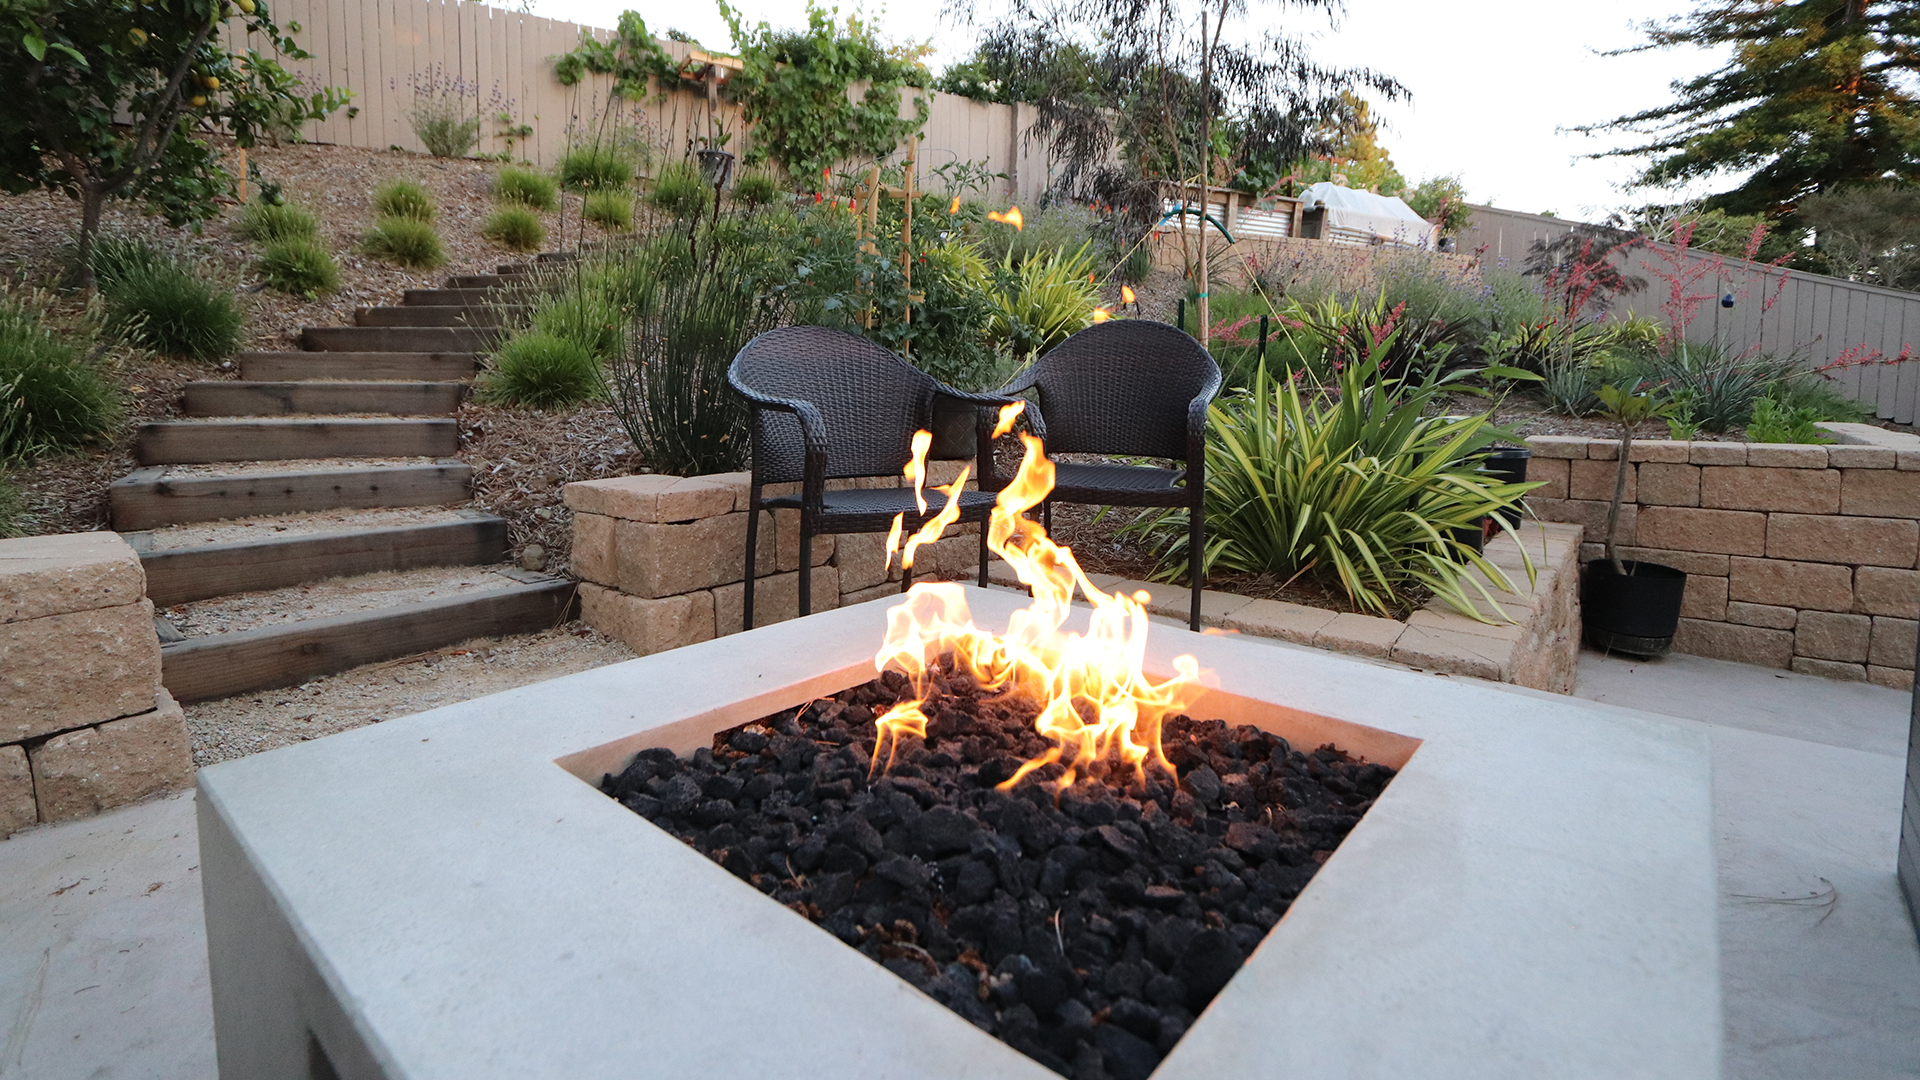
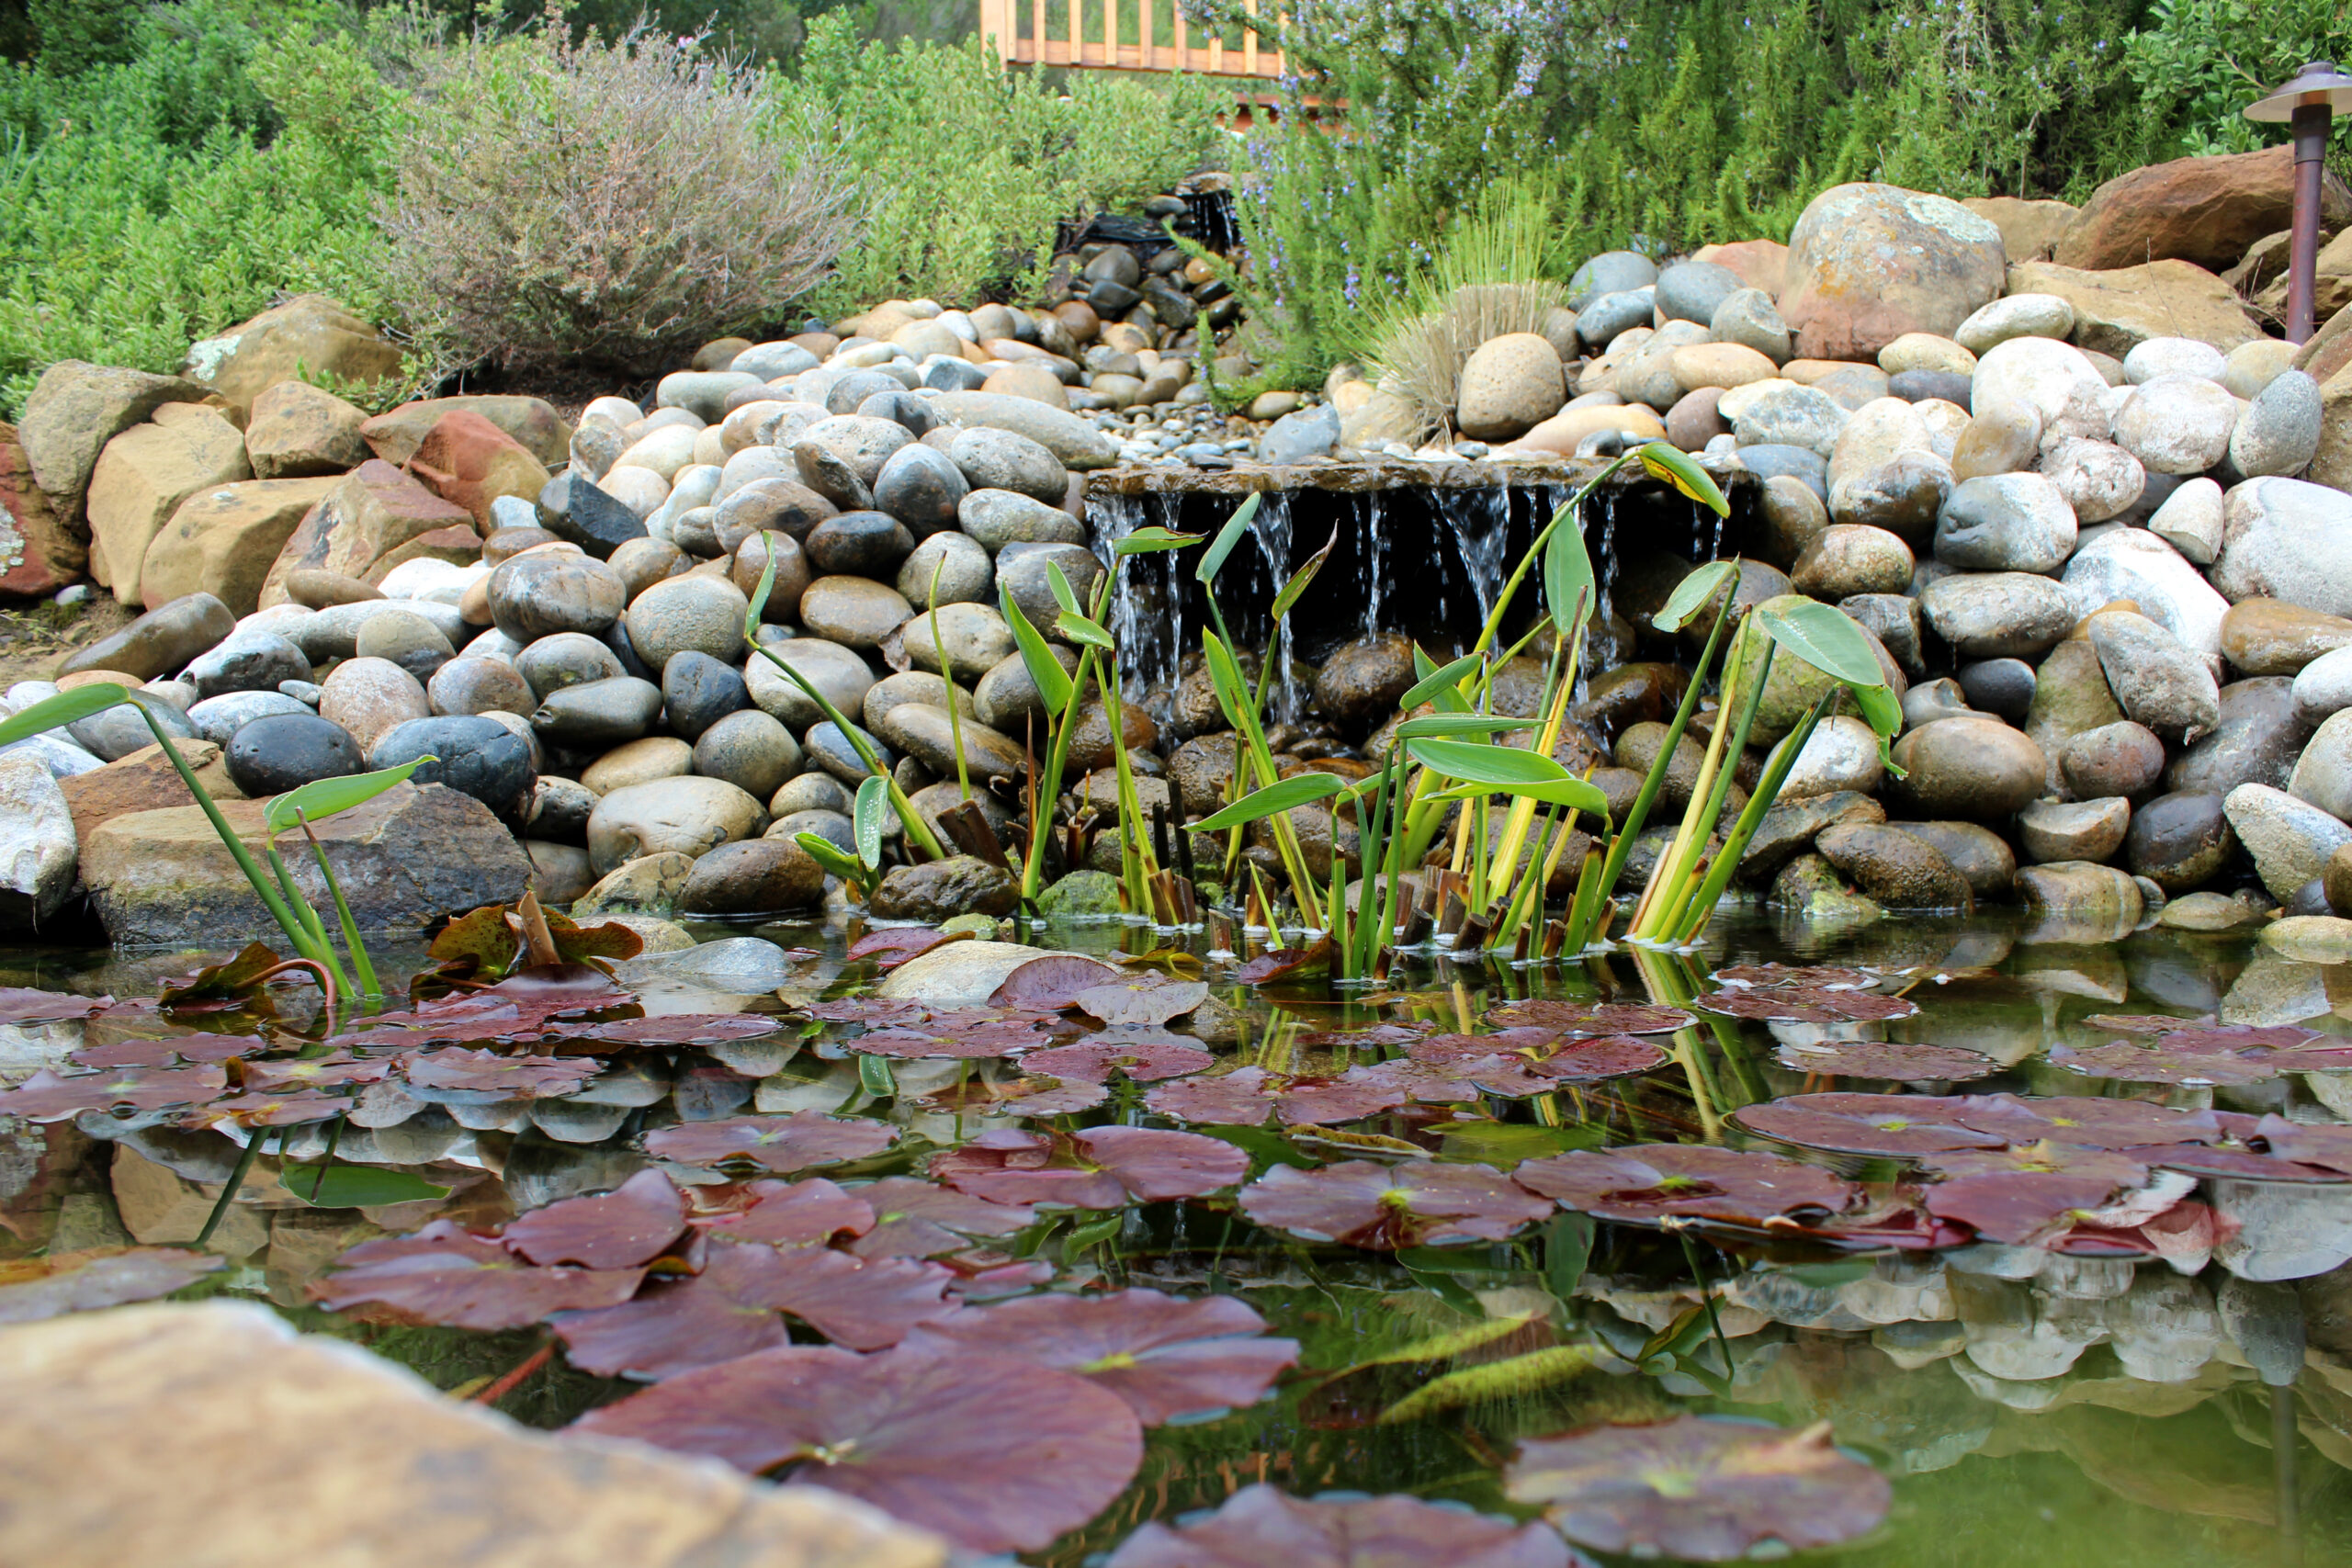
Ambiance is a fundamental part of the garden setting. A well-designed landscape invites the visitor to linger and appreciate the space. Two elements that are especially good at adding ambiance to any garden are water and fire features. Consider the welcoming glow of a fire or the peaceful sound of water. It’s no wonder that both are common aspects of an inviting landscape sanctuary.

Deciding where to place a fire or water feature in the landscape is significant. Locate a fireplace or fire pit in a space where people can gather. If designing a new space, consider building a fireplace wall to partially enclose and warm a seating area. Moveable fire tables can be added to existing patios for an inviting element. Whether for roasting marshmallows or just adding light and warmth, fire features are ideal for inviting people to gather.

Since water features are sought out mainly for their sound, they can be tucked against walls or into nooks. Alternatively, they can be placed out in the center of a large space as a focal point. With so many options to choose from, it is best to match the style of your landscape. Select a steel water wall for a modern look, choose a core-drilled boulder fountain for a natural setting, or pick a tiered fountain for an Italian garden. Whatever the style, a well-placed water or fire feature will add dimension to the garden space.

Plant Selections that Pop

Perhaps the most obvious garden feature is plants. However, by their very nature plants are dynamic and not as easy to highlight as a static fountain or statue – they grow and change throughout the seasons. For this reason, picking the right plants to showcase can take some thought.

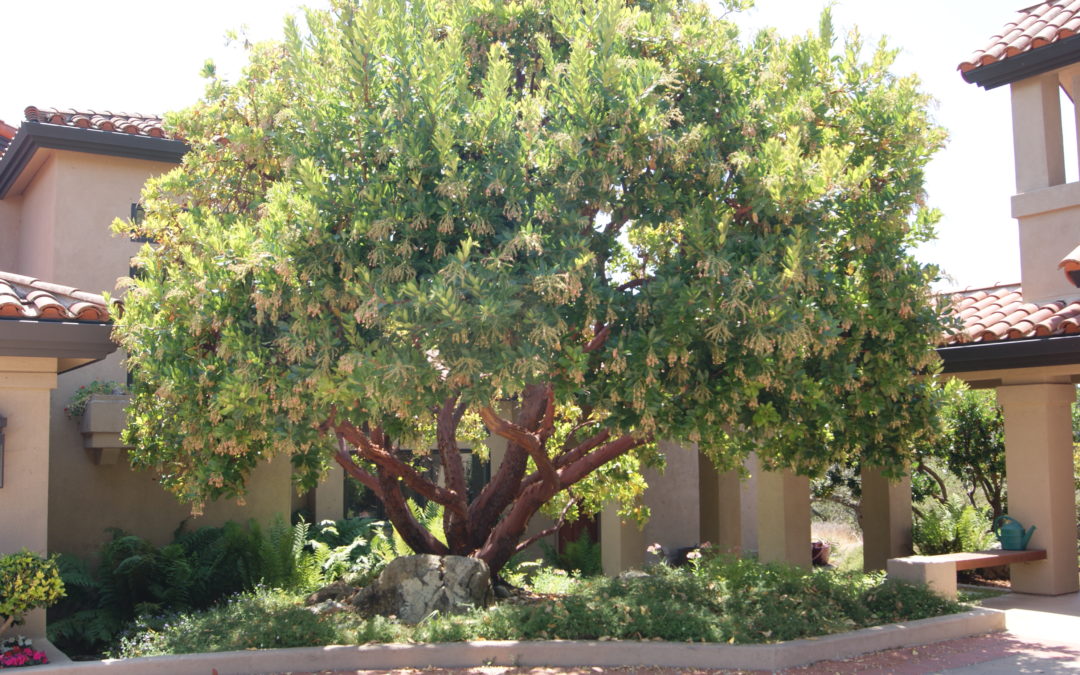
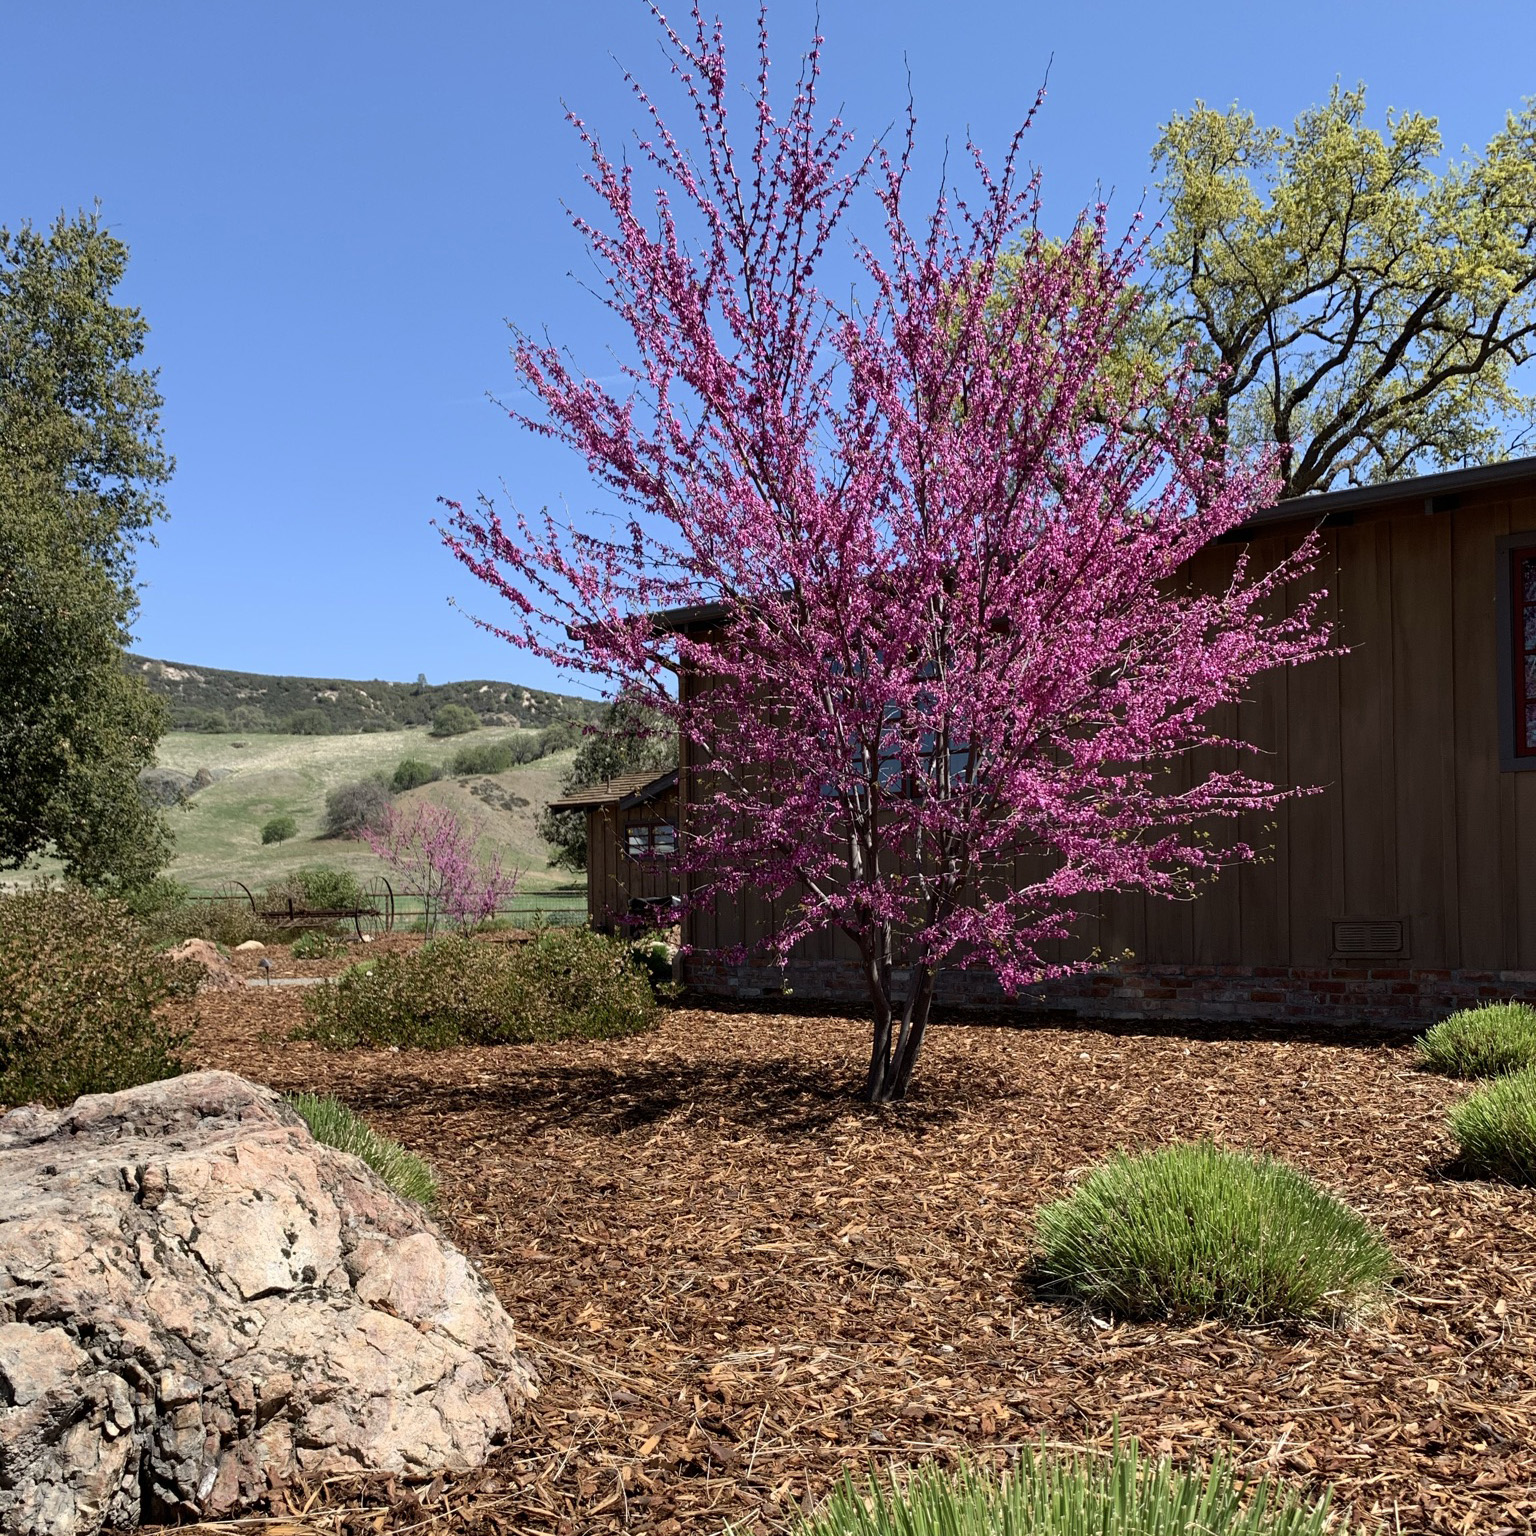
Trees and large shrubs make excellent features due to their size and often interesting forms. Some of the best trees to draw attention to are olives and oaks as they have beautiful branch structures and grow more majestic with age. A favorite large shrub to feature is the Western Redbud which bursts into bright pink blooms in early spring. Large Manzanitas or Arbutus trees are also excellent selections to choose with their red bark and gnarled forms. Accent trees at night with either uplights or hanging moonlights.

If you don’t have space for large trees, consider plants with striking architectural form such as Agaves or grasses to feature against a wall or along a pathway. Perennial blooming plants will delight seasonally. Try interplanting bulbs between other plants to add extra pops of color in spring!

Borrowed Views

One powerful tool for creating a beautiful landscape is to incorporate views. A “borrowed view” is when a distant landscape is included in the garden design. For instance, build an arbor to frame a view of neighboring vineyards or leave space between trees to view the mountains beyond. It might be years before your newly planted oak trees can be considered features, but you can highlight the view of a magnificent oak tree in the field beyond your property.

Ultimately, borrowed views are a great way to make your immediate yard feel larger and grander. It’s similar to adding a mirror on the wall in an interior room. Even a small yard will feel less enclosed if there is a view of the world beyond. Don’t lose sight of the greater landscape!

This exploration of landscape features and their applications applies to every person and every garden setting. Include one or many elements in your yard, but do it purposefully and make it personal! Seek out art features that catch your eye, add a fire or water feature to create ambiance, select plants to delight the senses, and borrow views when possible. In the end, don’t hurry the journey but enjoy the process. In so doing, turn your landscape into a dwelling space that is an expression of yourself.  After all, genuinely superb gardens are dwellings that evolve with the time and ponderous consideration of a magnificent tree.

….

Jill Bleher is a landscape designer and Cal Poly Landscape Architecture alumnus. She is passionate about designing unique landscape sanctuaries for others. When not designing yards for other people, she can most often be found in her own garden or inside creating crafts. For more information, visit Madrone Landscape or call (805) 466-6263.