Oct 3, 2023
Maximize the Potential of California Landscapes with Mulch
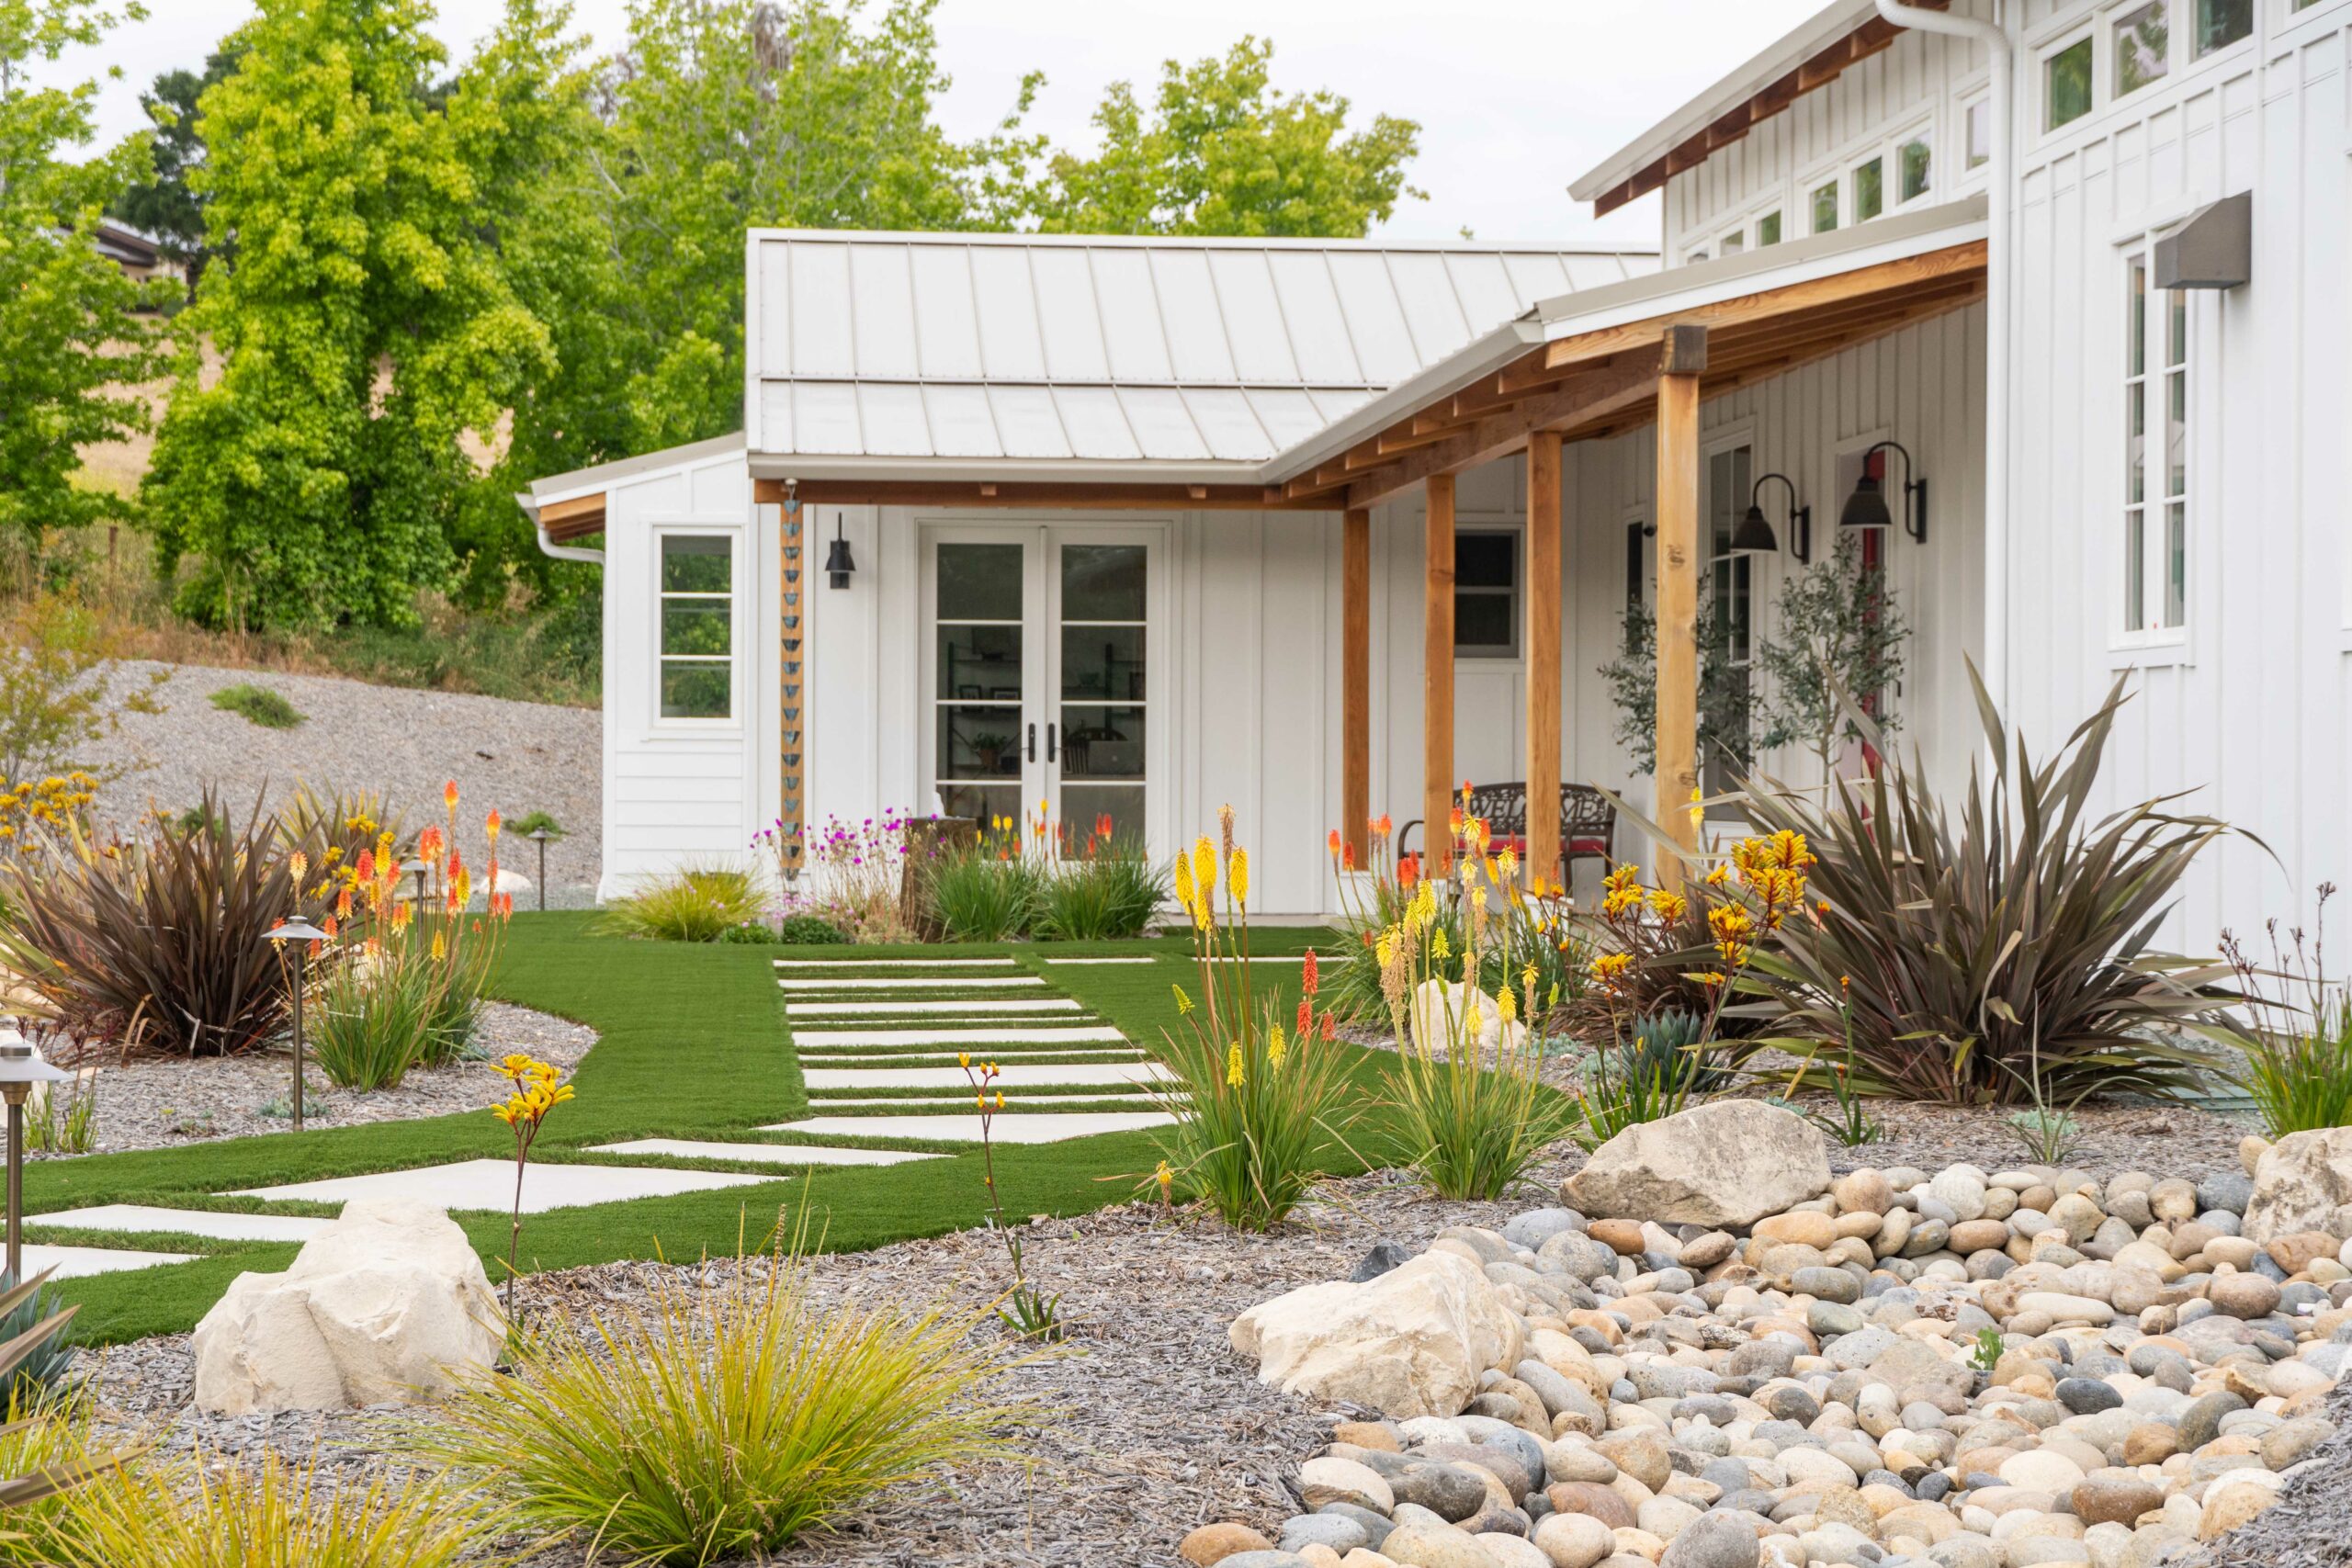
Mulching is a game-changer for California central coast landscapes, offering a multitude of benefits that every gardener and landscaper should take advantage of. From controlling weeds to conserving moisture, mulch is a versatile tool that enhances the beauty and functionality of outdoor spaces. In this Guide to California Landscape Mulching, we’ll explore the key benefits, various types, and effective methods of using mulch in California landscapes.
Control Weeds and Conserving Moisture
Mulch is a gardener’s best friend when it comes to controlling weeds and retaining moisture. By applying a layer of mulch, you can reduce the growth of unwanted plants, particularly annuals, by up to 90%. This not only keeps your landscape looking pristine but also saves on landscaping labor costs and reduces the need for toxic herbicides.
Moreover, mulch plays a vital role in conserving soil moisture, helping you cut down on irrigation expenses. In regions like San Luis Obispo County, where water conservation is crucial, mulching can significantly reduce the amount of water needed to keep your plants healthy.
Promote Soil Health
Mulching is not just about aesthetics; it also promotes the overall health of your garden. As mulch decomposes, it enriches the soil with essential nutrients, improving its organic matter content and providing a source of sustenance for beneficial organisms. Additionally, mulch reduces soil compaction and insulates plants from extreme temperatures. This insulation effect can lower soil temperatures by up to 10 degrees, which is especially beneficial for young plants and trees.
Reduce Soil Erosion
Erosion is a significant concern, especially on slopes. Mulch acts as a protective barrier that keeps the soil in place during heavy rain and wind, reducing the risk of erosion. By deflecting the impact of raindrops, mulch minimizes stormwater runoff and helps maintain the integrity of nearby creeks and waterways.
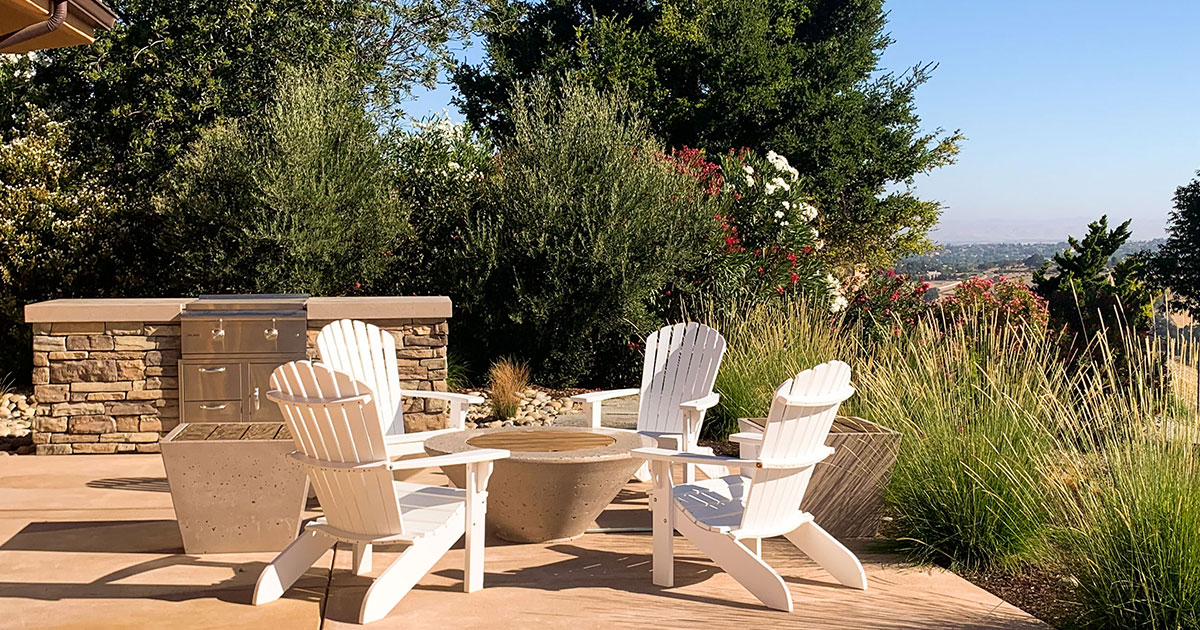
 Enhance Aesthetics
Beyond its practical benefits, mulch adds a finishing touch to your landscape. A well-maintained mulch layer creates a clean, uniform appearance that ties your garden together. It provides a polished look that complements the natural beauty of your plants and hardscape features.
 Choose the Right Mulch Material
When selecting mulch for your California landscape, consider the style and design of your garden. While bark and wood products are common choices on the Central Coast, there are various other options to explore. These include stone, such as colorful rocks and gravel, as well as sheet mulching using materials like newspapers, cardboard, and plastic sheeting.
Recycled organic mulches, such as wood chips, compost, leaves, pine needles, and grass clippings, are eco-friendly choices that reduce the need for long-distance shipping. Using mulch from local tree trimming operations is not only sustainable but also contributes to maintaining the usefulness of these by-products.
Consider Fire Safety
In many coastal California communities, wildfire safety is a paramount concern. It’s essential to be mindful of the combustibility of organic mulch. Research conducted at the University of Nevada Cooperative Extension has shown variability in mulch type combustibility. To reduce wildfire danger, it’s recommended not to use any organic mulch within five feet of homes located in wildfire-prone areas.
 Determine the Right Amount of Mulch
To maintain the benefits of mulch, aim for a 2- to 4-inch layer in your planting areas. Regularly inspect and refresh mulched areas as needed. Keep mulch at least two to three inches away from plant stems and trunks to prevent moisture-related issues. For trees in lawns, create a mulch circle around the base, with a diameter of about 2 feet for each inch of trunk diameter.
 Embrace the Power of Mulch
Mulching is a versatile and cost-effective practice that enhances the beauty and health of California landscapes. It saves time and money, promotes soil health, prevents erosion, and adds a finishing touch to your outdoor spaces. Make the most of mulch to create thriving, sustainable gardens that are both visually appealing and environmentally responsible.
If you have any questions about our mulching services or want to learn more about our maintenance program, please don’t hesitate to contact us at [email protected] or (805) 466-6263.
Jan 19, 2023
Eight Winter Bloomers for the California Central Coast
During the colder months on the California Central Coast, many of our plants fall back and go dormant. Throughout the region, from inland San Luis Obispo to coastal Morro Bay and north county’s Paso Robles, central coasters love year-long landscapes. With so many beautiful bloomers that thrive in our area, we can count on flourishing flowers to take the stage during any given season.
Here are eight of our winter favorites.
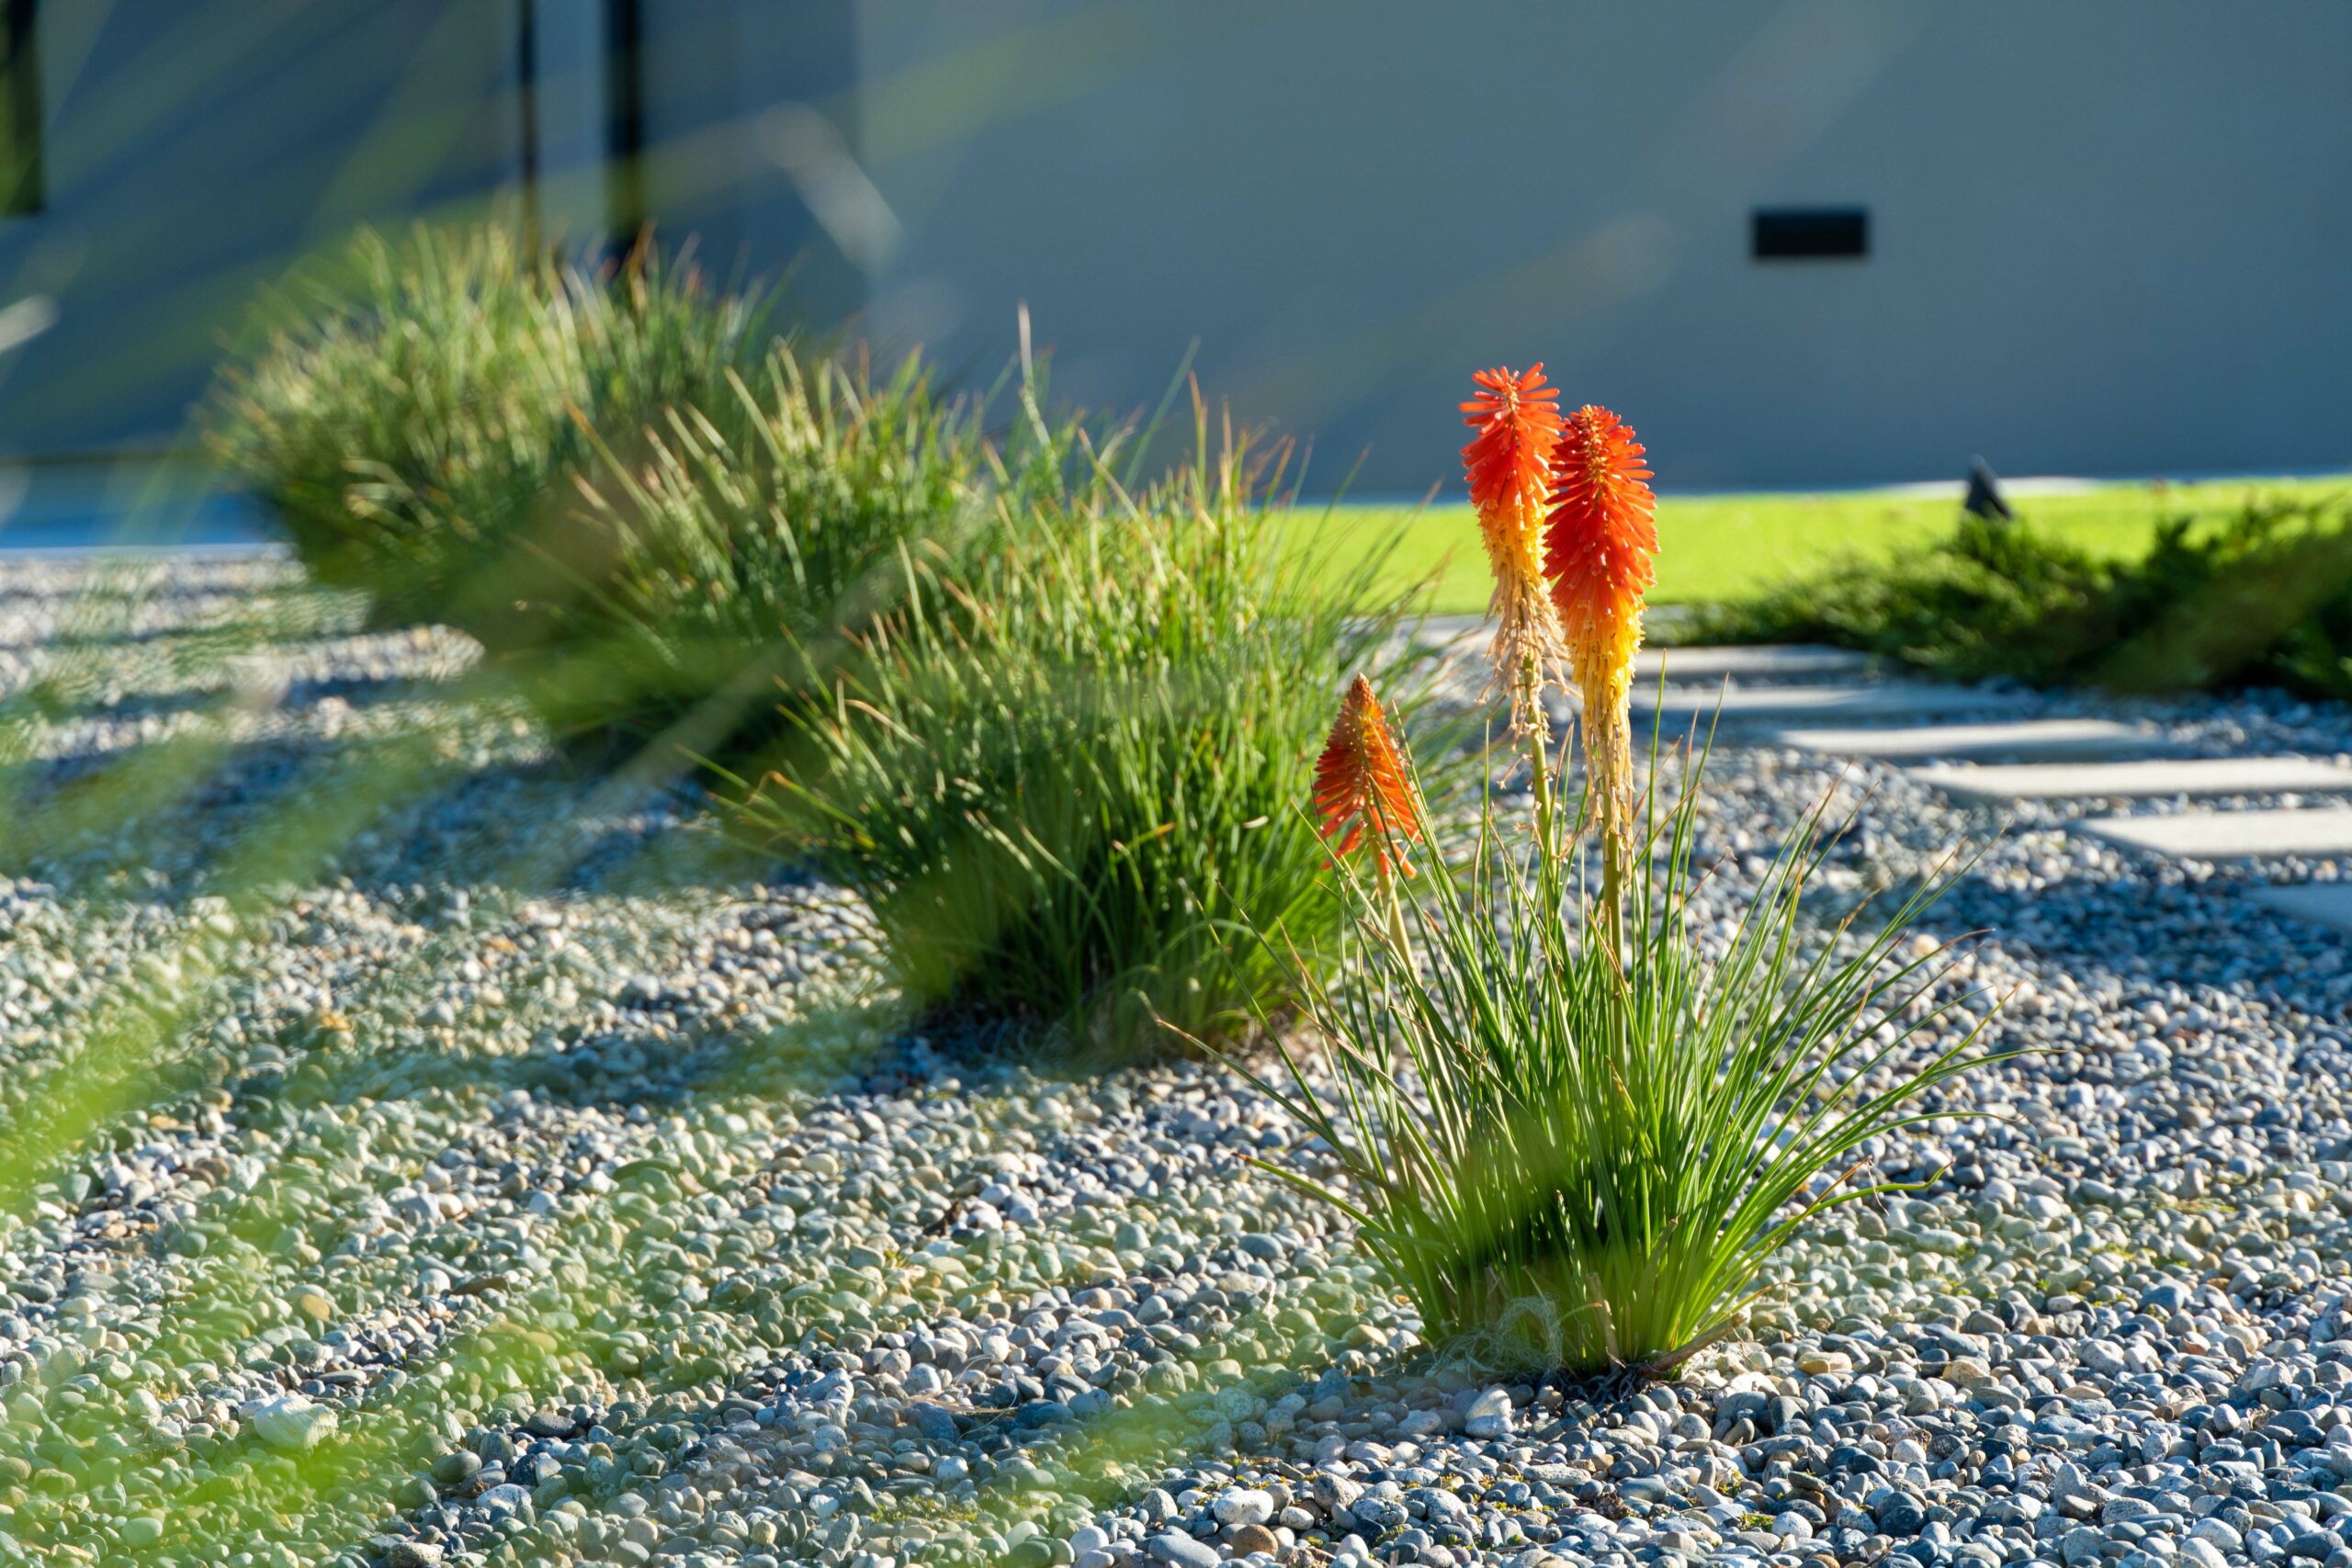
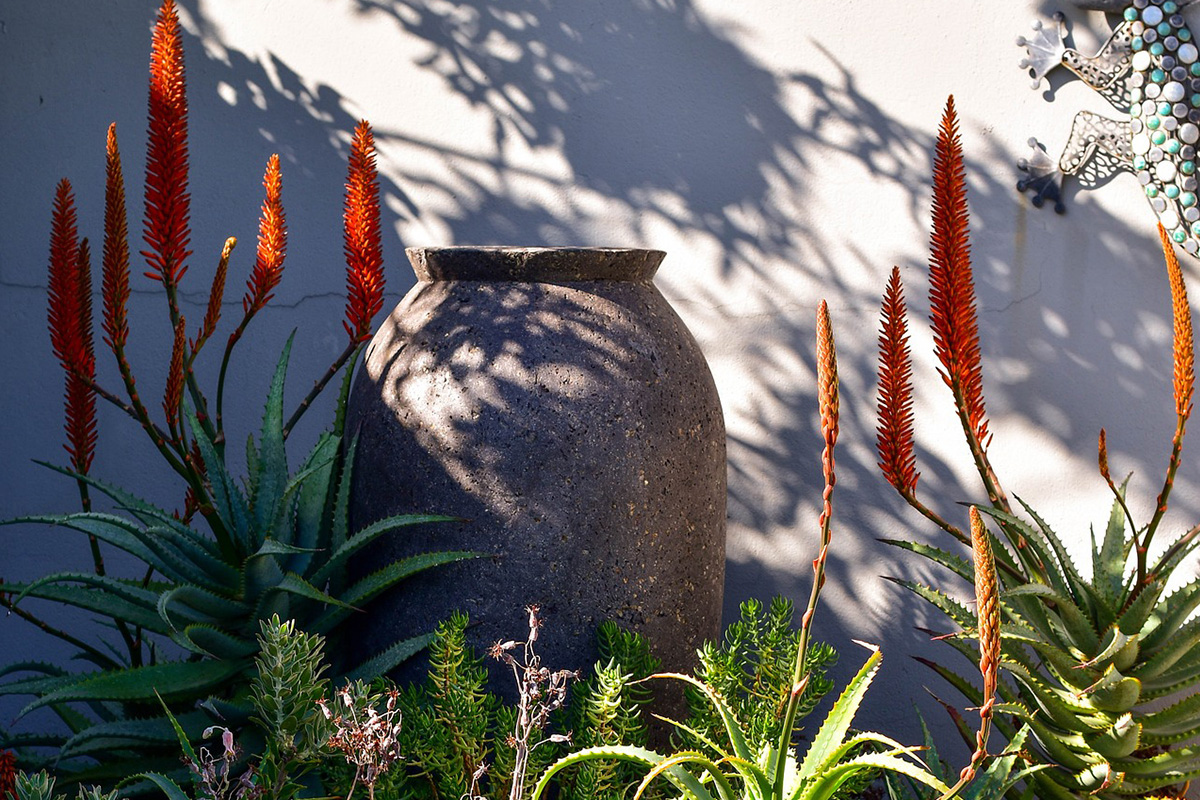
Aloe Striata
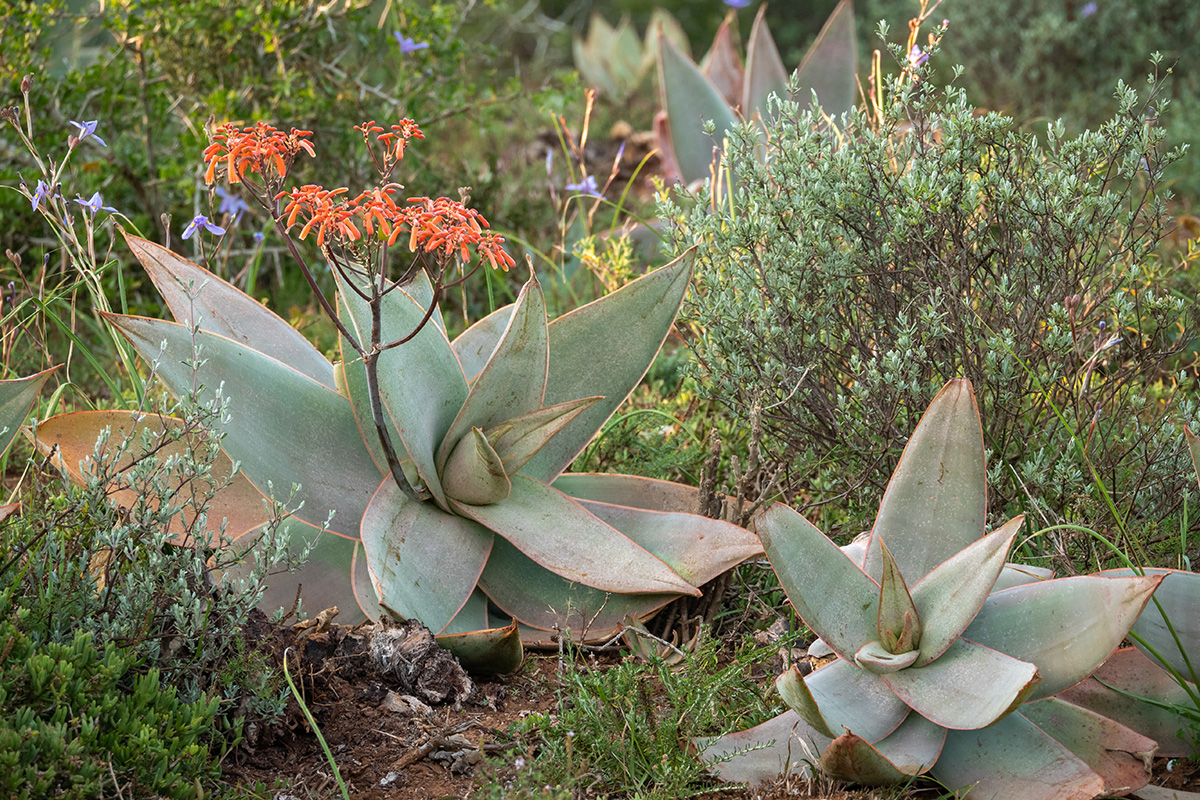
Aloe striata, or Coral Aloe, is memorable for its tall floral stalks the color range of a citrus sunset, but its leaves take the cake. Elegant and pale, their reddened edges lend a delicate blush year-round, even as it blooms in the winter.
Arctostaphylos
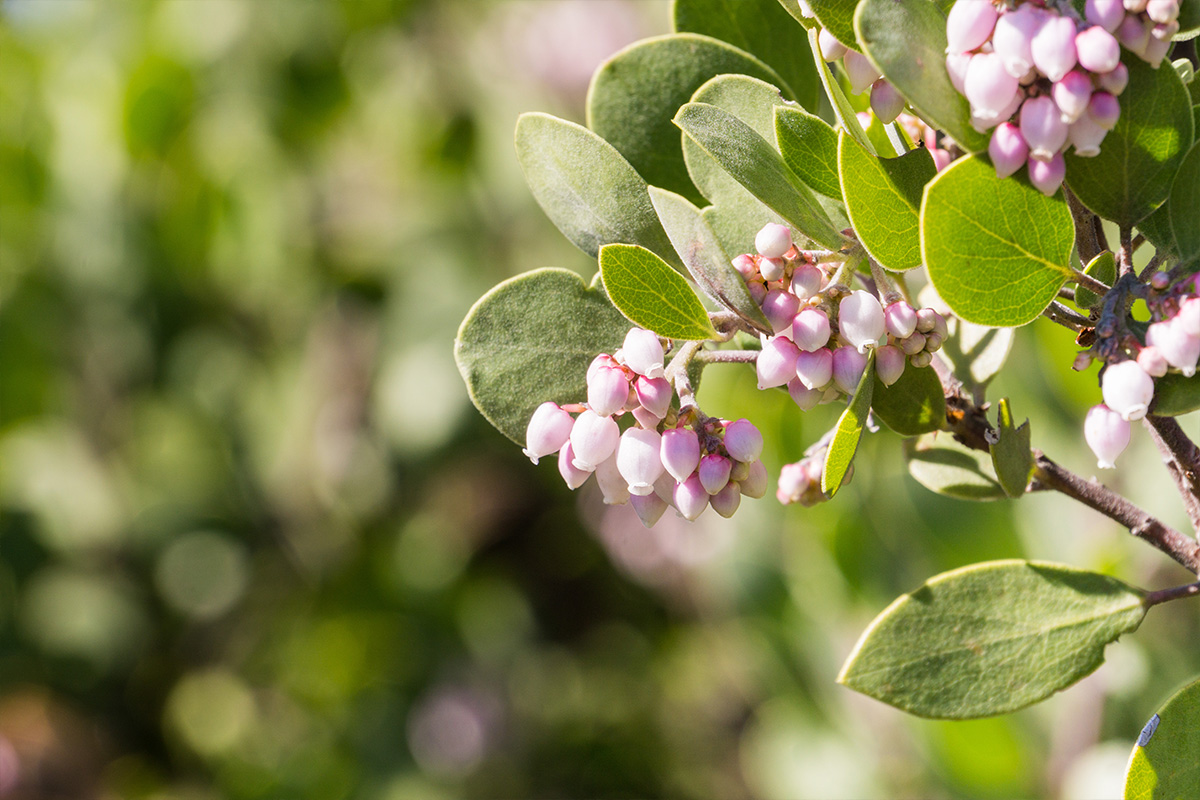
Drought-tolerant and robust year-round, these Manzanitas shrubs are popular for their handsome, red-toned bark and bunches of round, gentle flowers.
Erica Canaliculata

This showering splash of flowers is commonly known as channeled heath or hairy gray heather. Its bell-shaped flowers bloom in a cloud of pink to purple, lending waves of colorful body to every landscape it flourishes in.
Agave Attenuata
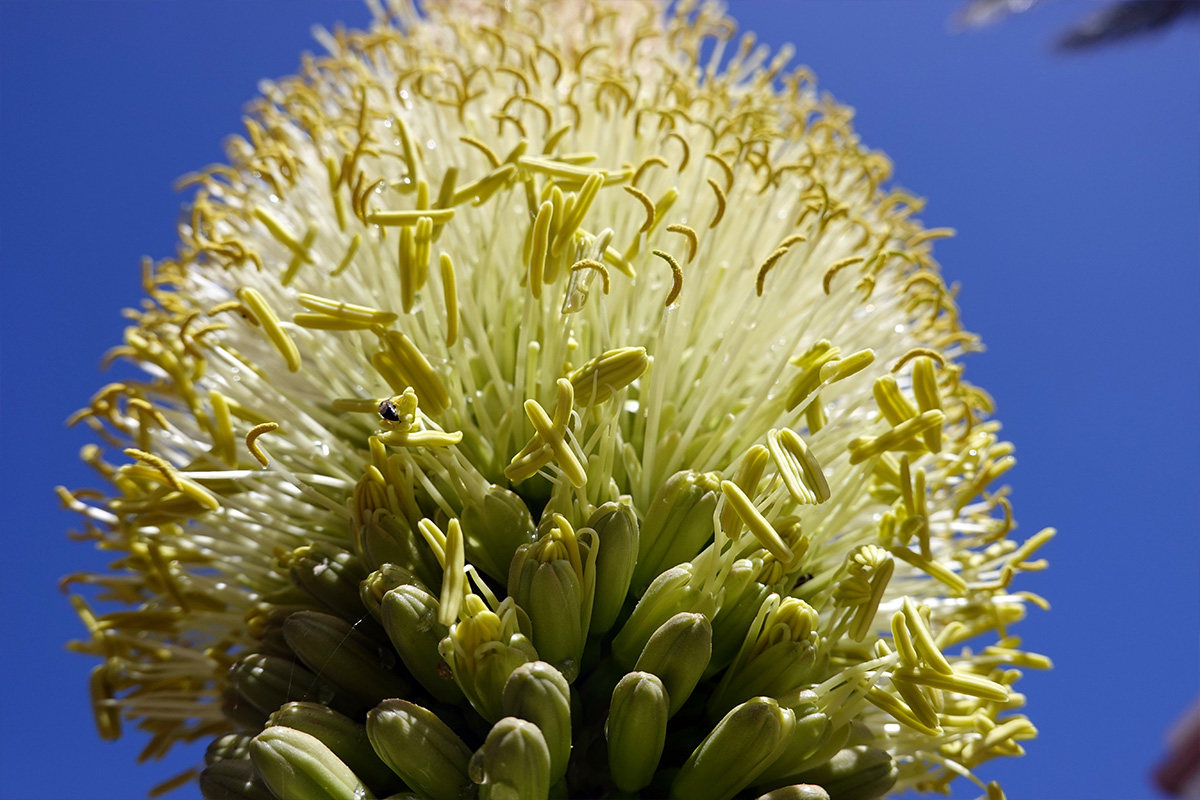
While the Foxtail Agave is typically known for its year-round architectural form and drought-tolerance, mature specimens will put out massive flower spikes once in their lifetime. Vibrant green, cool blue, and beautiful variegated cultivars are available, and will spread from basal shoots, eventually filling in a sizeable area.
Viburnum Tinus
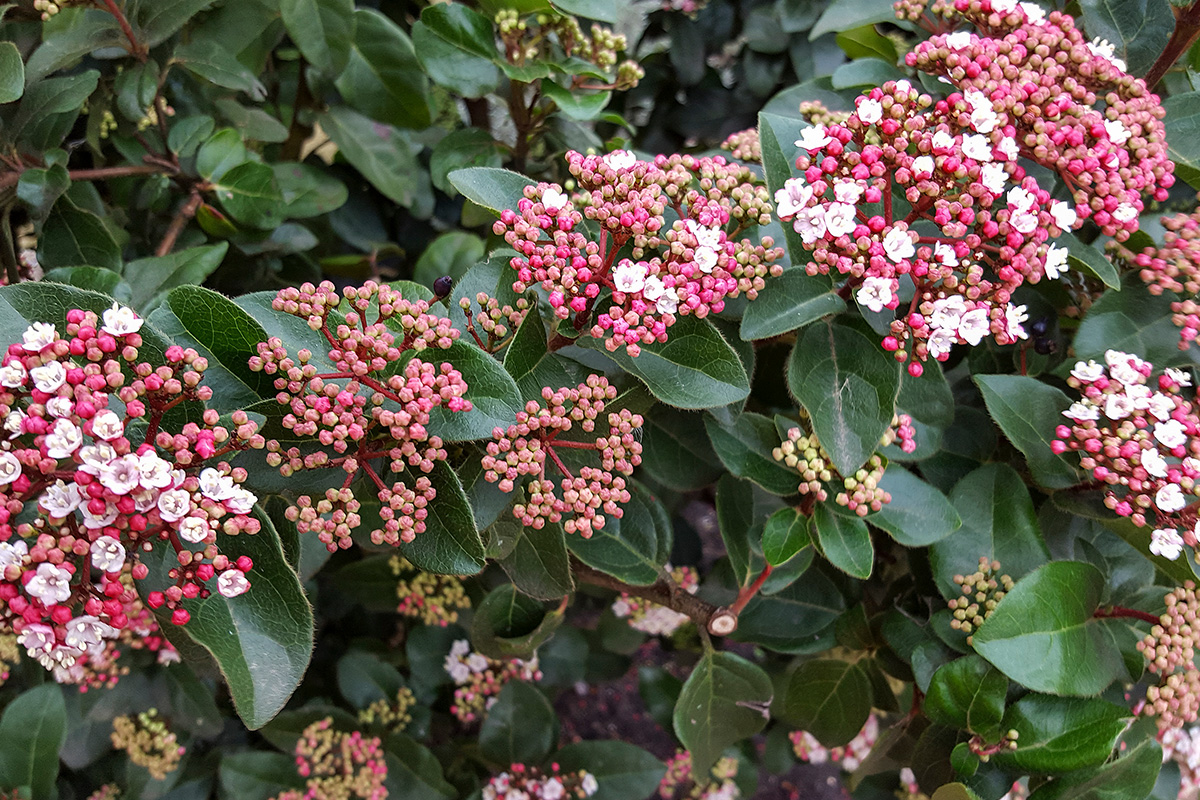
Another shrub bursting with fragrant and elegant blooms, the Viburnum tinus not only blossoms in the winter but provides a burst of metallic blue from its berries as well. It is well beloved by butterflies, bees, and clients alike..
Aloe Camperi
One of the few aloes with verdant green leaves, Aloe camperi or Popcorn Aloe, is a mid-rise plant with beautiful apricot flowers and a spindly, dramatic shape.
Grevillea ‘Moonlight’
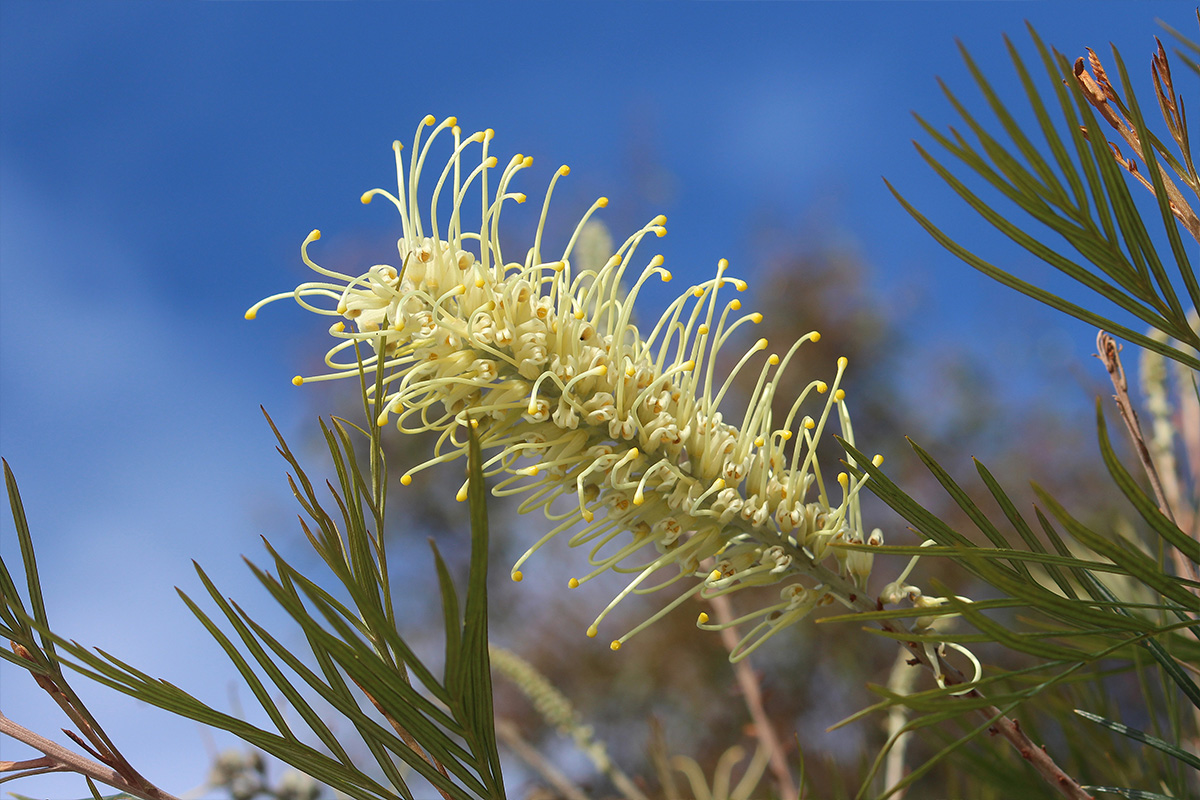
Large, fast-growing, and with lovely flowers reminiscent of loose embroidery, Grevillea ‘Moonlight’ is a bushy evergreen that brings its luminous ivory to your winter landscape.
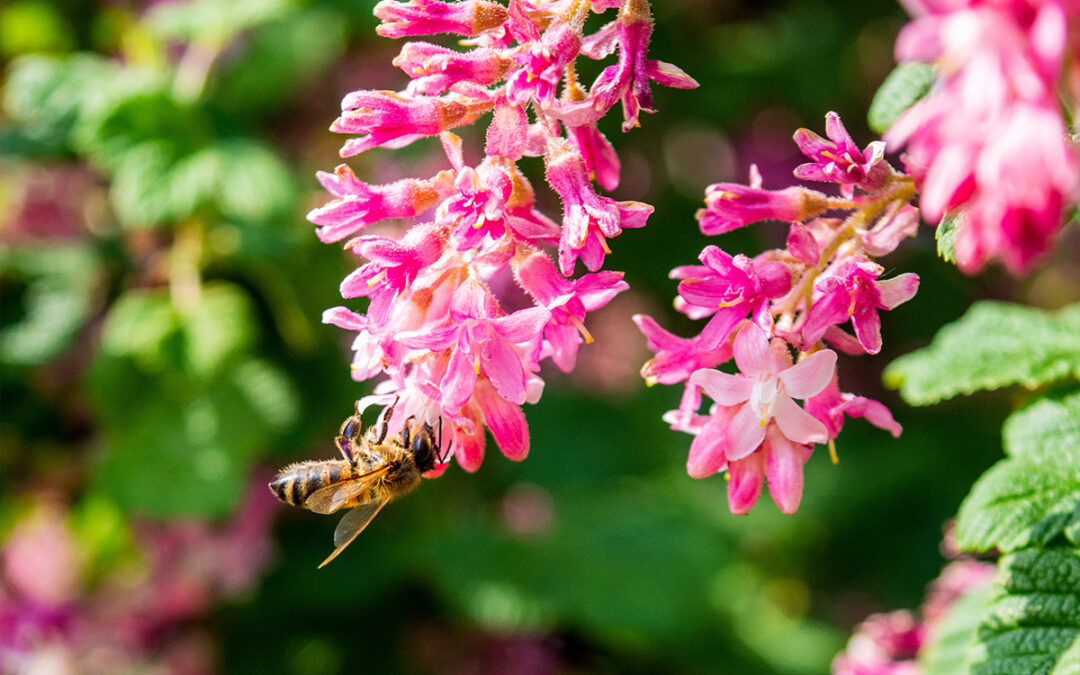
Ribes ‘Spring Showers’
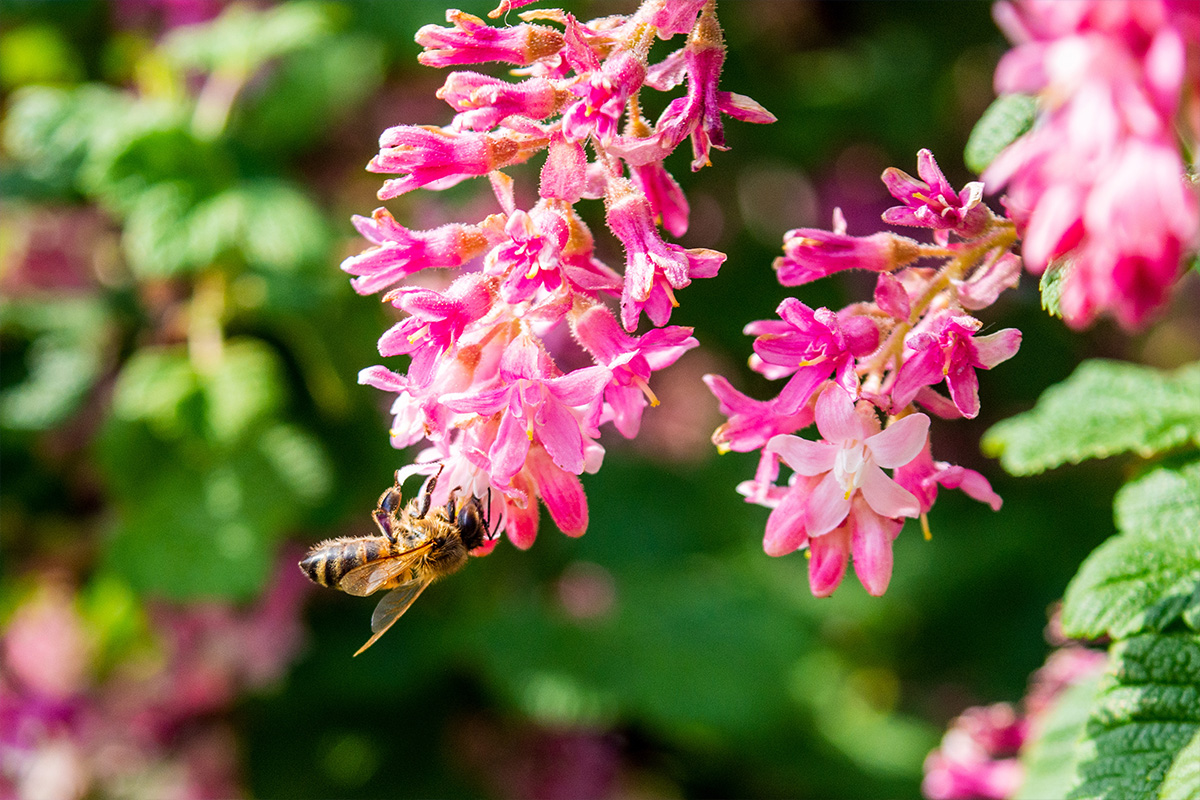
The pendulous pink flowers of this dainty plant come alive in winter, a vibrant display that can almost cover the foliage.
Looking for a landscape with plants that bloom in the winter? Talk to our landscape designers for a design tailored to your specific climate. Some of the species in this list are better suited for milder coastal climates, while others are bullet-proof even in frosty north county. Contact our landscape designers at [email protected] or (805) 466-6263.
Dec 1, 2022
Transforming a landscape can be overwhelming—there are so many places to find inspiration, and there are drastically different styles to consider. It can be helpful to work with a professional—landscape designers are trained to see the big picture and identify opportunities that elude most homeowners.
Maximize Your Residential Landscape
Written by Daniel Mazawa, General Manager
Originally published in Living Lavishly
Here are a few steps homeowners can take to understand the design process and get a grasp of what they want from their landscape:

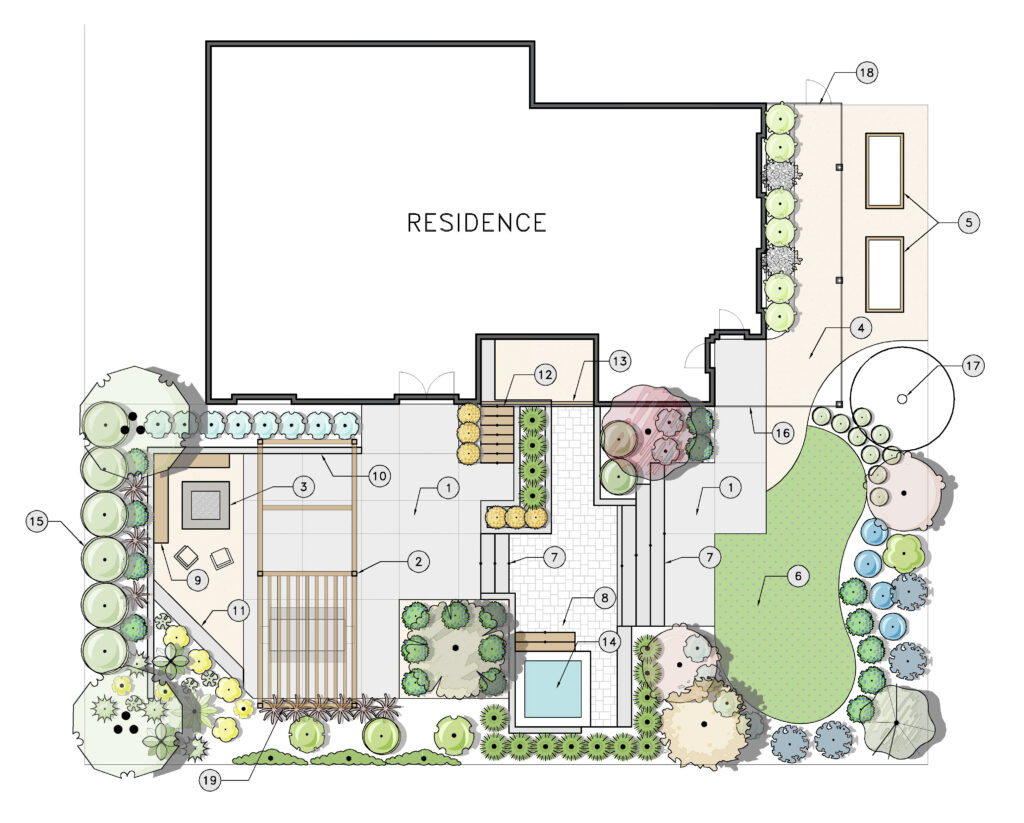
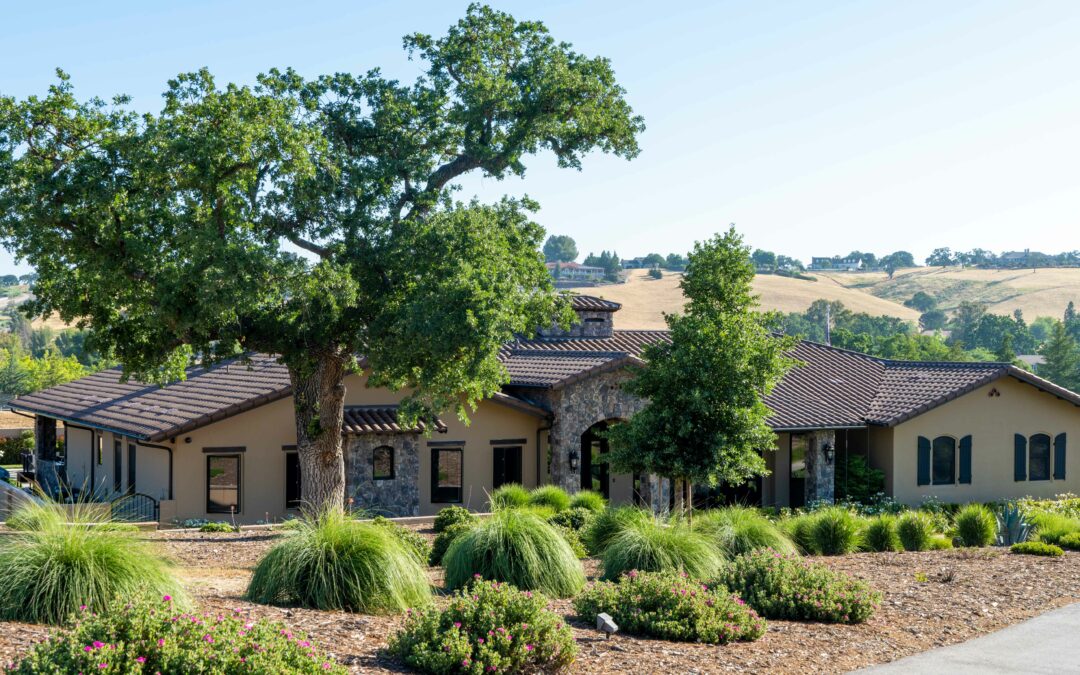
Analyze the Site
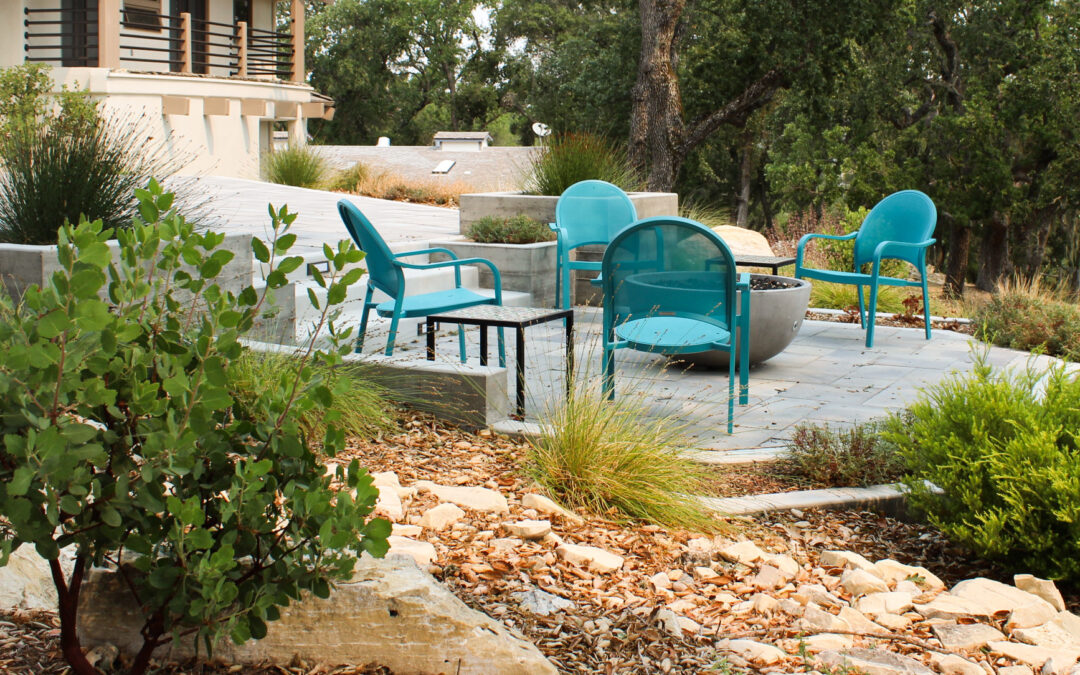
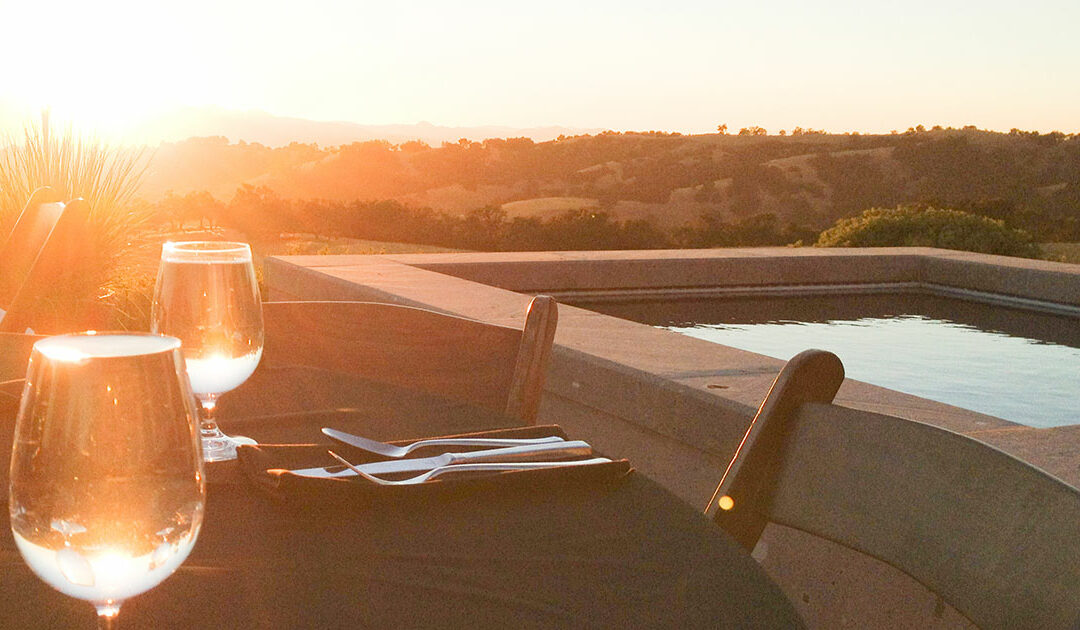
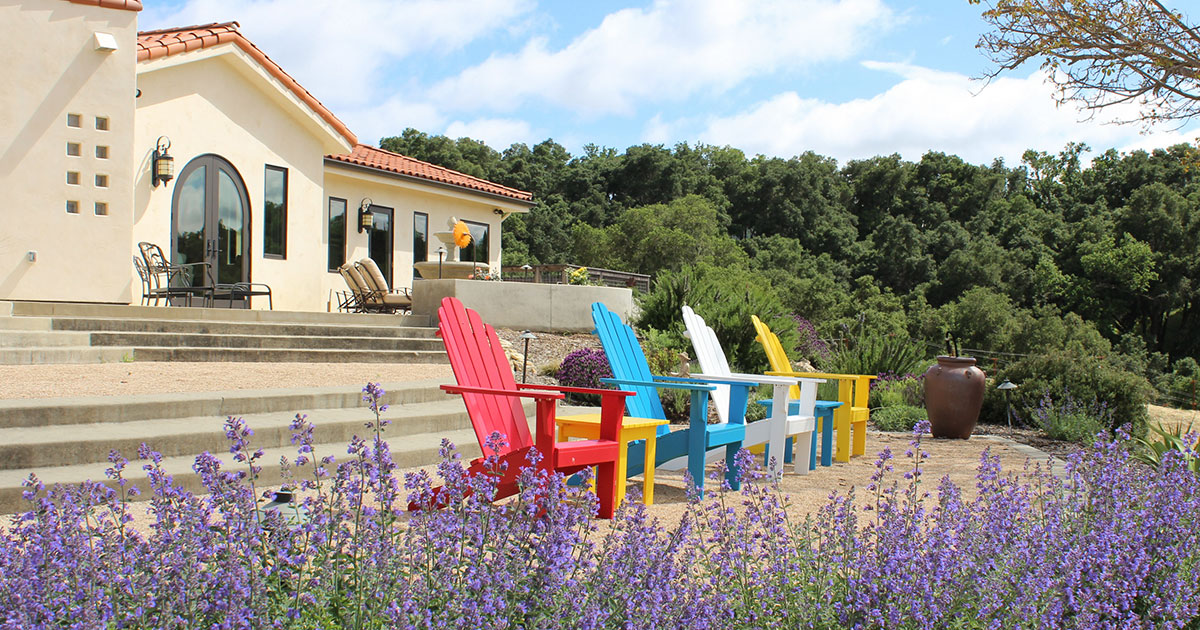
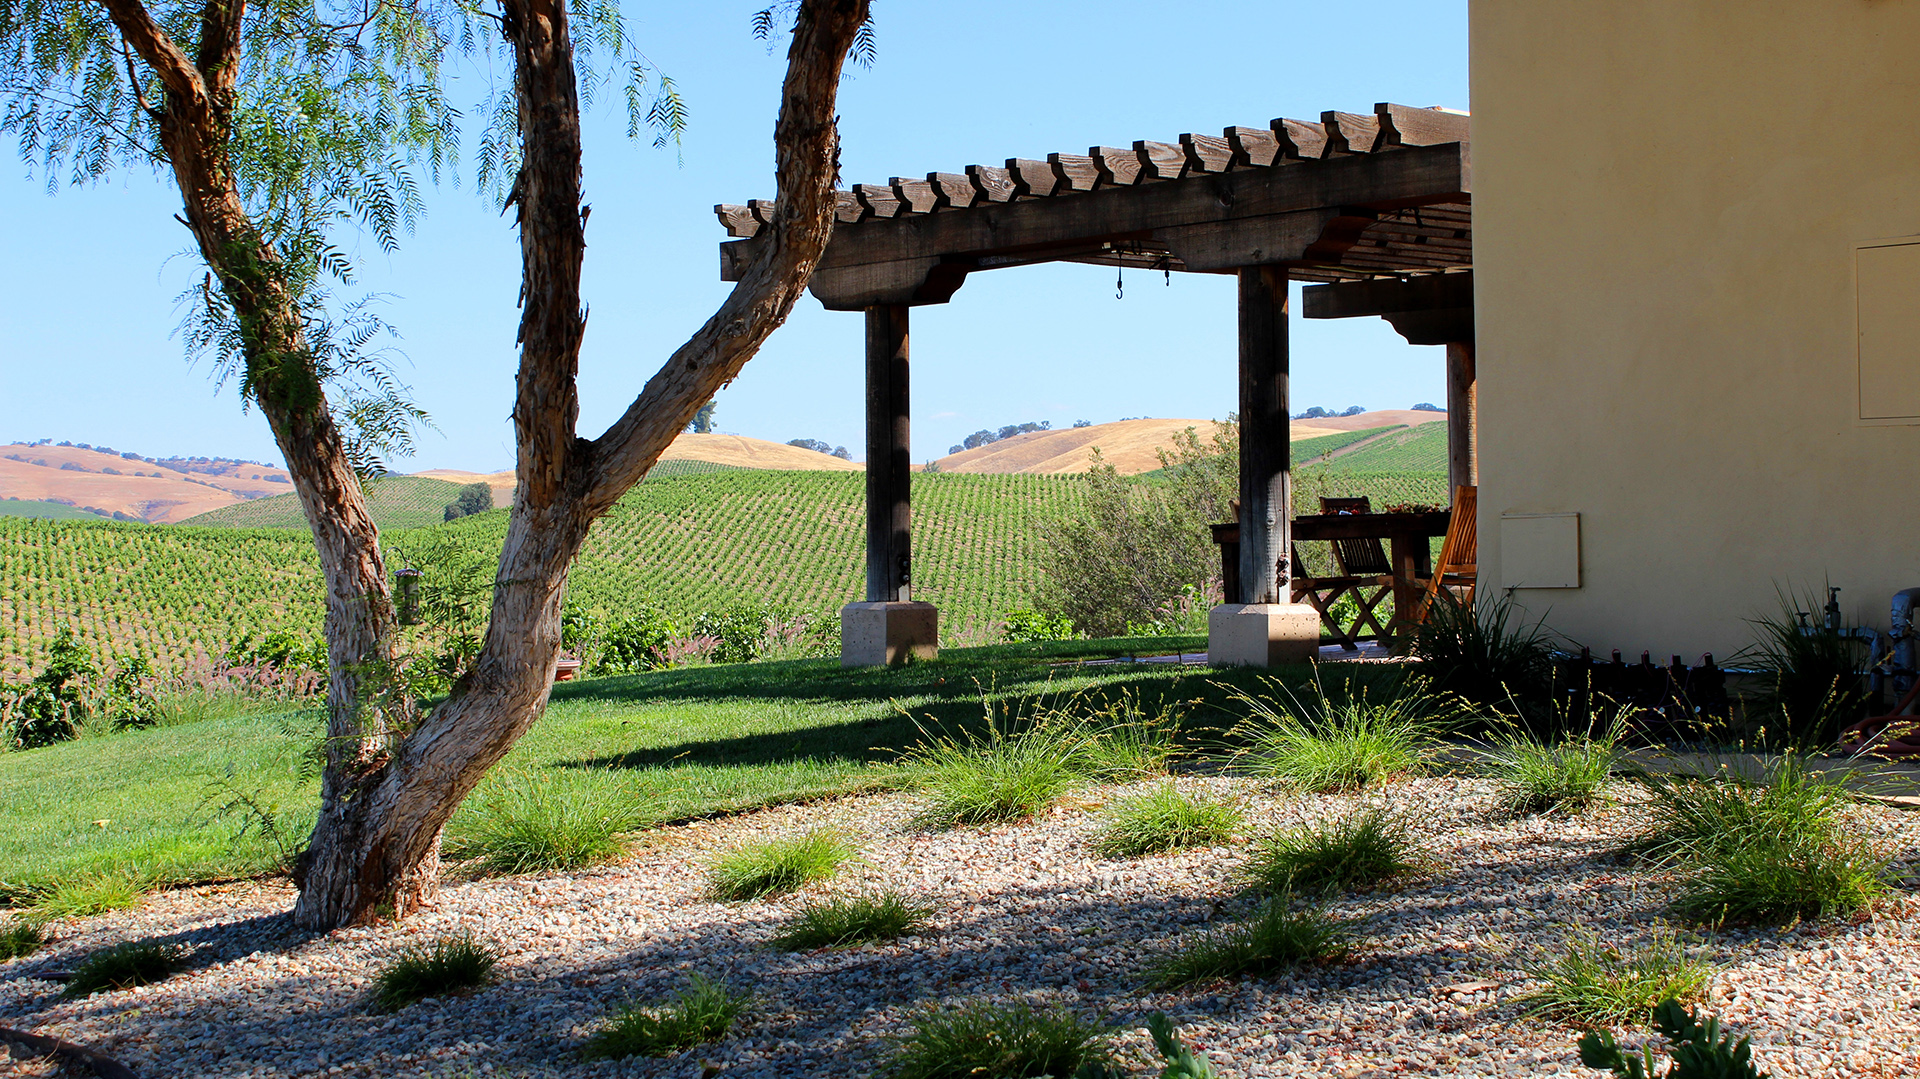
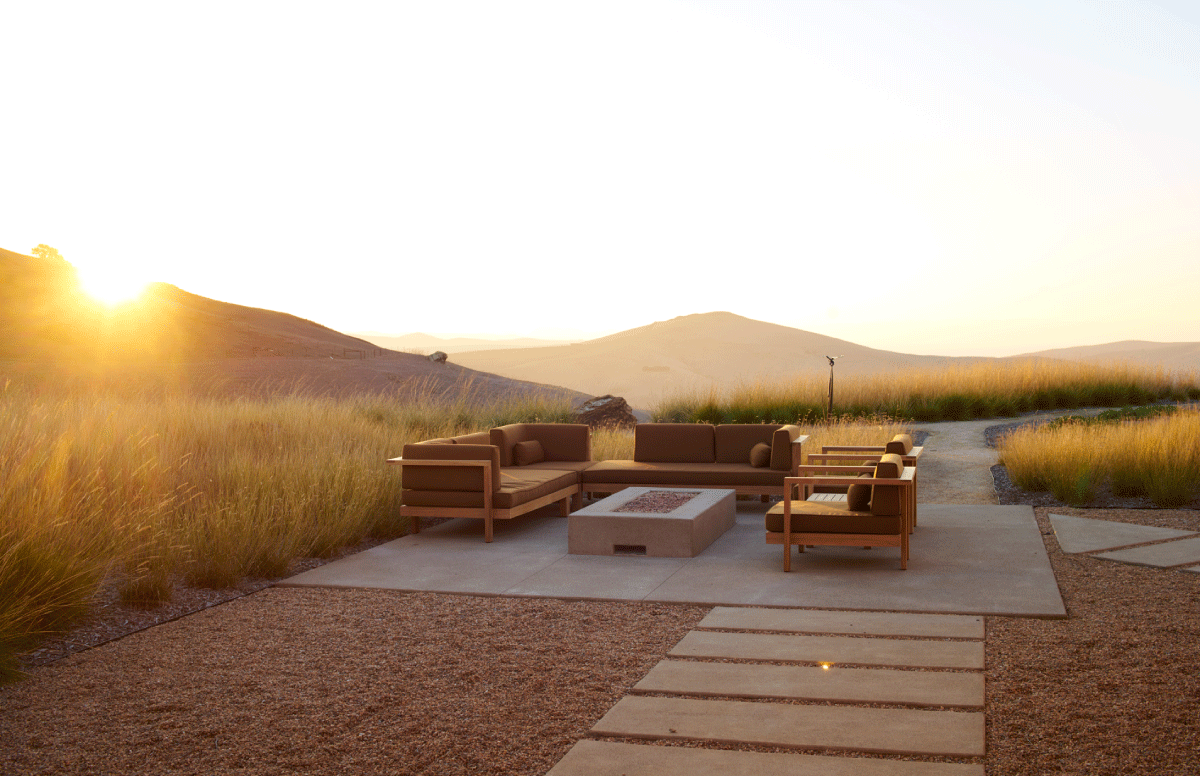
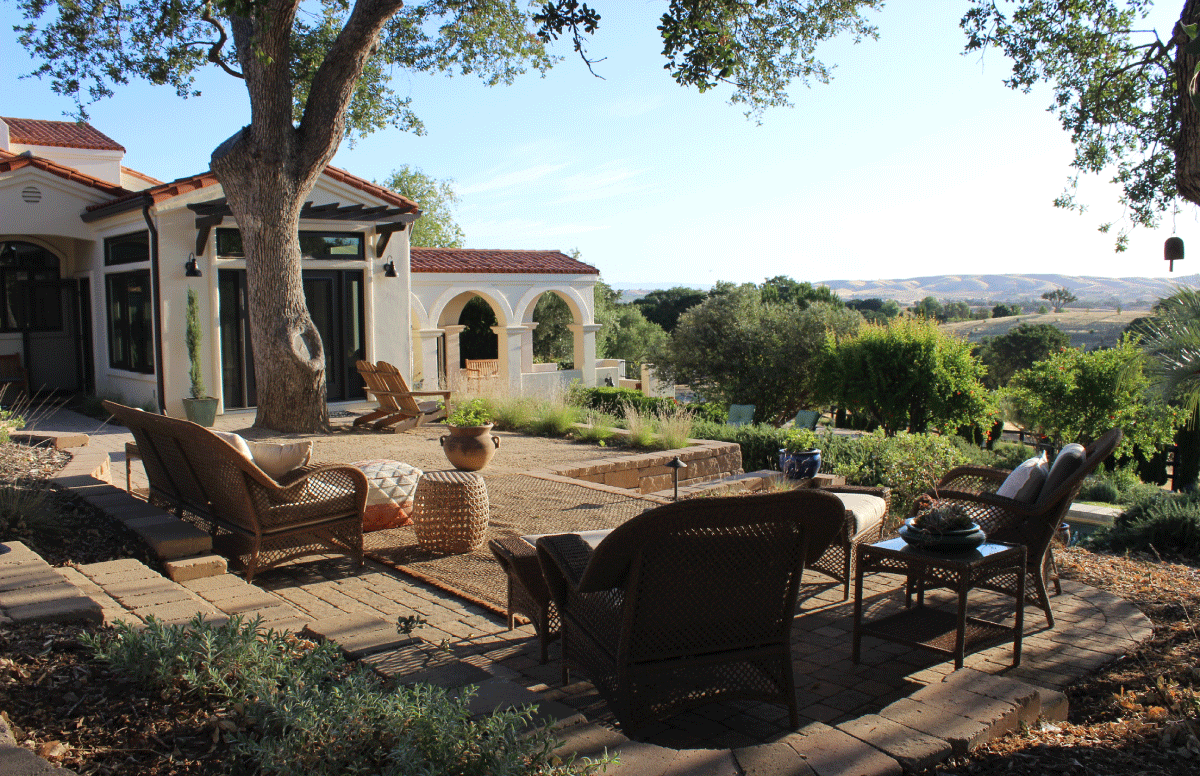
On the Central Coast, there are several different natural backdrops that most homes enjoy. Whether it is a distant view of rolling oak woodlands or a beachfront bluff experience, it is important to understand the setting of a place as influenced by the natural world. Take stock of existing trees or plants on site as well as sun and shade.
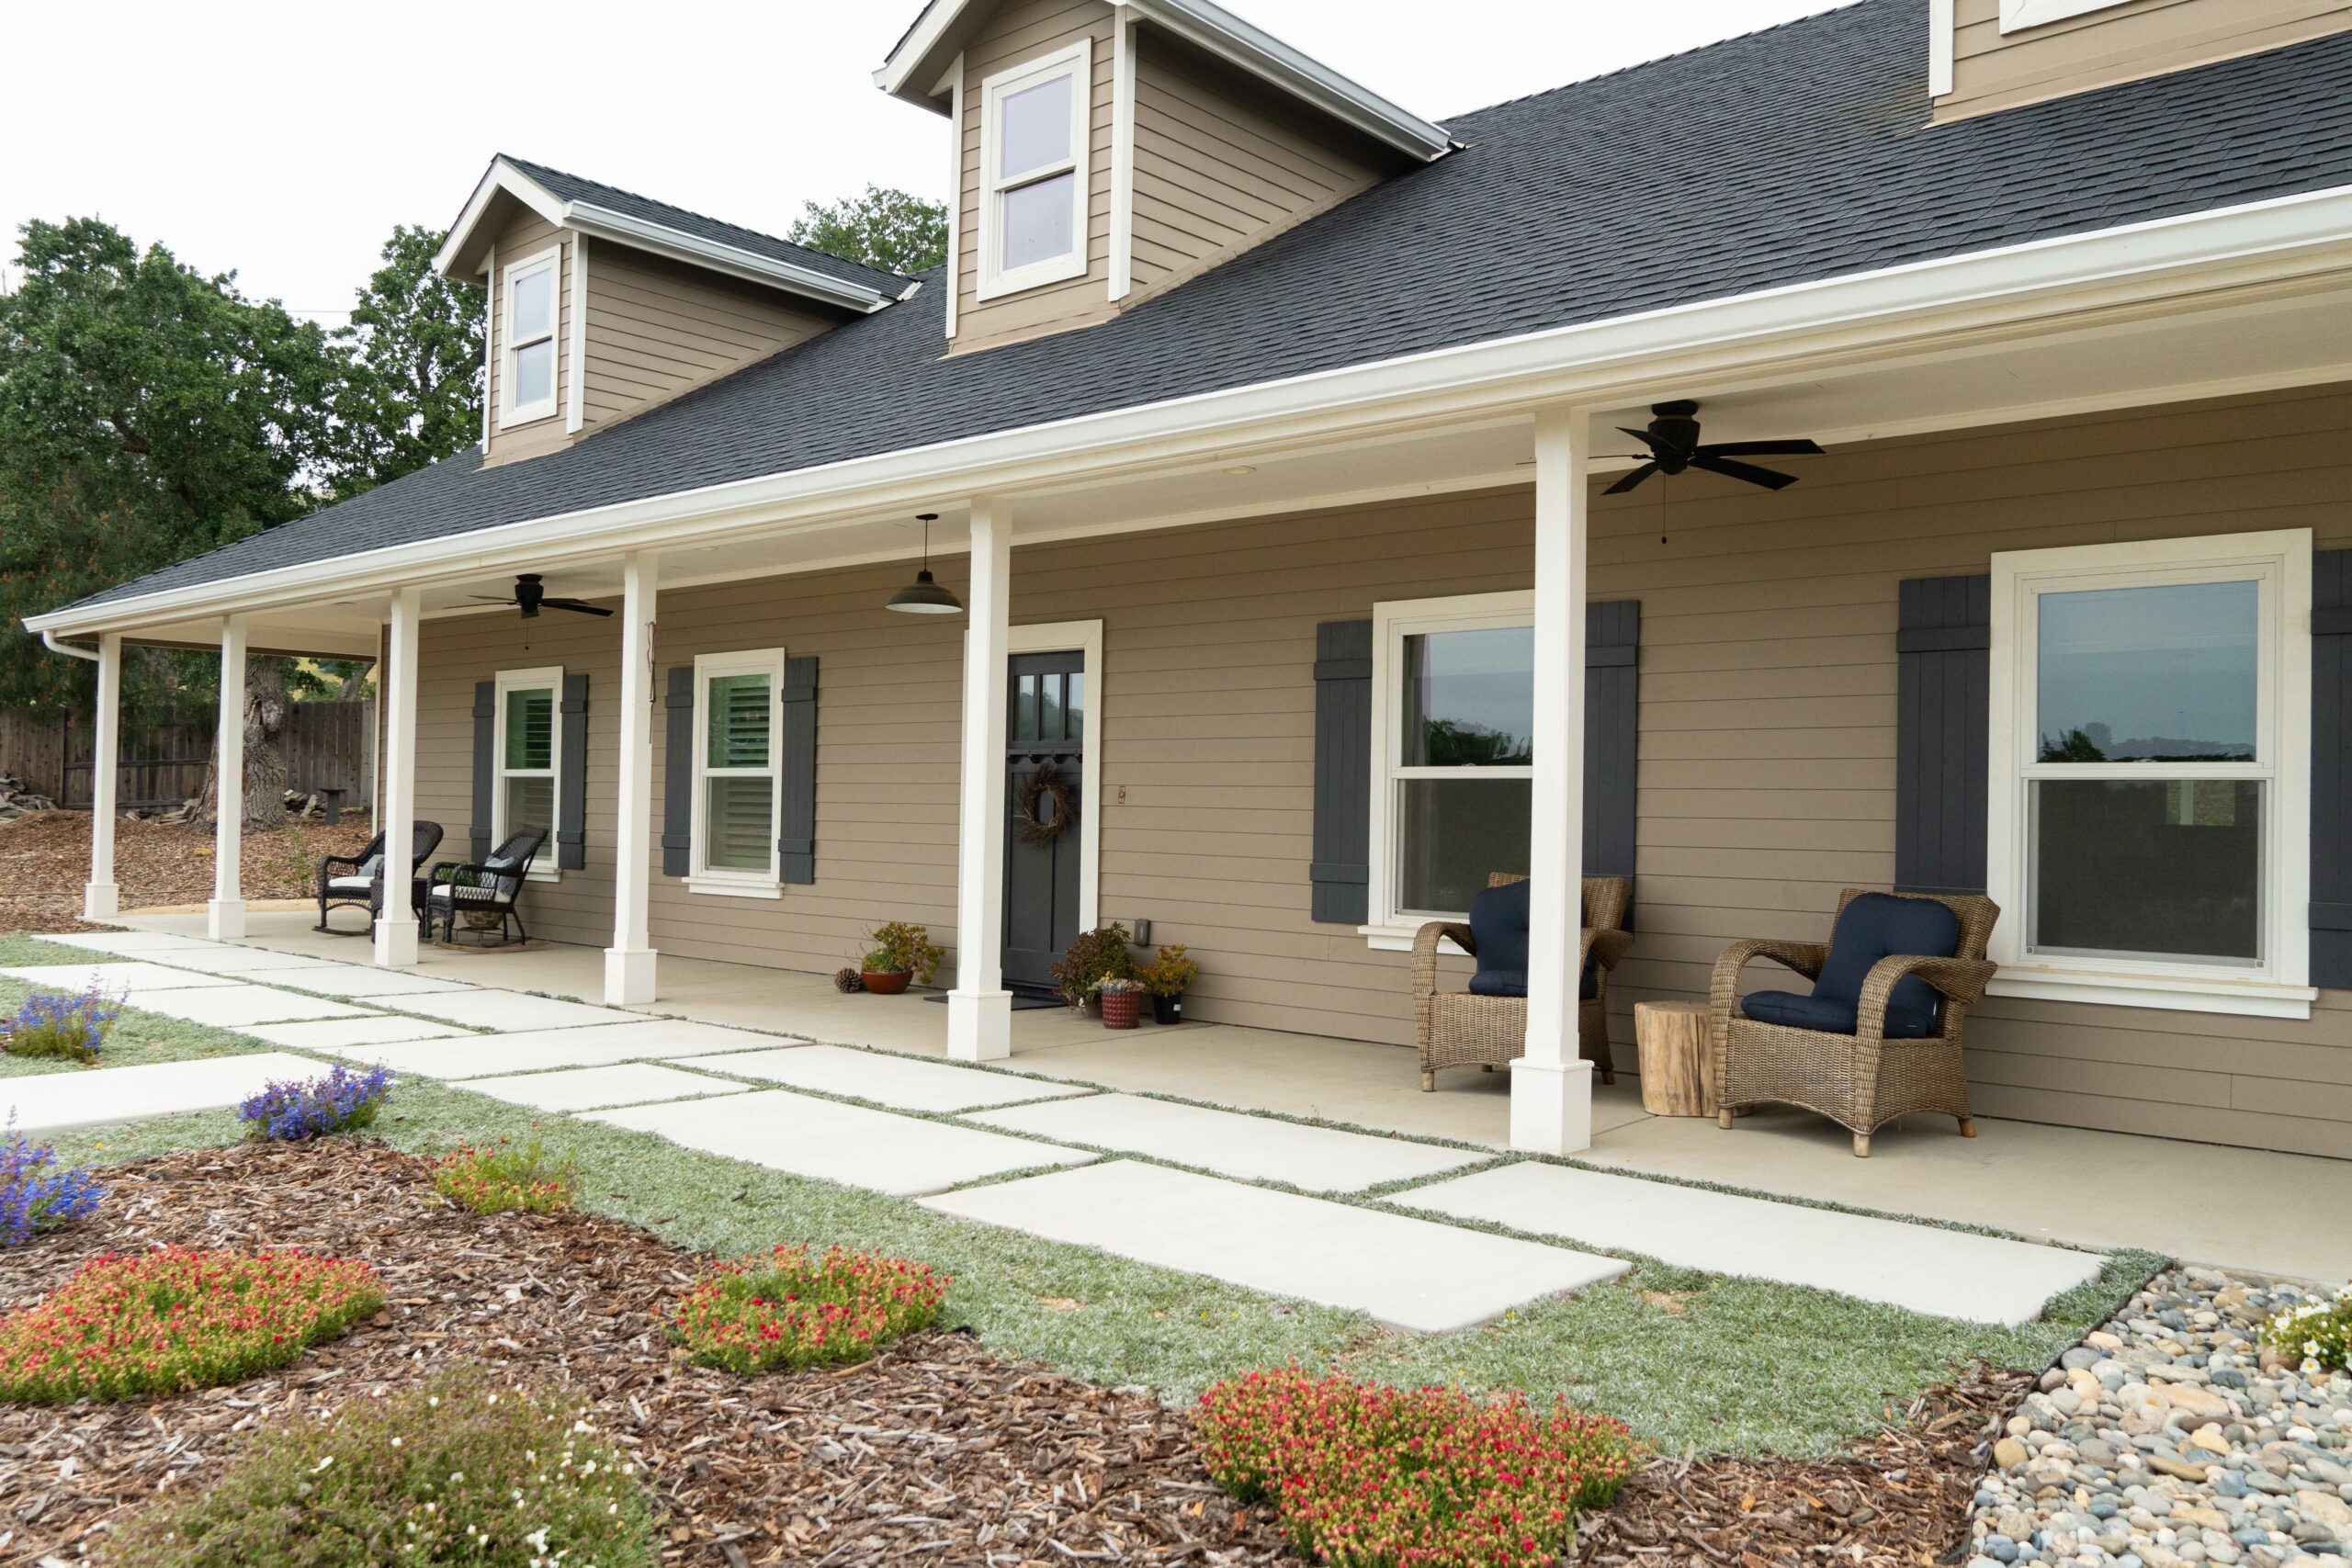
The architecture of the home and the neighborhood aesthetic may set the tone for the landscape design style. Consider the experience of driving up to the house and walking around the yard. A guest arriving at the home should know right where the front door is and where to park. The movement around the landscape should be functional and beautiful. Where are the areas of interest? What is the flow and the circulation? Identify the opportunities and constraints in a setting before figuring out what to do.
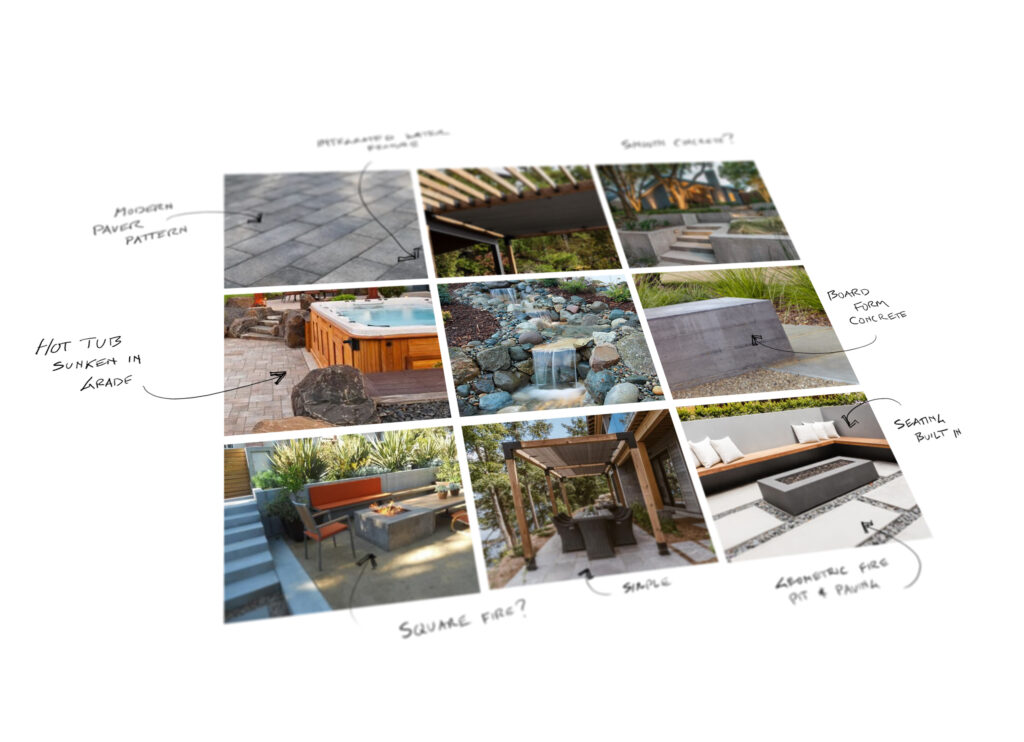
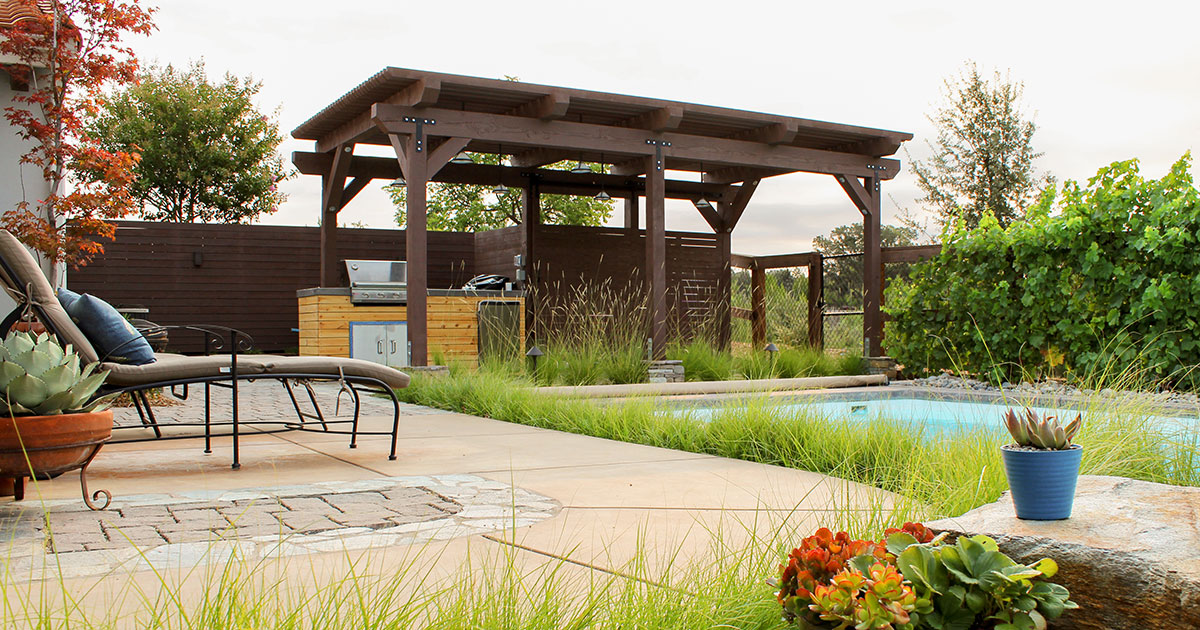
Establish the Functions
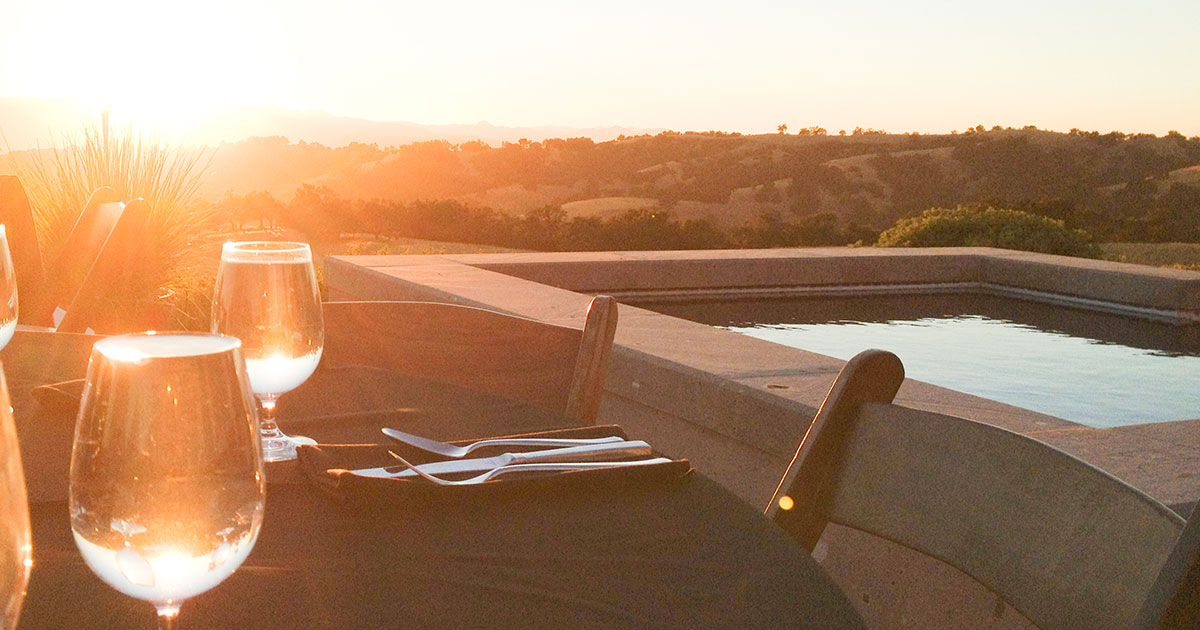
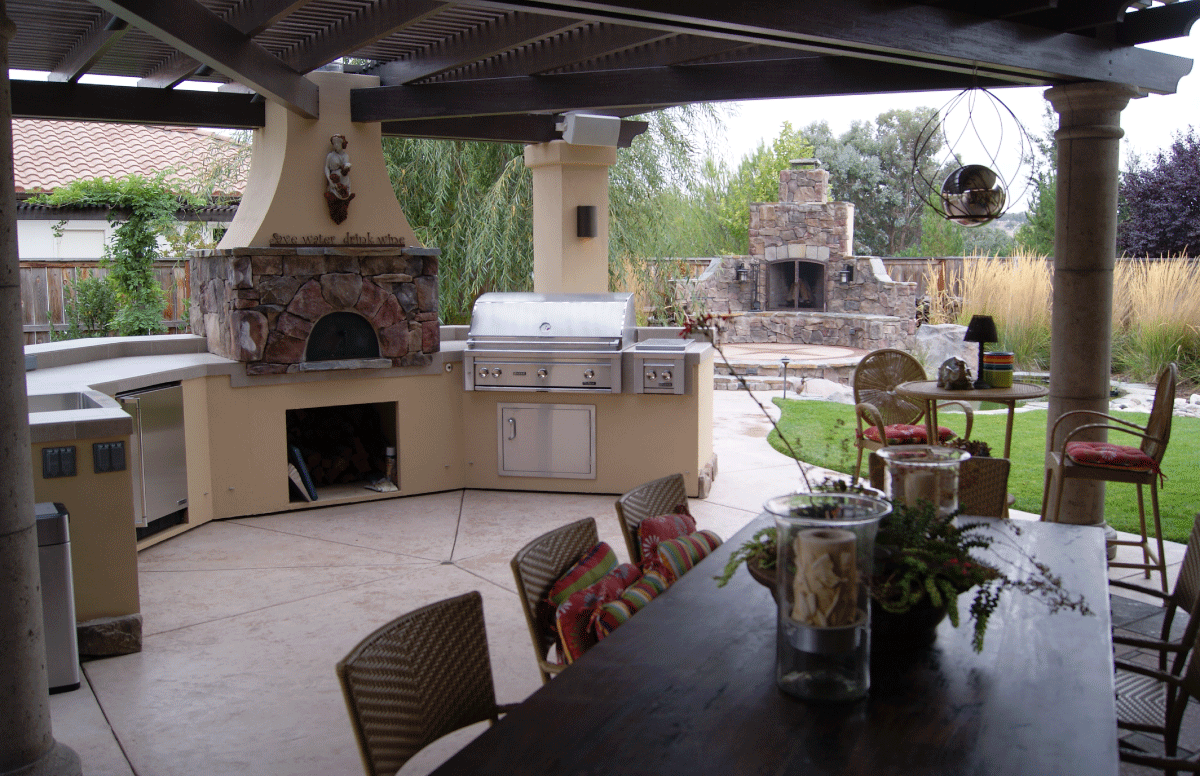
It is easy for someone who owns a home to identify what they want, but it can be a little more difficult to define what they need. Everything takes up space, so prioritizing functions is extremely important. Figure out how much usable space is needed for parking, outdoor entertaining, open utility areas, connecting pathways, and any other high-frequency functions. Pools, hot tubs, sport courts, outdoor kitchens, vegetable gardens, and other secondary functions can be fun additions to fold in.
Consider the best locations for all functions as far as convenience, sun exposure, views, and feel. For example, both an outdoor kitchen and a vegetable garden are convenient near an indoor kitchen, but the garden wants open sunshine and the outdoor kitchen benefits from shade or shelter. Also consider the indoor/outdoor connection as perceived through windows and doors from inside. A pergola can feel like an extension of an indoor room, or a distant view can be framed to be enjoyed from inside.
Define Design Style
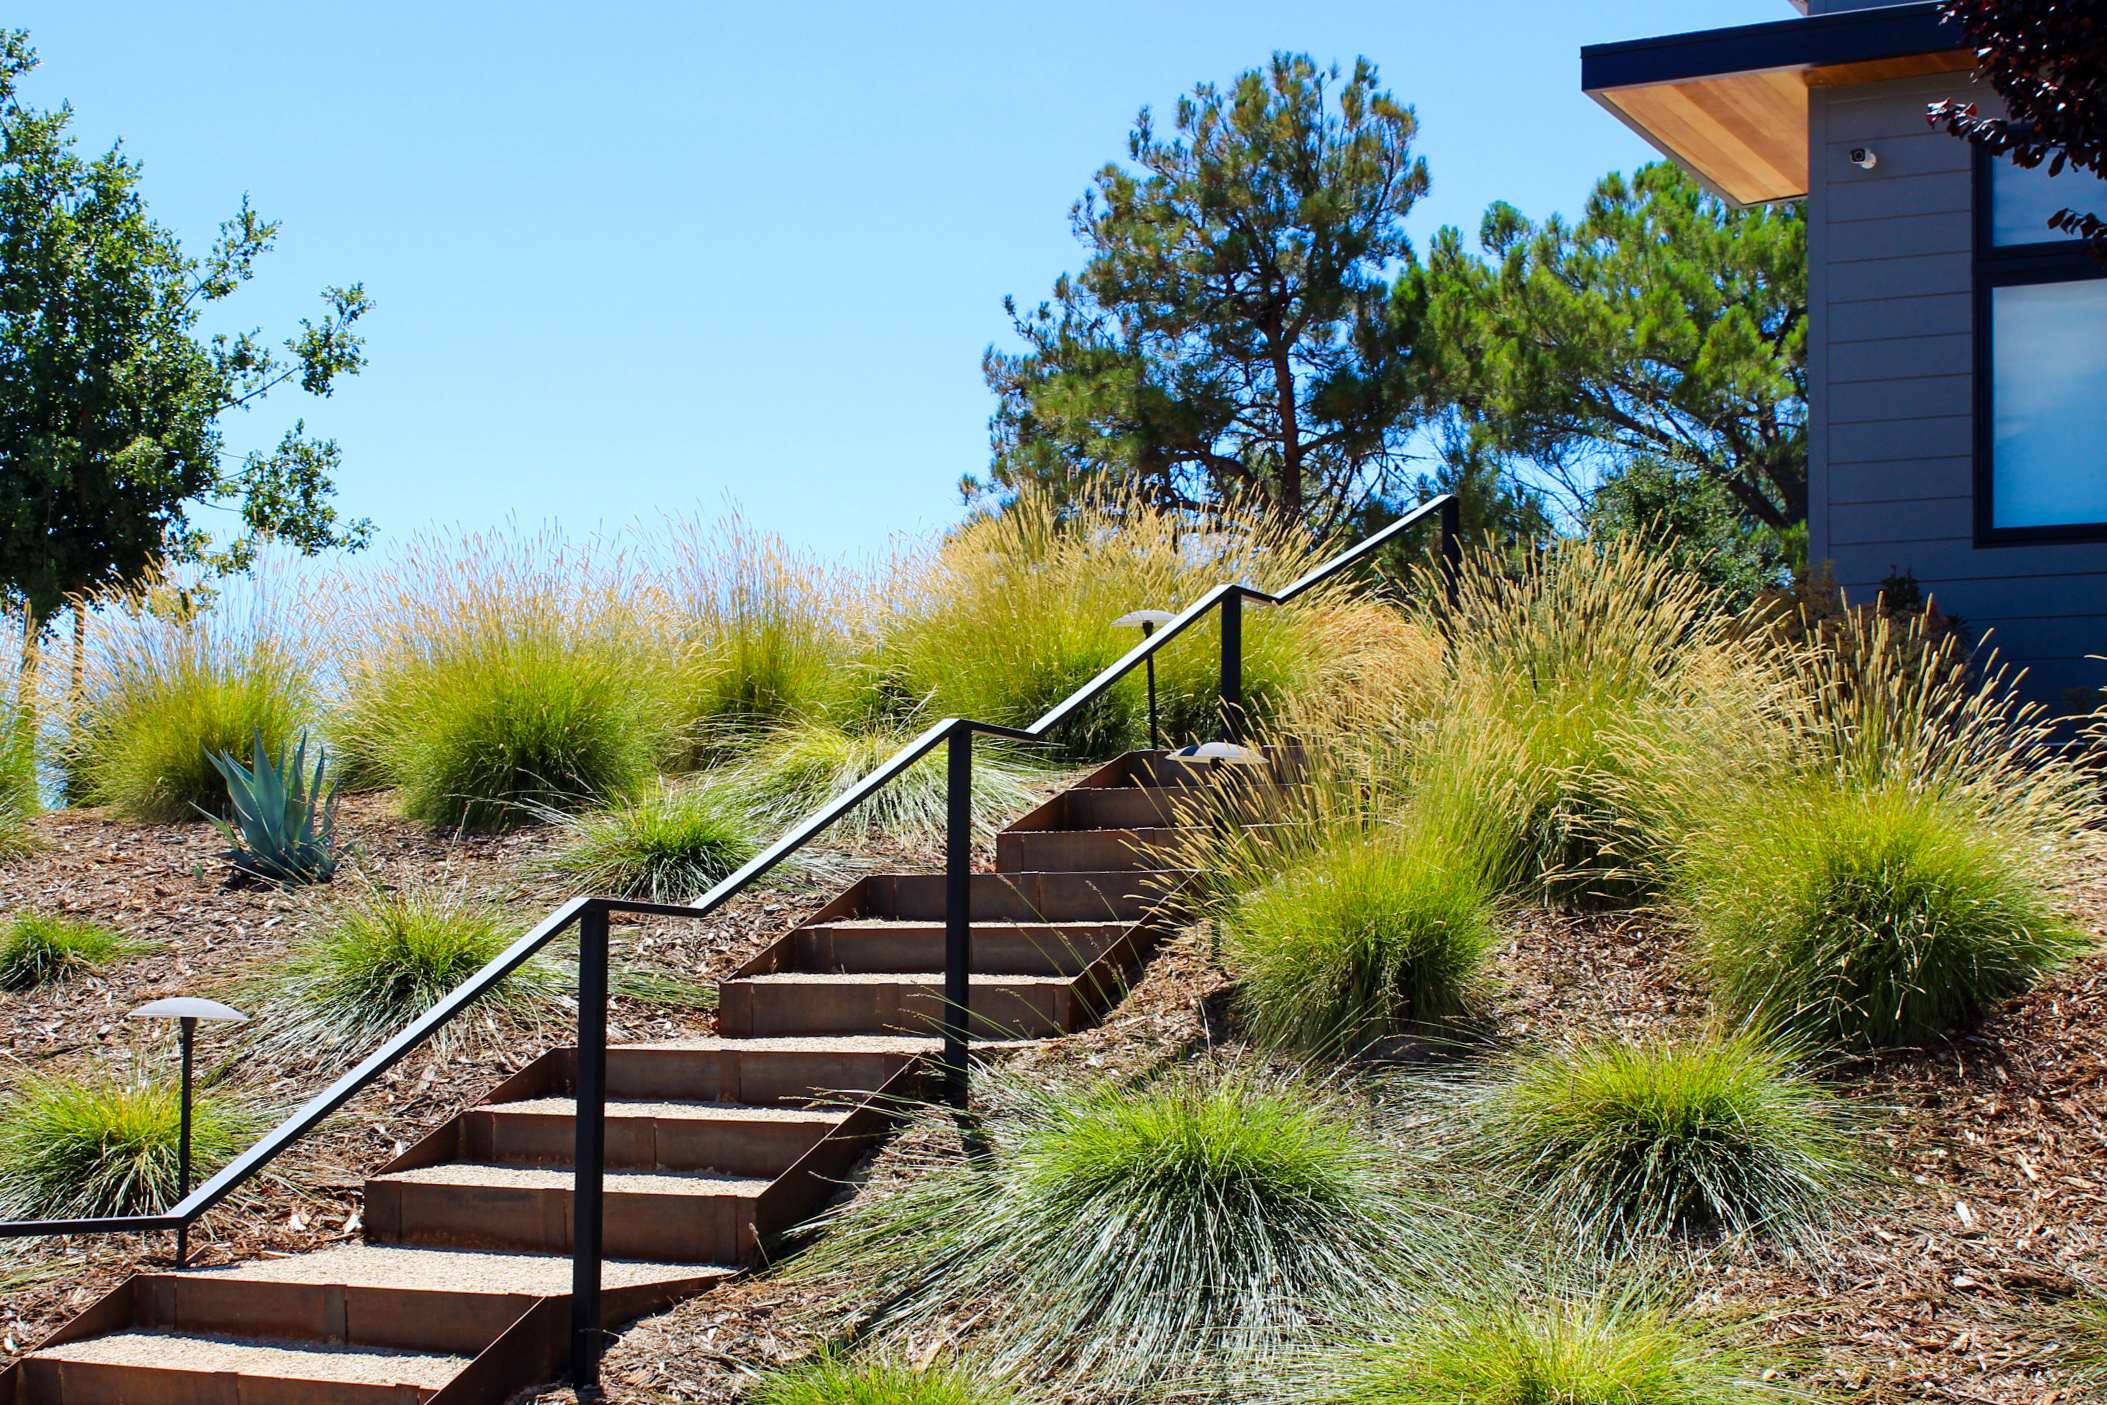
A good first step is to decide whether a landscape is going to be geometric and calculated or free flowing and natural. A modern home may work better with a straight-lined landscape, but these forms can deconstruct as they move away from the structure. A natural setting such as a woodland can work well with curves and natural pathways especially if preserving existing trees.
People who like control, simple bold design, or tidy surroundings gravitate towards straight lines with geometric configurations. People who like tranquility, natural settings, or designing with nature gravitate towards flowing curves. Bold Modern style utilizes straight-line end of the spectrum and Natural Style falls on the curved line end. Mediterranean, Southwestern, Cottage, and Japanese gardens fall somewhere between. Having a clearly defined style that repeats and transitions smoothly will make a landscape feel complete.

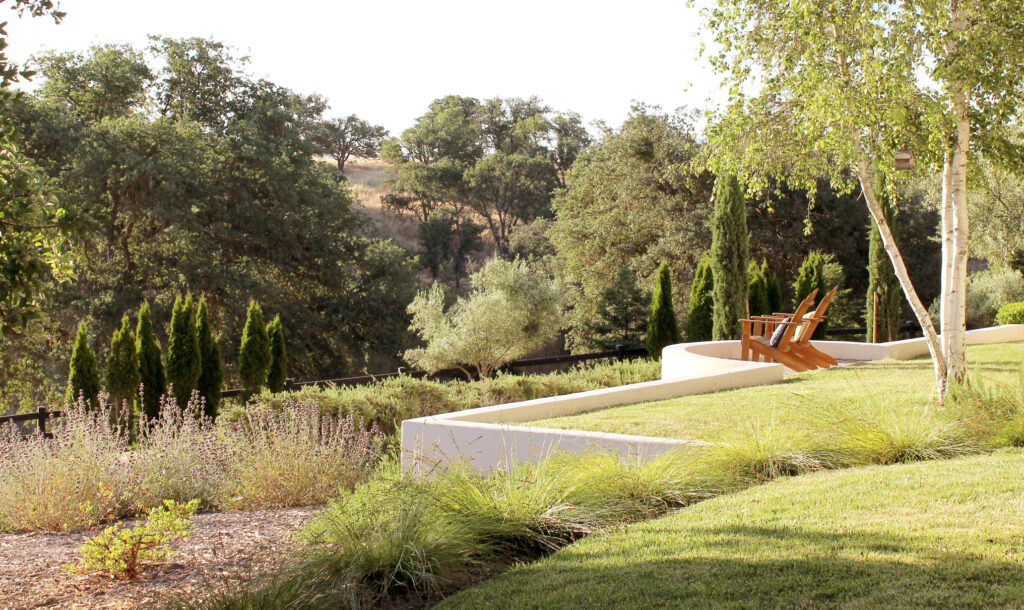
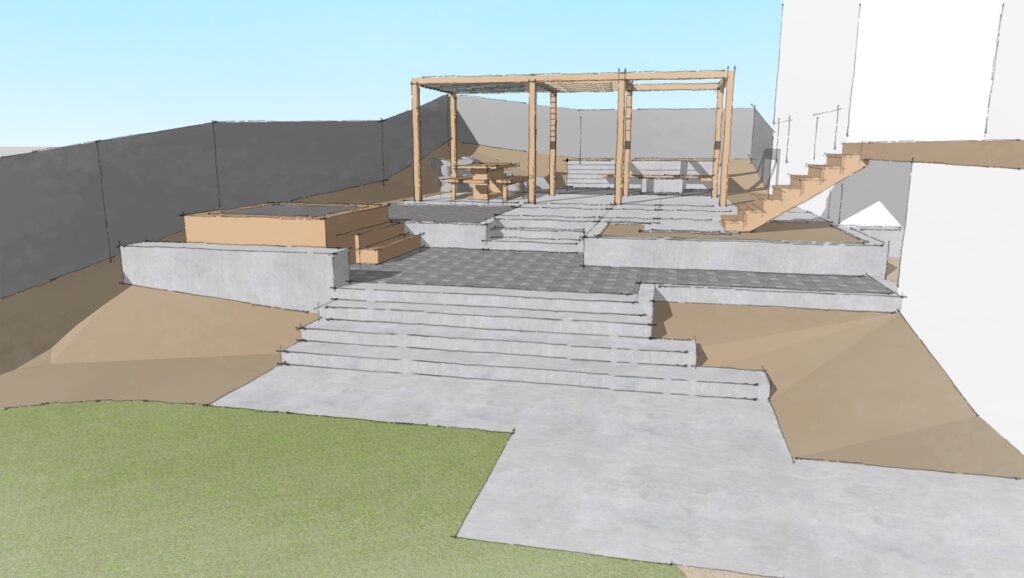
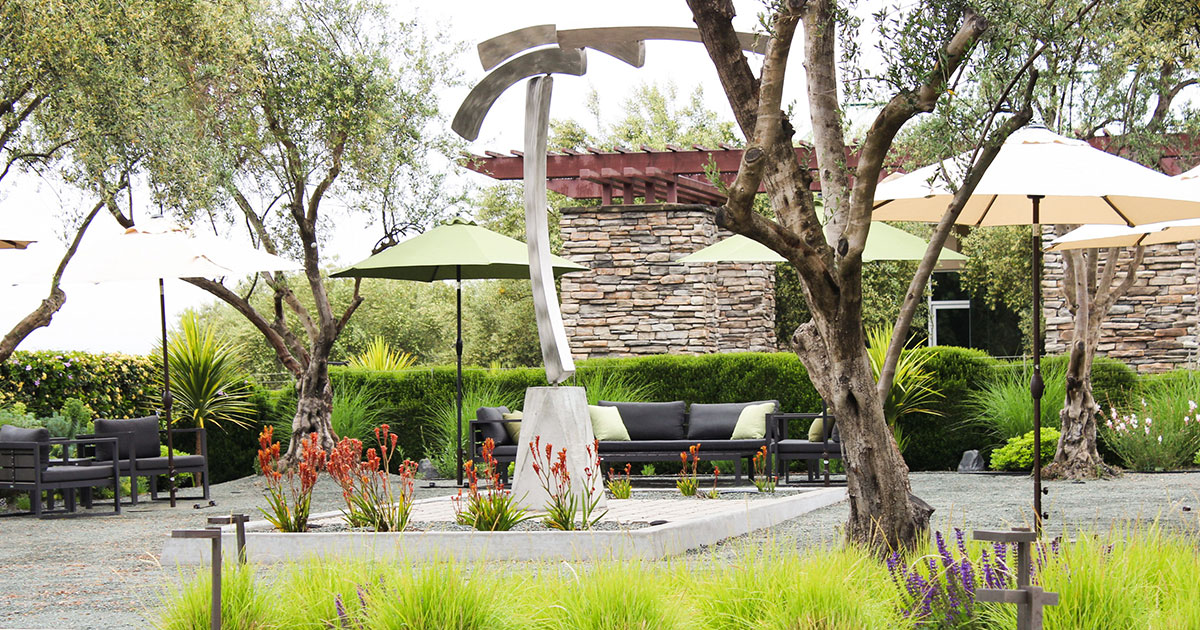
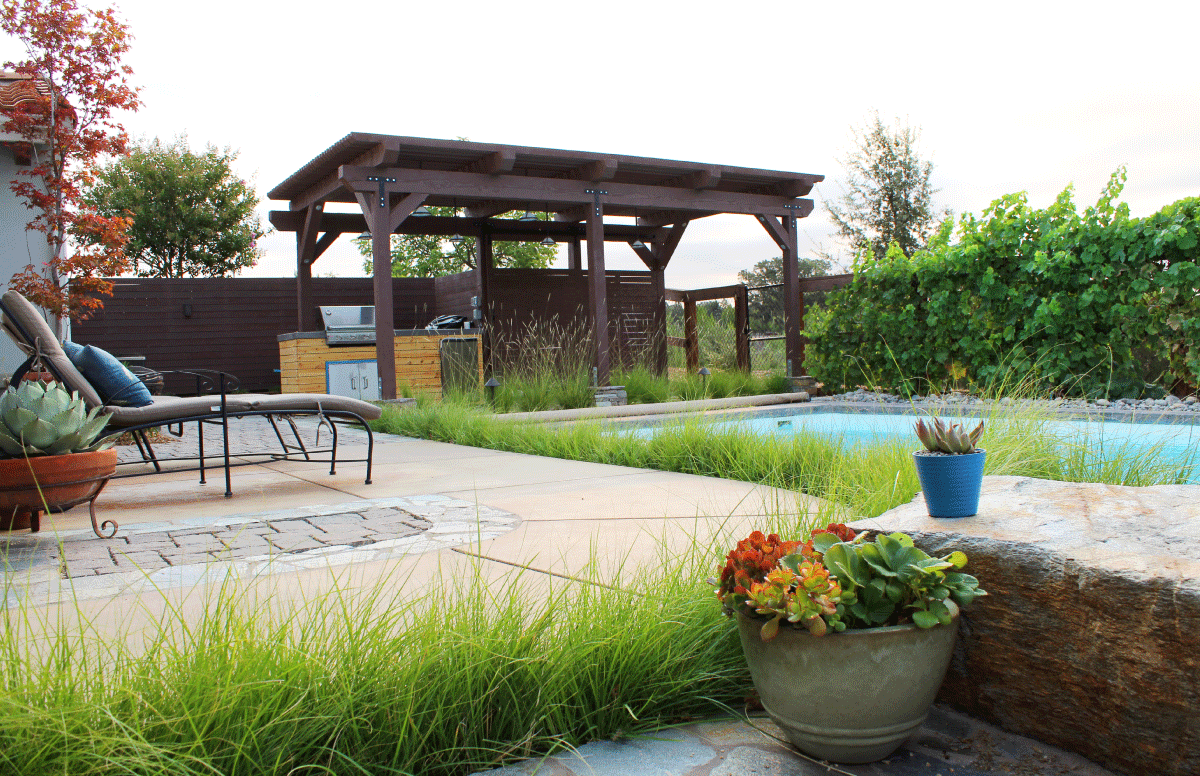
Design Spaces Before Features
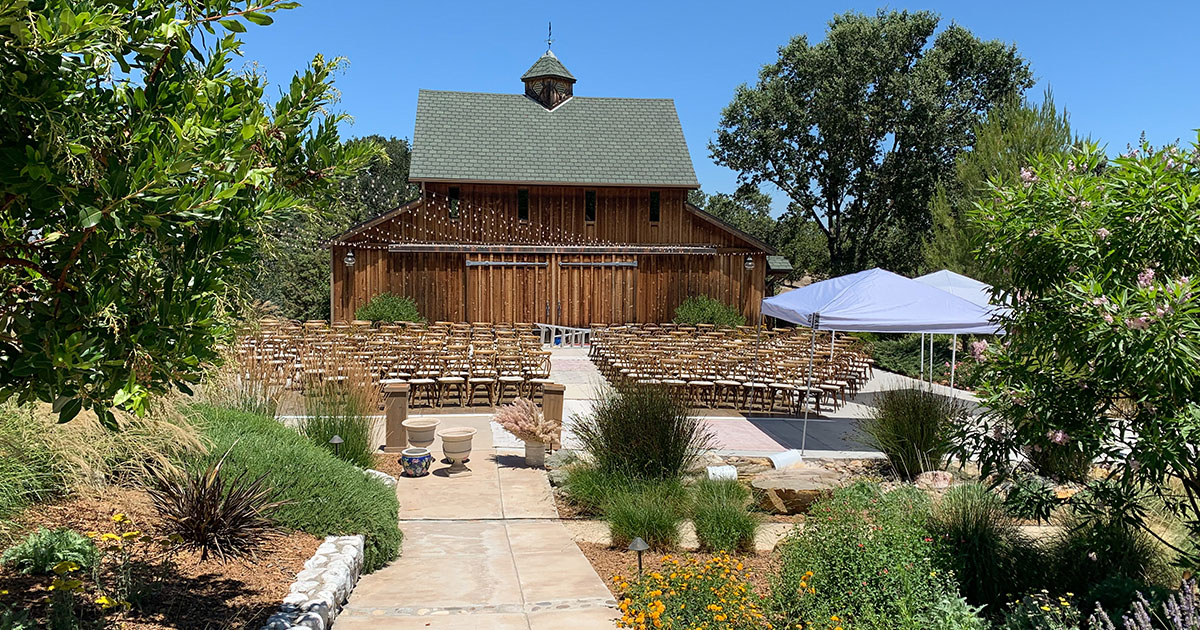
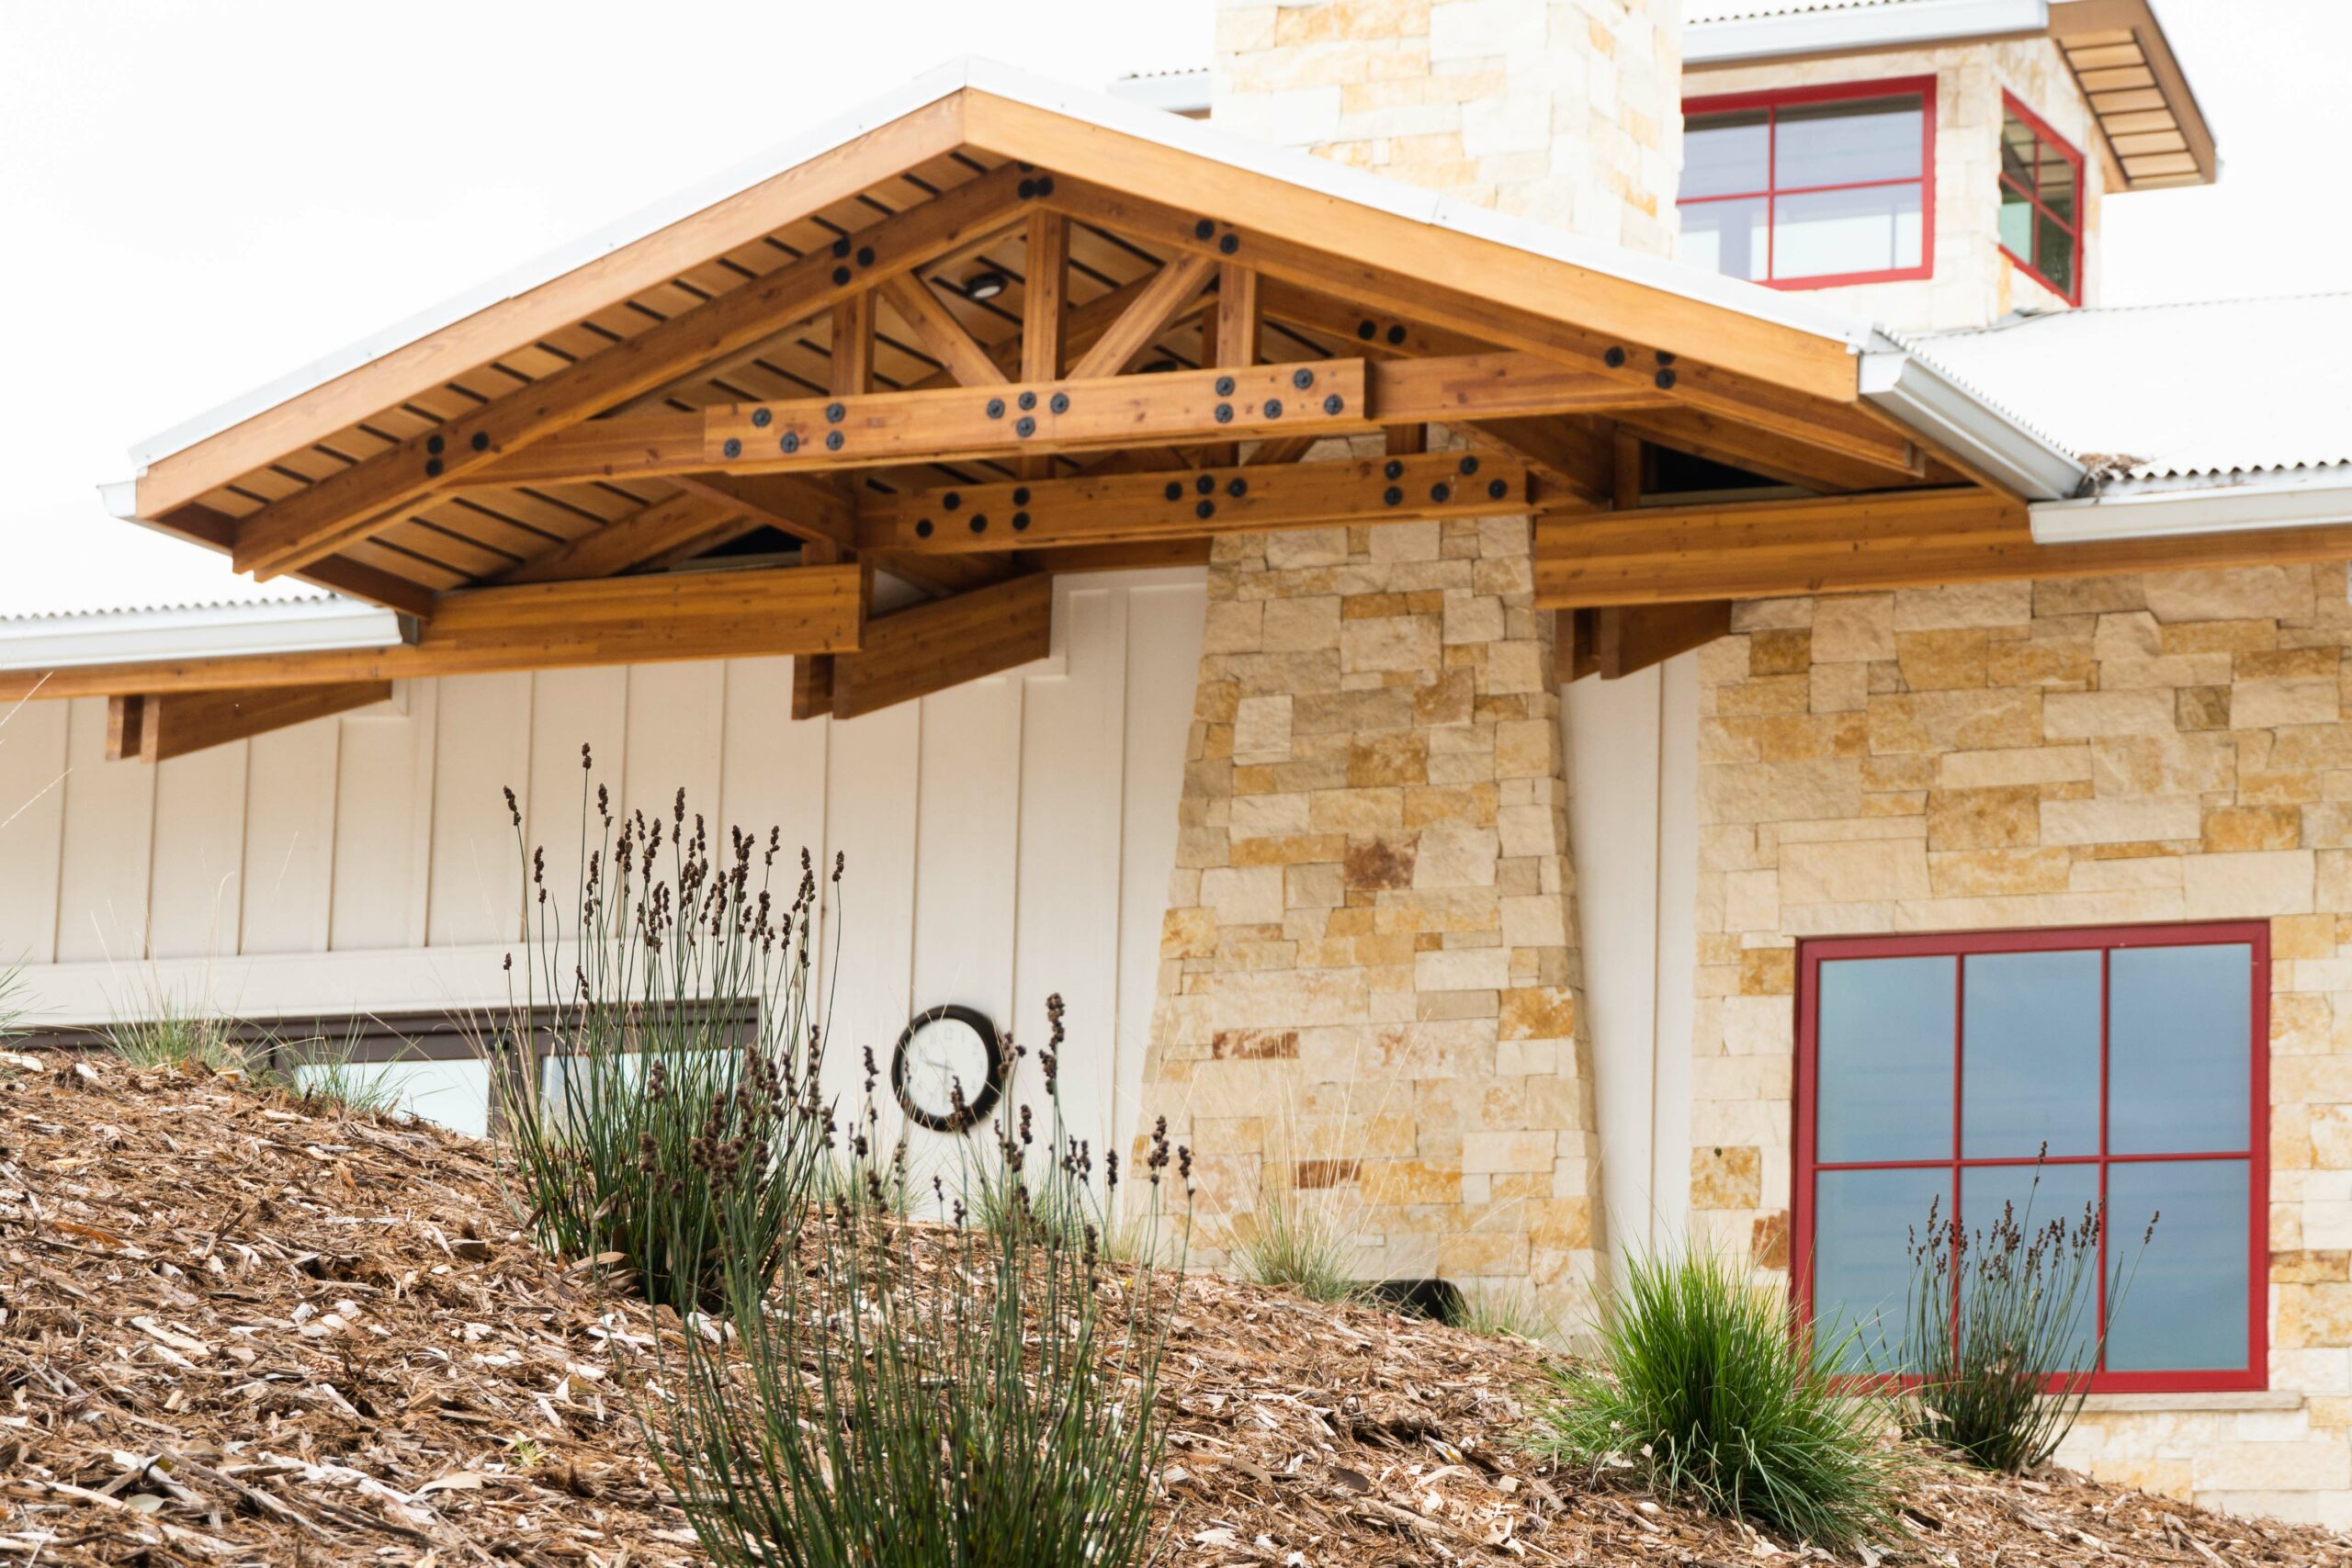
While design features are important, the spaces they create are more important to the user experience. For example, a tree may be a beautiful feature, but the shade and shelter a tree grove provides can create a comfortable room complete with walls and a ceiling. Comfortable spaces are often perceived as a bit wider than they are tall, or 1 to 1.618 height to width per the golden ratio. A pergola 16 feet wide by 10 feet tall is a good example. The same comfortable feeling can be achieved with shrubs and trees.
Conversely, putting too many plants next to a front door entry can make it feel tight and uninviting. Open it up and make the path wide, prominent and inviting. Wide open views will feel more comfortable when framed with trees or from a comfortable viewing patio. The psychology of spaces can be overwhelming, but it is obvious when a space feels right.
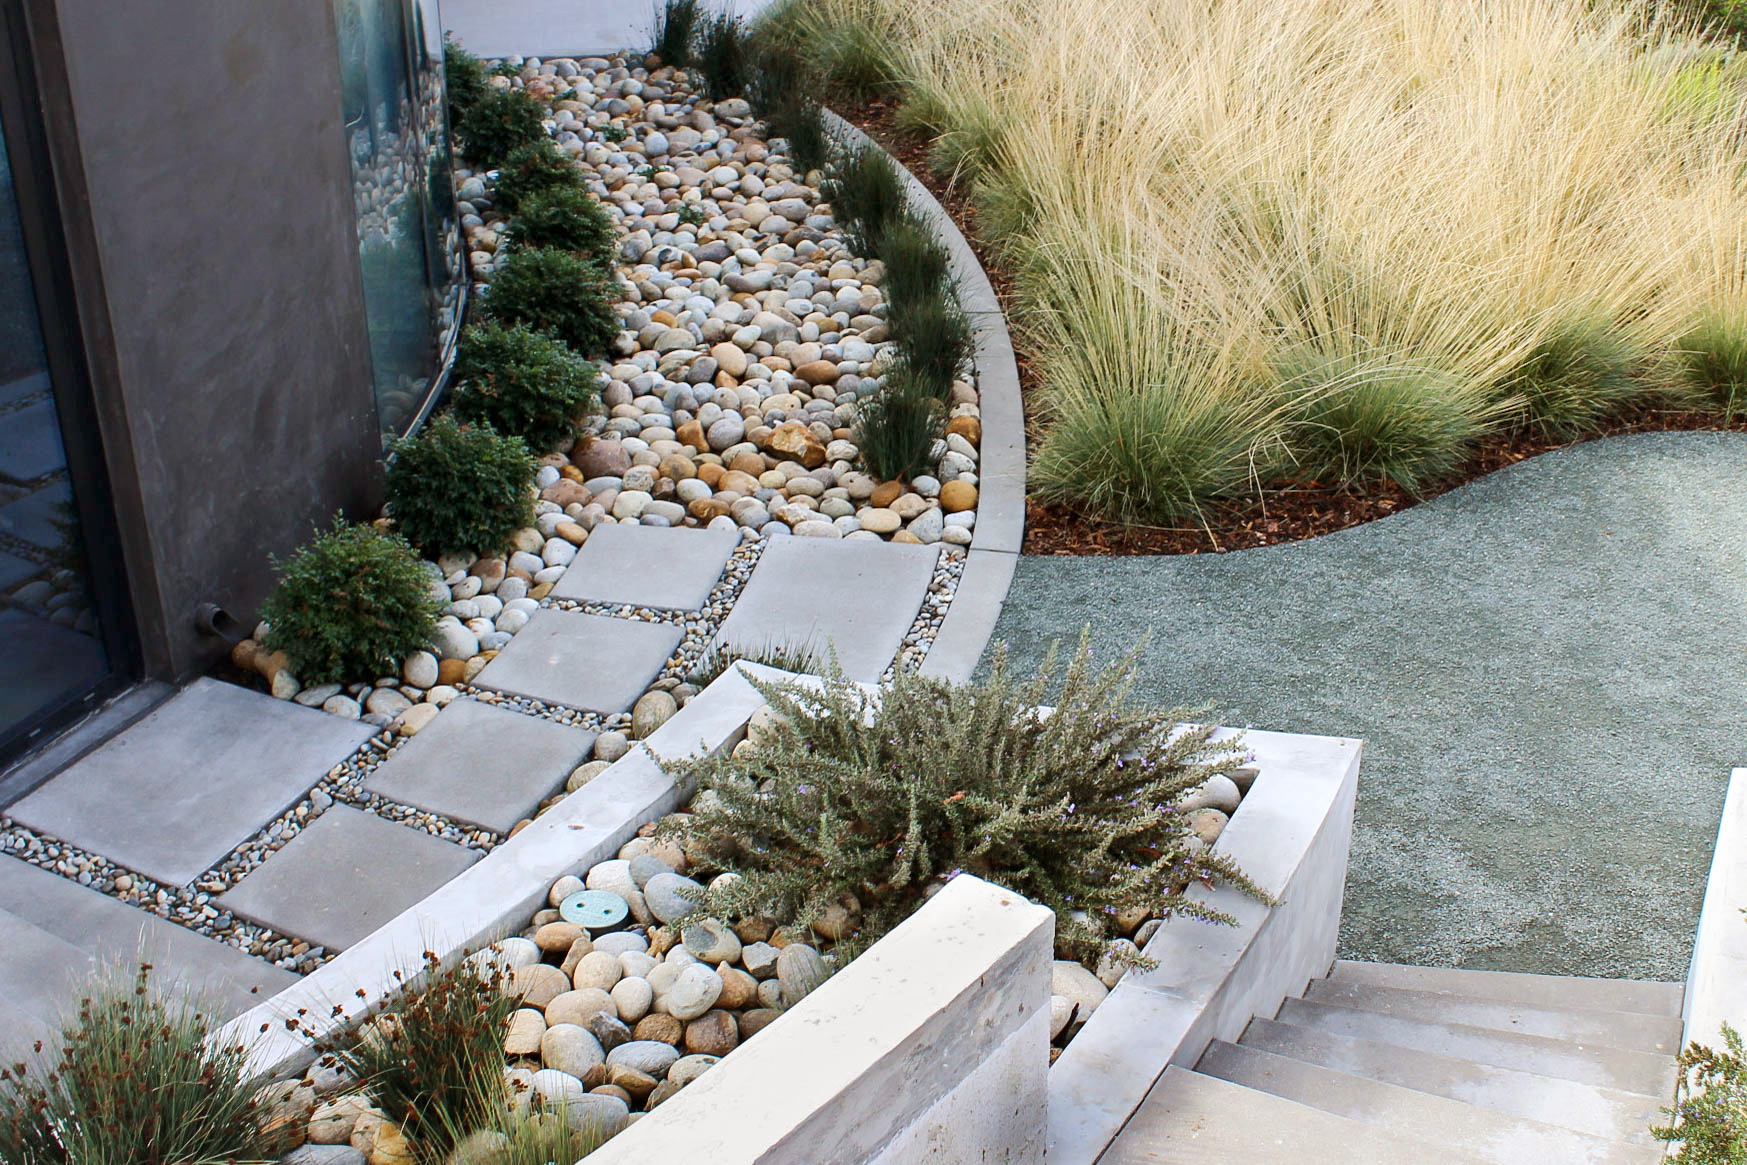
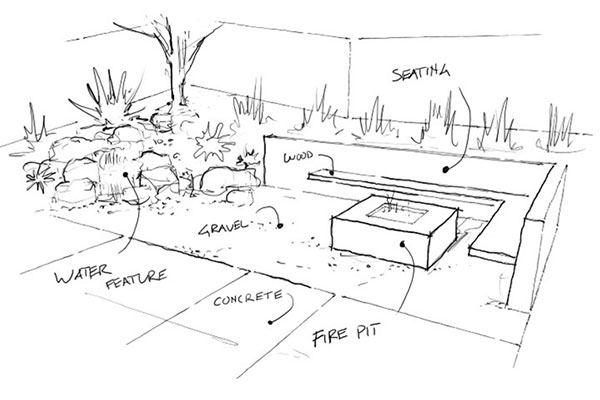
Work Out Transitions
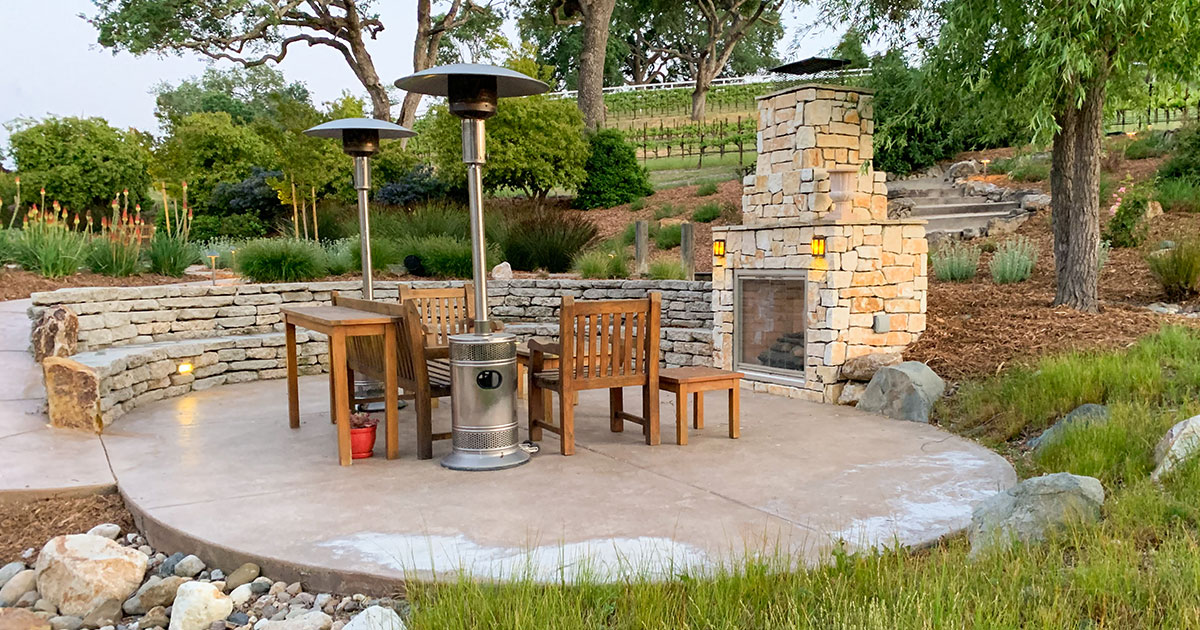
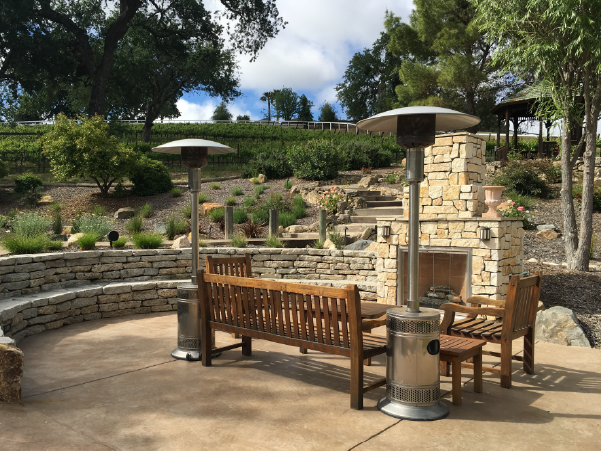
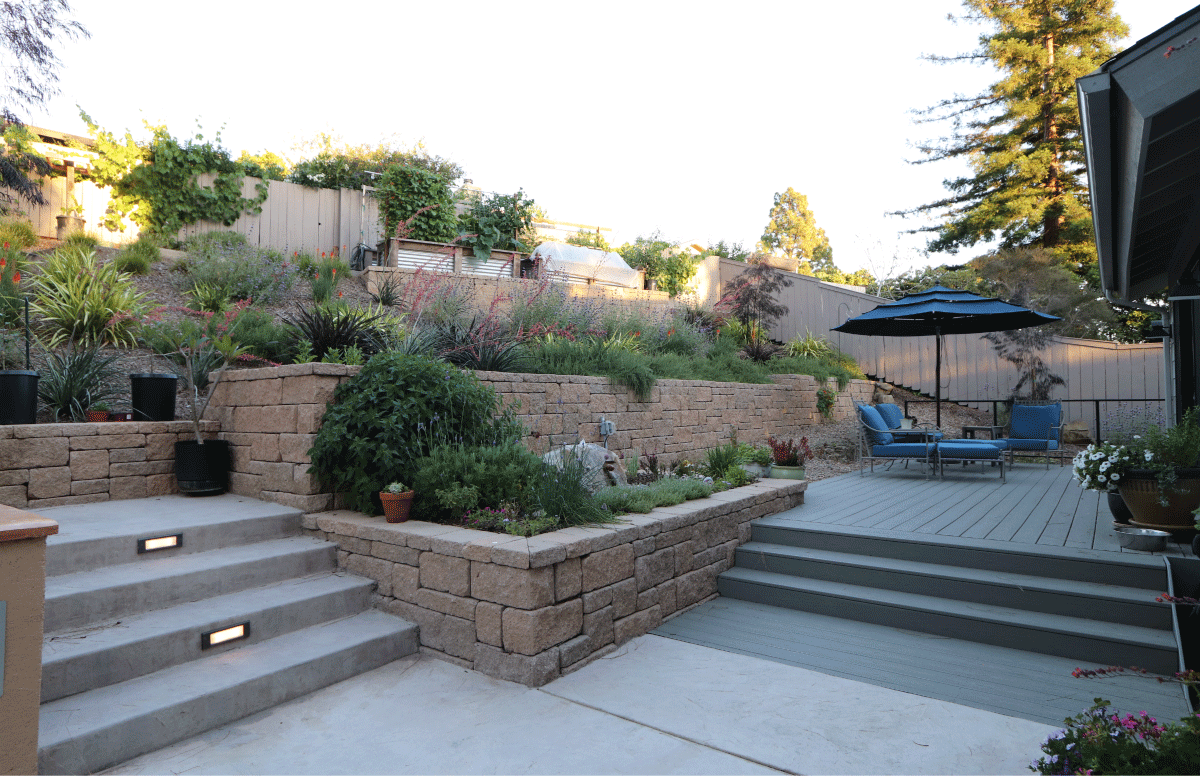
Landscape is the glue that holds together spaces and structures. Transitions can be the most dynamic aspects of a landscape, or they can be eyesores. Complex hardscape features such as patios, retaining walls, fences, pergolas, outdoor kitchens, water features, and fire features will often intersect and connect with one another.
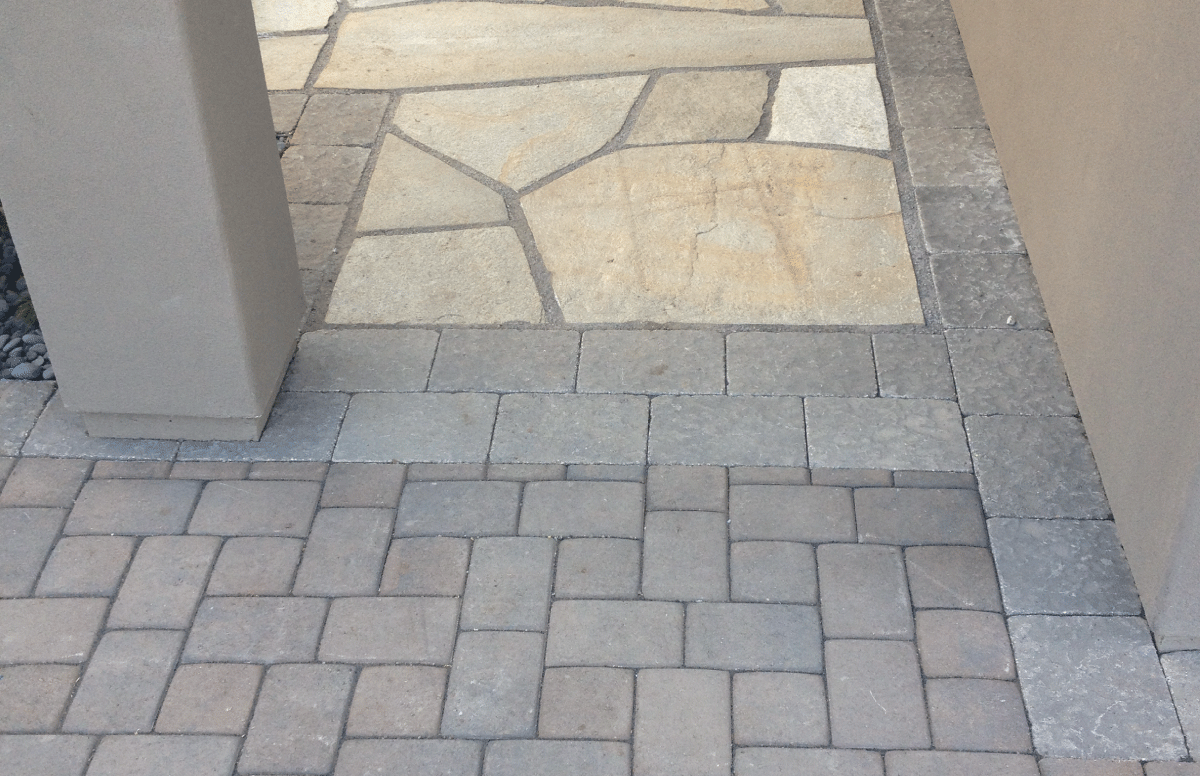
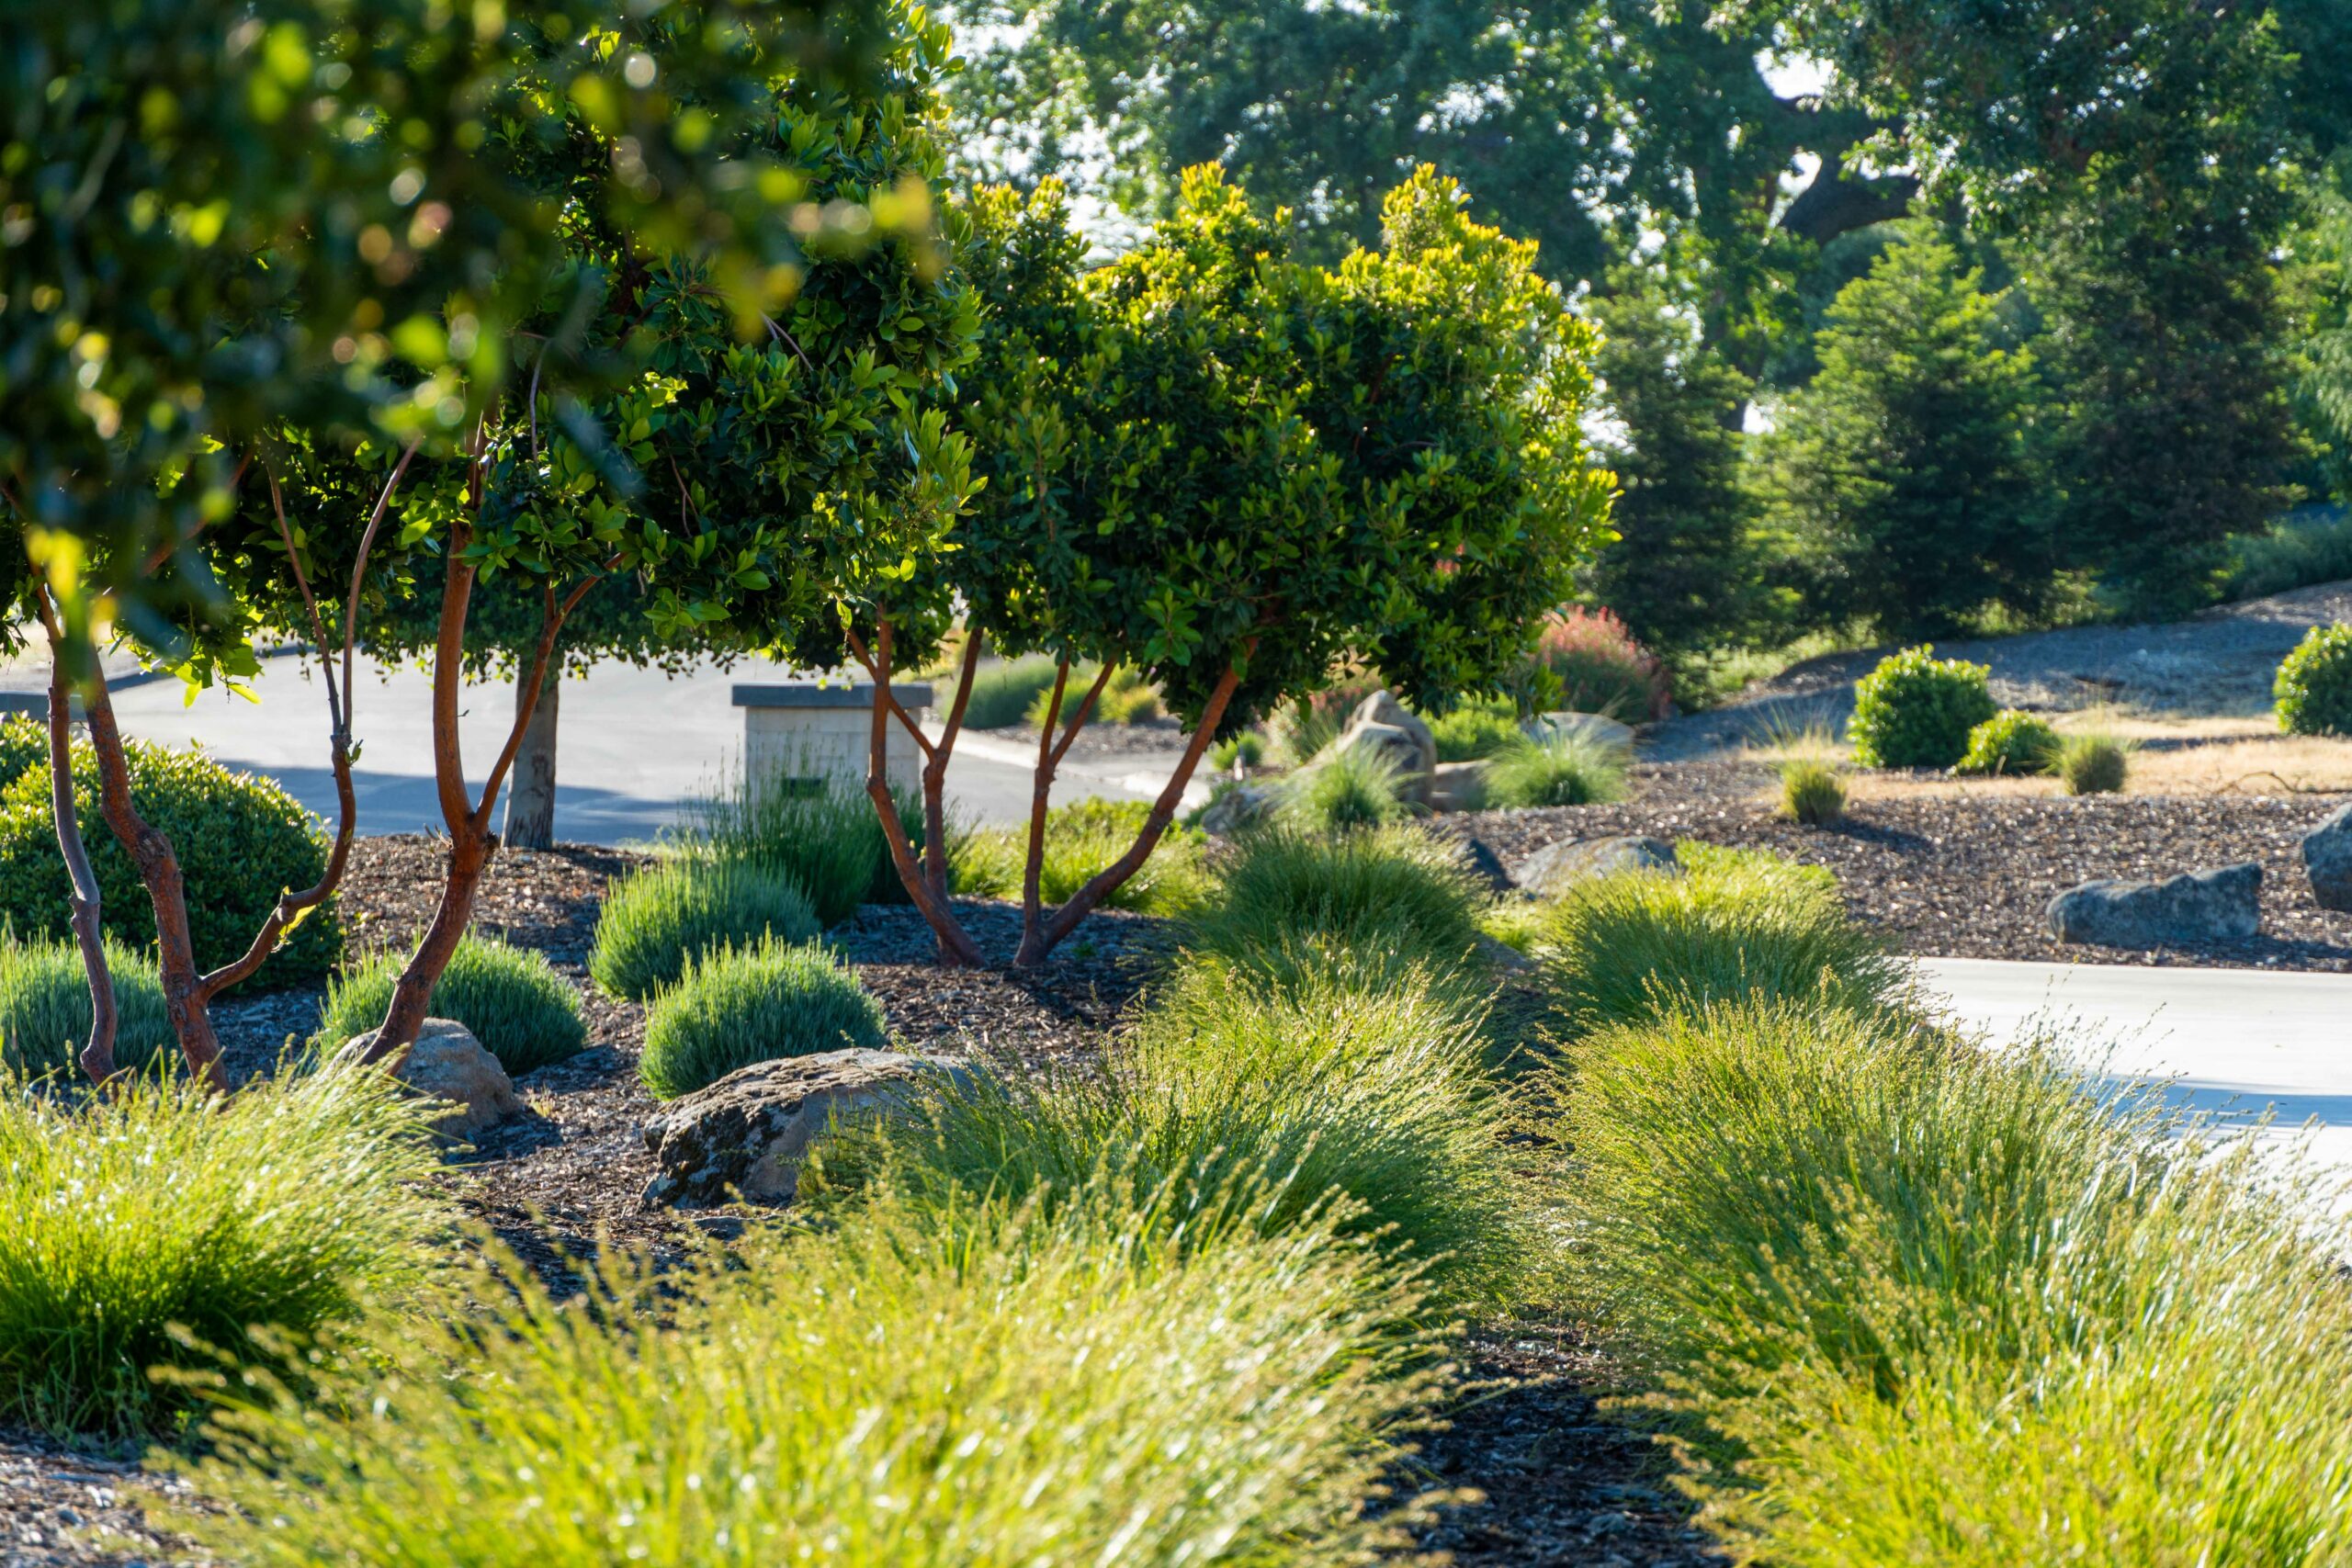
Figure out how connections will work to make a seamless transition point. Formal landscapes will often transition to a natural area. Utilize decorative bunch grasses on the edge of the landscape to blur the line between mulched landscapes and natural areas. When utilizing multiple design styles, create transitional landscapes to blend gradually. For example, a contemporary landscape may transition to a natural area going from straight lines to calculated arcs and then to a curved path.
Iron Out the Details
Details in the landscape should emphasize the overall design style and theme. In most cases, color themes should be complementary, so they don’t clash. Choose colors for concrete, stone, wood, paint, mulch, and plant material that paint a picture that goes together.
Textures should also be considered. Fine texture details such as exposed aggregate concrete, small ledge stone, or small plants can feel lost in a large space. Bold coarse texture details like large boulders or big leaved plants can feel overbearing in small spaces. Perennial plants provide color, texture, and movement.
Plants should fit the design style with color as well as layout. Bold masses of plants work well with contemporary landscapes, while multi-species combinations can work well with natural areas. Finishing details can make the difference between a hodge-podge yard and a cohesive landscape.
There is a lot to think about when trying to maximize a landscape. A professional can help. Landscape designers can take ideas and dreams and turn them into a buildable design. Knowing the process before starting design or construction can be invaluable to being able to communicate goals and expectations to create a successful landscape to enjoy for years to come.
Ready for a landscape design and not sure where to start? Contact our landscape designers at [email protected] or (805) 466-6263.